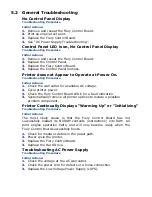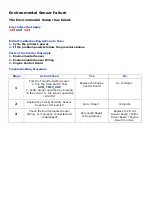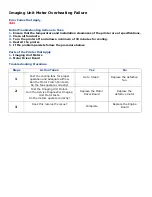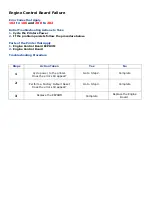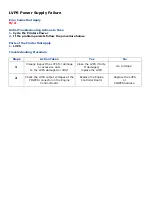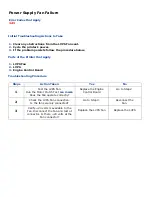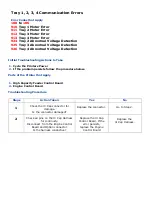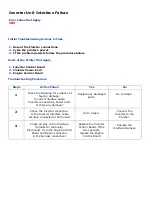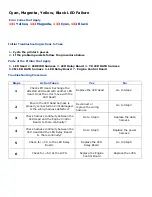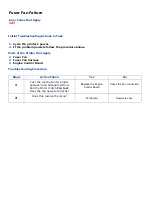
Troubleshooting DC Power Supply
Troubleshooting Procedure
Initial Actions:
1.
Perform the AC power supply troubleshooting procedure.
2.
Replace the Low Voltage Power Supply (LVPS).
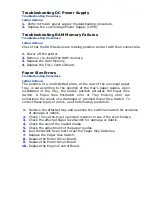
Troubleshooting RAM Memory Failures
Troubleshooting Procedure
Initial Actions:
Check that the RAM devices are making positive contact with their connectors.
1.
Power off the printer.
2.
Remove / re-install the RAM memory.
3.
Replace the Ram Memory.
4.
Replace the Fiery Control Board.
Paper Size Errors
Troubleshooting Procedure
Initial Actions:
The position of a multi-slotted plate, at the rear of the universal paper
tray, is set according to the position of the tray’s paper guides. Upon
installation of the tray, the plate’s position actuates the Paper Size
Switch. A Paper Size Mismatch error or Tray Missing error are
sometimes the result of a damaged or jammed Paper Size Switch. To
correct these types of errors, use the following procedure.
1.
Remove the affected tray and examine the switch actuators for evidence
of damage or debris.
2.
Check / move the tray to another location to see if the error follows.
3.
Check the affected Paper Size Switch for damage or debris
.
4.
Check the size of the loaded media.
5.
Check the adjustment of the paper guides
.
6.
Run the Switch Scan test to test the Paper Size Switches.
7.
Replace the Paper Size Switch.
8.
Replace the Motor Driver Board.
9.
Replace the Motor Driver Board.
10.
Replace the Engine Control Board.
Summary of Contents for C9800 Series
Page 30: ...Step 3 Setting up the ES 1000 Spectrophotometer...
Page 31: ...Once installation is complete re launch Command Workstation...
Page 32: ......
Page 33: ......
Page 34: ......
Page 35: ......
Page 36: ......
Page 37: ......
Page 38: ......
Page 39: ......
Page 40: ......
Page 41: ......
Page 42: ......
Page 43: ......
Page 44: ......
Page 45: ......
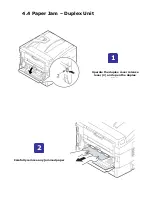
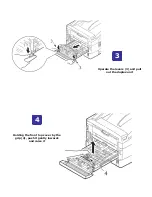
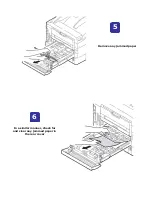
Page 77: ...Close the side cover Carefully remove the jammed paper 4 3...
Page 83: ...Close the top cover and ensure that it is latched 12...
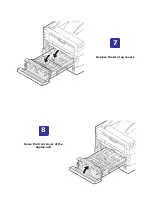
Page 87: ...Raise the front cover of the duplex unit Replace the two top covers 8 7...

