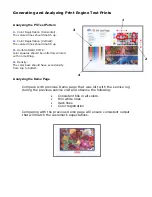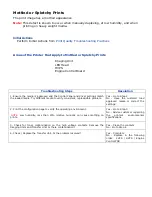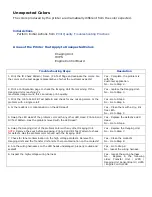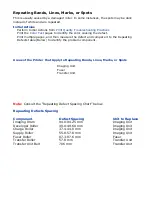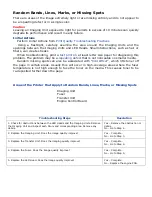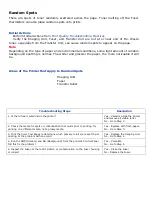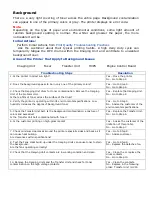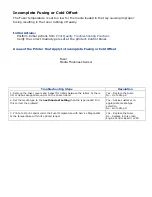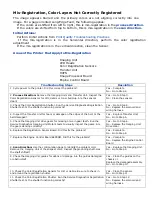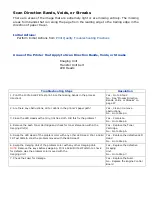
Mottled or Splotchy Prints
The print image has a mottled appearance.
Note:
This defect is known to occur when manually duplexing, at low humidity, and when
printing on heavy weight media.
Initial Actions
Perform Initial Actions from
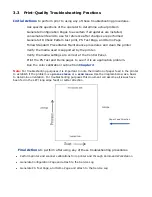
Print Quality Troubleshooting Practices
Areas of the Printer that Apply to Mottled or Splotchy Prints
Imaging Unit
LED Head
HVPS
Engine Control Board
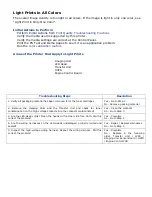
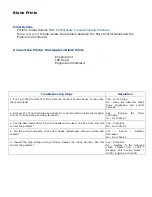
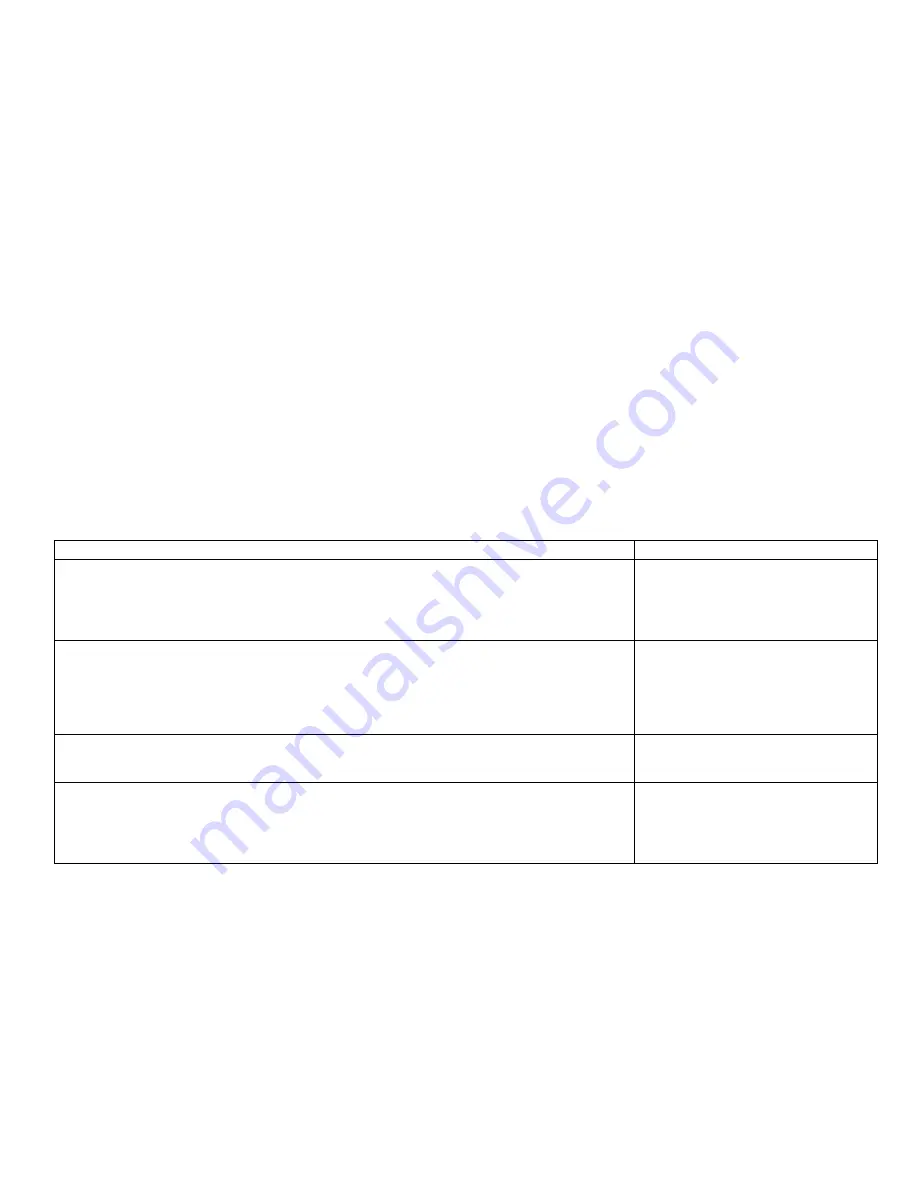
Troubleshooting Steps
Resolution
1. Ensure the media is approved and the Control Panel and driver settings match
the loaded media. Try different media to verify consistent, reproducible problem.
Yes – Go to Step 2
No - Have the customer load
approved media or correct the
settings.
2. Print the configuration page to verify the operating environment.
NOTE:
Low humidity, less than 20% relative humidity can cause mottling on
prints.
Yes – Go to Step 3
No - Advise customer regarding
the printer’s environmental
specifications.
3. Check for toner contamination on the high voltage contacts. Remove the
Imaging Units and Transfer Unit. Is there contamination?
Yes – Clean the contacts
No - Go to Step 4
4. Check / Replace the Transfer Unit. Is the problem resolved?
Yes – Complete
No - Replace in the following
order: LVPS / HVPS / Engine
Control PCB
Summary of Contents for C9800 Series
Page 30: ...Step 3 Setting up the ES 1000 Spectrophotometer...
Page 31: ...Once installation is complete re launch Command Workstation...
Page 32: ......
Page 33: ......
Page 34: ......
Page 35: ......
Page 36: ......
Page 37: ......
Page 38: ......
Page 39: ......
Page 40: ......
Page 41: ......
Page 42: ......
Page 43: ......
Page 44: ......
Page 45: ......
Page 77: ...Close the side cover Carefully remove the jammed paper 4 3...
Page 83: ...Close the top cover and ensure that it is latched 12...
Page 87: ...Raise the front cover of the duplex unit Replace the two top covers 8 7...

