


7000 SERIES INDICATORS
EN 29
3
CONFIGURATION: INDICATOR
This chapter provides information about how to configure the T72XW indicator for the required application. It
describes access to the setup mode, where functions can be enabled, disabled, or defined by entering parameter
values in specific setup screens.
3.1 Entering Setup Mode
The configuration of the T72XW indicator is accessed by pressing the
MENU
key
to access the
OPERATOR
menu. Use the navigation keys to highlight the
SETUP
icon
and press
ENTER
or press the
number on the keypad that is shown to the left of the
SETUP
icon
.
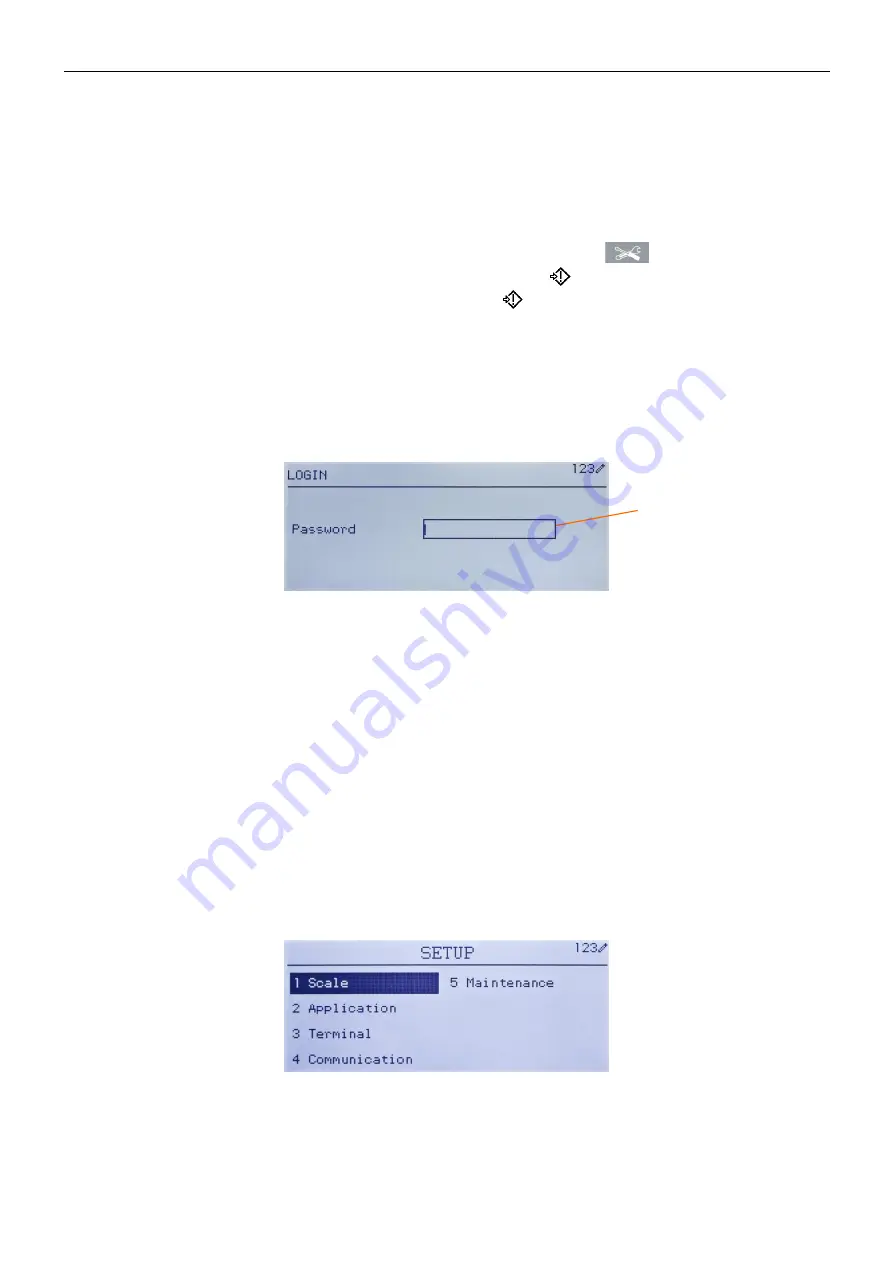
3.2 Security
If password security has been enabled, a login screen (Figure 3-1) displays and the user must enter the correct
password in order to advance into setup. A single password of up to 6 digits can be programmed. If enabled, the
password will be prompted automatically when the setup mode is accessed. The correct password must be entered
in order to access the setup mode. (See the Security section in Chapter 2, Operation, and the Configuration
Options, Indicator, User section of this chapter for further information about password setup and security.) To return
to the
OPERATOR
menu without entering any login information, press the
LEFT
navigation key.
Figure 3-1: Login Screen
To enter a password:
1. With the Password entry field in focus, use the numeric keys to enter the password.
2. Press the
ENTER
key. If the password is correct, the indicator will enter setup mode, and the setup menu will
display. If the password is not valid, the display returns to the Operator Menu.
3.3 Exiting Setup Mode
To exit the setup mode and return to the
OPERATOR
menu, press the
LEFT
arrow key until the
OPERATOR
menu reappears.
If focus is inside an entry or selection box in setup, the
ENTER
key must be pressed to complete the selection
before the
LEFT
arrow key will allow exit from setup.
3.4 Setup Menu Structure
When setup is first entered, All five main branches are displayed as shown in Figure 3-2 with focus (reverse video)
shown on the SCALE branch.
Figure 3-3: Major Branches in Setup
Password entry
box
www.
GlobalTestSupply
.com
Find Quality Products Online at:
Summary of Contents for T72XW AM
Page 2: ...www GlobalTestSupply com Find Quality Products Online at sales GlobalTestSupply com...
Page 3: ...www GlobalTestSupply com Find Quality Products Online at sales GlobalTestSupply com...
Page 4: ...www GlobalTestSupply com Find Quality Products Online at sales GlobalTestSupply com...
Page 8: ...www GlobalTestSupply com Find Quality Products Online at sales GlobalTestSupply com...
Page 142: ...www GlobalTestSupply com Find Quality Products Online at sales GlobalTestSupply com...


