User’s Guide – Osprey 75/102/130
Chapter 3: Basics
37
AP-75102, Rev. 2.0, 28/11/2007
3.1.2 Switching OFF the printer
Be sure to read and understand the safety warnings before handling the printer.
The procedure consists out of
3
parts.
1. Start the “power down” sequence:
Step 1 :
Go to the “Testprinting” menu, and perform a nozzle check print.
Step 2 :
Verify if there are any missing dots, or if the printer is faint printing.
Notes
•
If printing quality declines, or if there are missing dots in the nozzle check print, the print heads need
to be cleaned. If you switch OFF the printer without head cleaning, the clogged nozzle may not
restore. Refer to: “Head cleaning" to perform a head cleaning.
Step 3 :
Verify the following regarding the operational condition of the product:
•
There is no printing operation being performed.
•
The control panel is in a normal status.
Step 4 :
Push the [POWER] key of the control panel, to switch OFF the printer.
Notes
•
The power is ON if the control panel displays the following conditions:
o
The [POWER] key is in the pushed in condition
o
The POWER lamp is lit (green).
•
Press the [POWER] key again to switch the power OFF.
Step 5 :
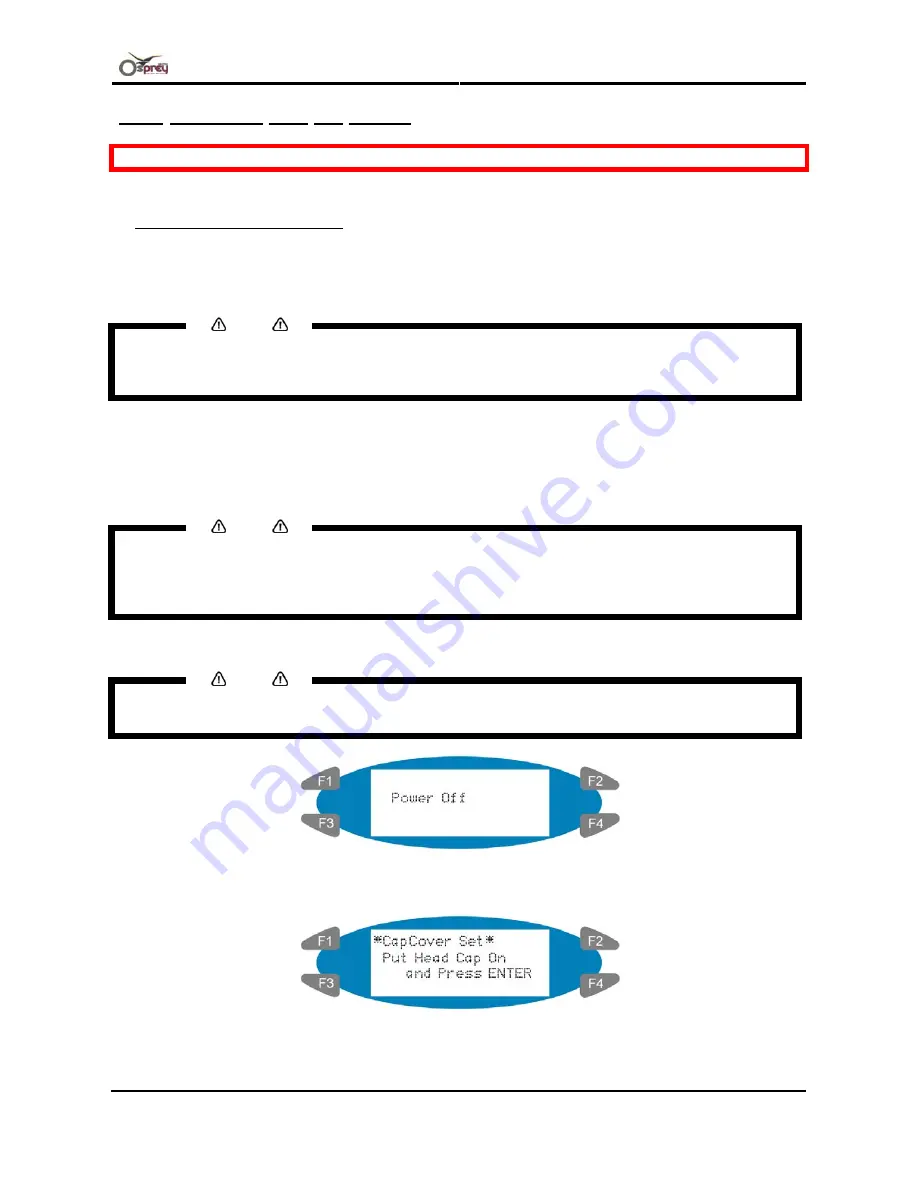
The following message is displayed on the operation panel for 3 seconds. See image below.
Notes
•
If pushing the [POWER] key on the operation panel by mistake, push the [POWER] key again while
the following message is displayed. See below for the message.
•
The printer will perform the power OFF operation.
•
The following message is displayed on the operation panel:


