
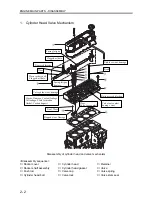


ENGINE MAIN PARTS - DISASSEMBLY
2 - 13
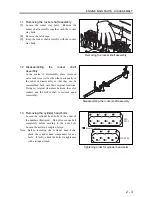
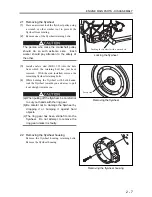
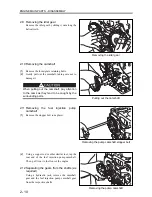
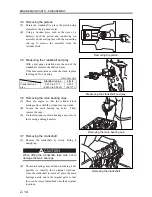
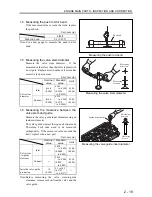
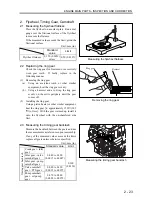
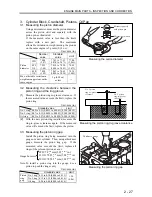
3.1 Removing the oil pan
(1)
Turn the engine upside down.
(2)
Remove the oil pan by tapping it on the bottom
corners with a plastic hammer.
Do not insert a chisel or a screwdriver
between the oil pan and the cylinder block to
remove the oil pan. Otherwise, the oil pan
flange face will be deformed.
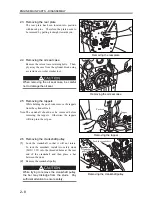
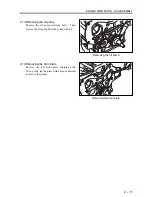
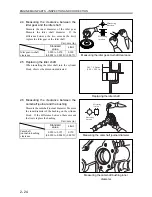
3.2 Removing the oil strainer
Loosen the nut to remove the oil strainer.
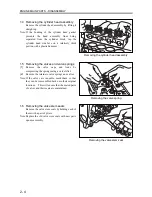
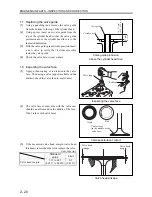
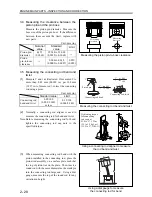
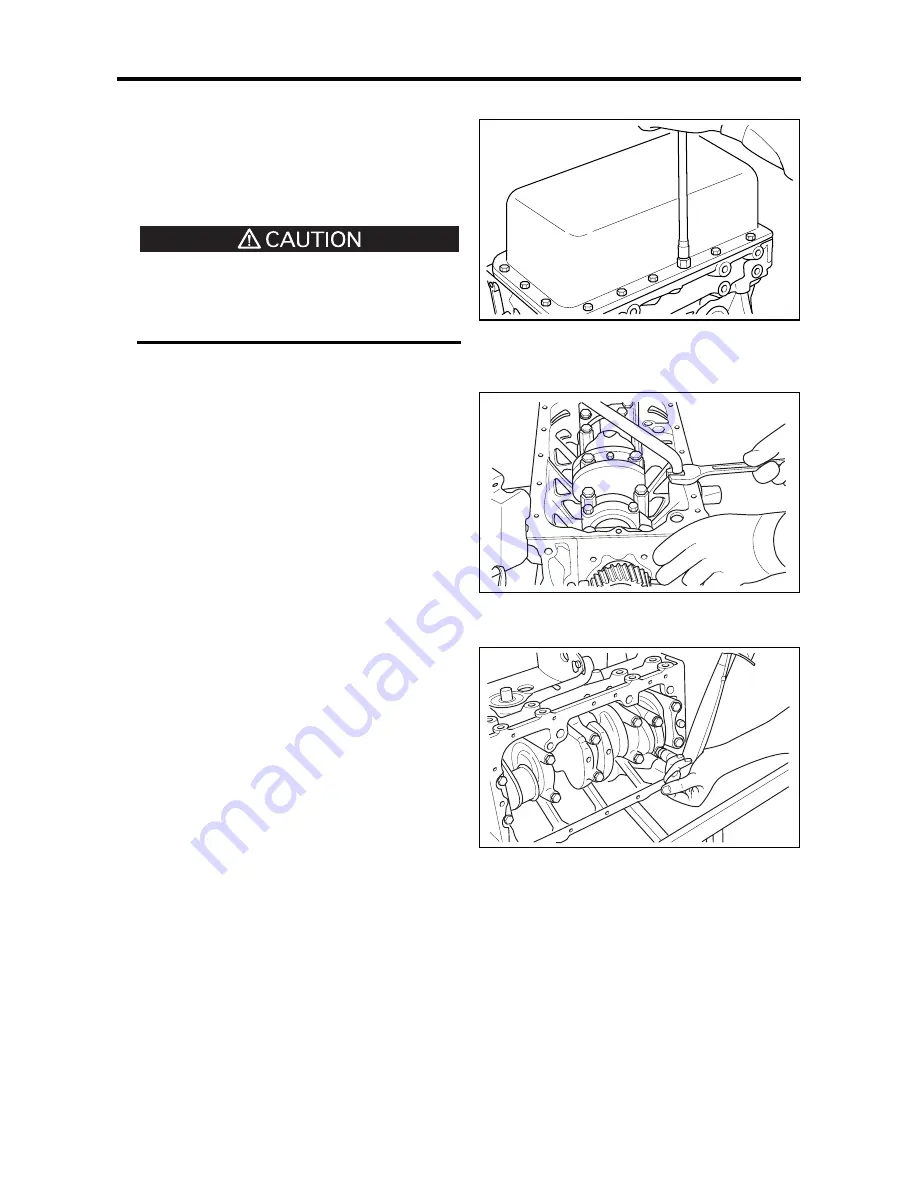
3.3 Removing the connecting rod caps
(1)
Place the cylinder block on the side.
(2)
Mark the cylinder numbers on the connecting
rods and caps to ensure that they will be
reassembled in original pairs.
(3)
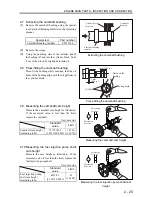
Remove the connecting rod caps.
Removing the oil pan
Removing the oil strainer
Removing the connecting rod caps
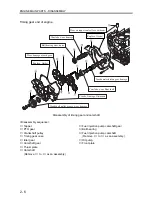
Summary of Contents for diesel engines
Page 5: ......
Page 33: ...SERVICE STANDARDS 1 20 ...
Page 34: ...1 General Tools 1 22 2 Special Tools 1 23 TOOLS LIST ...
Page 37: ...TOOLS LIST 1 24 ...
Page 41: ...OVERHAUL TIMING 1 28 ...
Page 46: ......
Page 47: ......
Page 61: ...ENGINE MAIN PARTS DISASSEMBLY 2 16 ...
Page 99: ...FUEL SYSTEM REMOVAL 3 8 ...
Page 115: ...FUEL SYSTEM DISASSEMBLY INSPECTION AND REASSEMBLY 3 24 ...
Page 119: ...FUEL SYSTEM INSTALLATION 3 28 2 Governor Installing the governor Installation sequence ...
Page 123: ...FUEL SYSTEM INSTALLATION 3 32 ...
Page 131: ...OIL SYSTEM DISASSEMBLY INSPECTION AND REASSEMBLY 4 8 ...
Page 143: ...COOLING SYSTEM DISASSEMBLY INSPECTION AND REASSEMBLY 5 8 ...
Page 150: ......
Page 151: ......
Page 153: ...INLET AND EXHAUST SYSTEMS REMOVAL 6 4 ...
Page 159: ...INLET AND EXHAUST SYSTEMS INSTALLATION 6 10 ...
Page 160: ...1 Starter 7 2 2 Alternator 7 3 3 Stop Solenoid 7 4 4 Glow Plug 7 5 ELECTRICAL SYSTEM REMOVAL ...
Page 165: ...ELECTRICAL SYSTEM REMOVAL 7 6 ...
Page 189: ...ELECTRICAL SYSTEM INSTALLATION 7 30 ...
Page 207: ...MISCELLANEOUS 9 4 ...