73
|
www.lakeshore.com
careful not to over-tighten, as the alumina is delicate and will crack. Rotate
the probe back to the upright position.
4. Using the 1.5 mm hex driver, secure the probe to the probe arm by tightening the
probe arm set screws.
5. Finger tighten the signal cable SMA nut onto the probe’s SMA connector.
For the cryogenic coaxial cable, the strain relief to the SMA connector must be held
steady with tweezers or your fingers while the plug is screwed onto the probe’s SMA
socket, otherwise the cable’s center conductor can be broken. Hand tighten until
snug.
If installing the ZN50 probes on arms configured with K-connectors and semirigid
coaxial cable, refer to section 3.7.4, steps 5 to 8 for proper alignment of the
connector.
6. Before initiating a station cool down, see section 3.8.5 and section 3.8.6 to test
probe arm reach and landing ability. It would be very costly and time consuming
to initiate a cool down only to find that a probe mount braid is preventing the
probes from landing.
Do not remove the tape covering the SMA plug on the cryogenic coaxial cable. The
tape prevents contact with the radiation shield curtains (the flexible aluminized
strips covering the openings) or other conductive elements in the sample area, which
would short the guard signal to ground.
3.7.3 Removing a
ZN50 Probe
The ZN50 series probes consist of a probe mount, ceramic blade with SMA electrical
connector and probe tip. You can simply remove the alumina probe blade on ZN50
probes if it has been damaged or if a different tip is desired. You will need to remove
the probe mount if you are installing a different kind of probe than was previously
installed.
3.7.3.1 Removing the ZN50 Probe Blade
You can remove the probe blade in the probe station or out of the probe station. These
steps describe removing the blade while it is in the station. If you wish to remove the
blade from its mount outside of the probe station, first remove the probe mount
(section 3.7.3.2) and then follow steps 4 to 7 in this section.
1. Follow the procedure in section 3.7.1.
2. Disconnect the SMA connector. The strain relief to the SMA connector (on the
cryogenic coaxial cable) must be held in place with tweezers or your fingers while
removing the SMA plug (FIGURE 3-33).
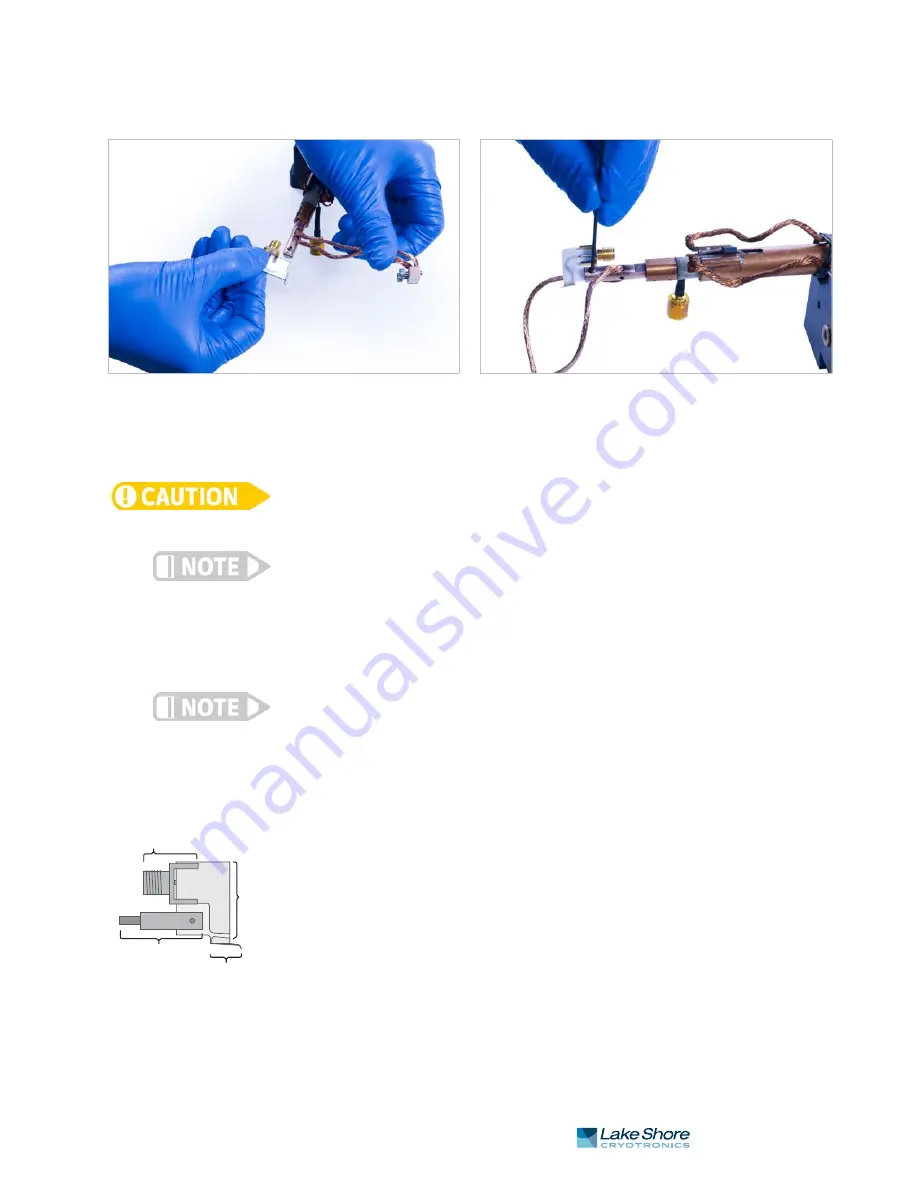
FIGURE 3-32
Left: Slide the blade into its slot; Right: Carefully tighten the probe mount set screws
SMA
connector
mount
blade
tip


