


Initial Set Mode – Copy Functions
9
Konica 7115F/7118F
9-25
6
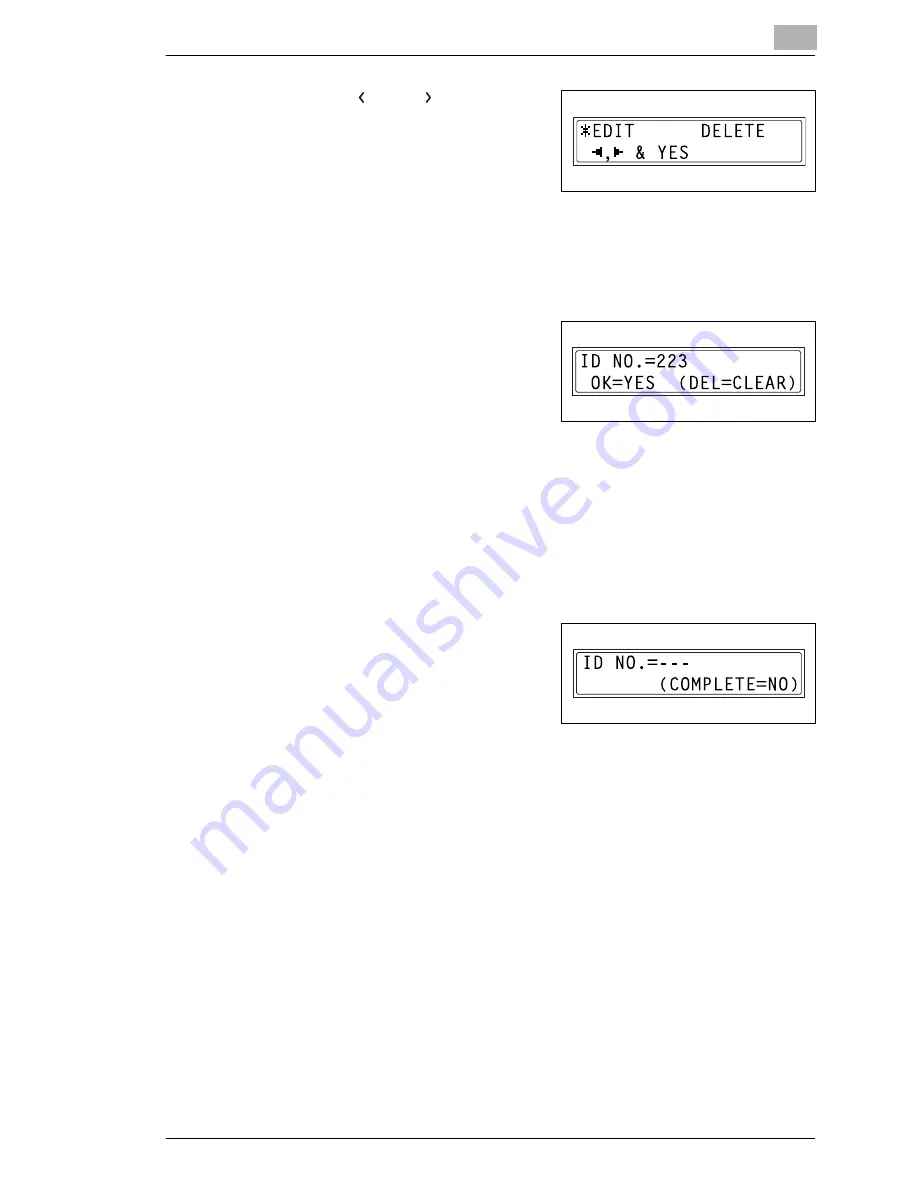
Using the [
] and [
] keys, select
either “EDIT” or “DELETE”, and
then press the [YES] key.
❍
If “EDIT” was selected, a screen
appears, allowing you to edit the
ID number. (Continue with step 7.)
❍
If “DELETE” was selected, the current ID number is deleted. (The
message “ID NO. XXX DELETED” appears.) To change or delete
other ID numbers, return to step 3.
7
Use the KEYPAD to enter the new
number.
8
Press the [YES] key.
❍
If the new ID number has already been registered, the message
“ID NO. IS USED” appears. Press the [NO] key, and then enter a
different ID number.
After the message “ID NO. XXX EDITED” appears, a screen appears,
allowing you to enter the next ID number to be changed/deleted.
9
When you are finished changing/
deleting ID numbers, press the [NO]
key.
The “ADMIN. MANAGEMENT”
menu appears again.
Summary of Contents for 7115F
Page 1: ...7115F 7118F FK 117...
Page 30: ...2 Precautions 2 6 Konica 7115F 7118F...
Page 118: ...5 Advanced Copy Operations 5 16 Konica 7115F 7118F...
Page 264: ...10 Initial Set Mode Fax Functions 10 54 Konica 7115F 7118F...
Page 284: ...12 Error Messages 12 14 Konica 7115F 7118F 5 Load the paper into the Bypass Tray again...
Page 292: ...12 Error Messages 12 22 Konica 7115F 7118F...
Page 300: ...13 Troubleshooting 13 8 Konica 7115F 7118F...
Page 325: ...Index 15 Konica 7115F 7118F 15 7 Z Zoom setting 4 21 AMS 4 21 X Y zoom function 4 23...
Page 326: ...15 Index 15 8 Konica 7115F 7118F...


