


9
Initial Set Mode – Copy Functions
9-14
Konica 7115F/7118F
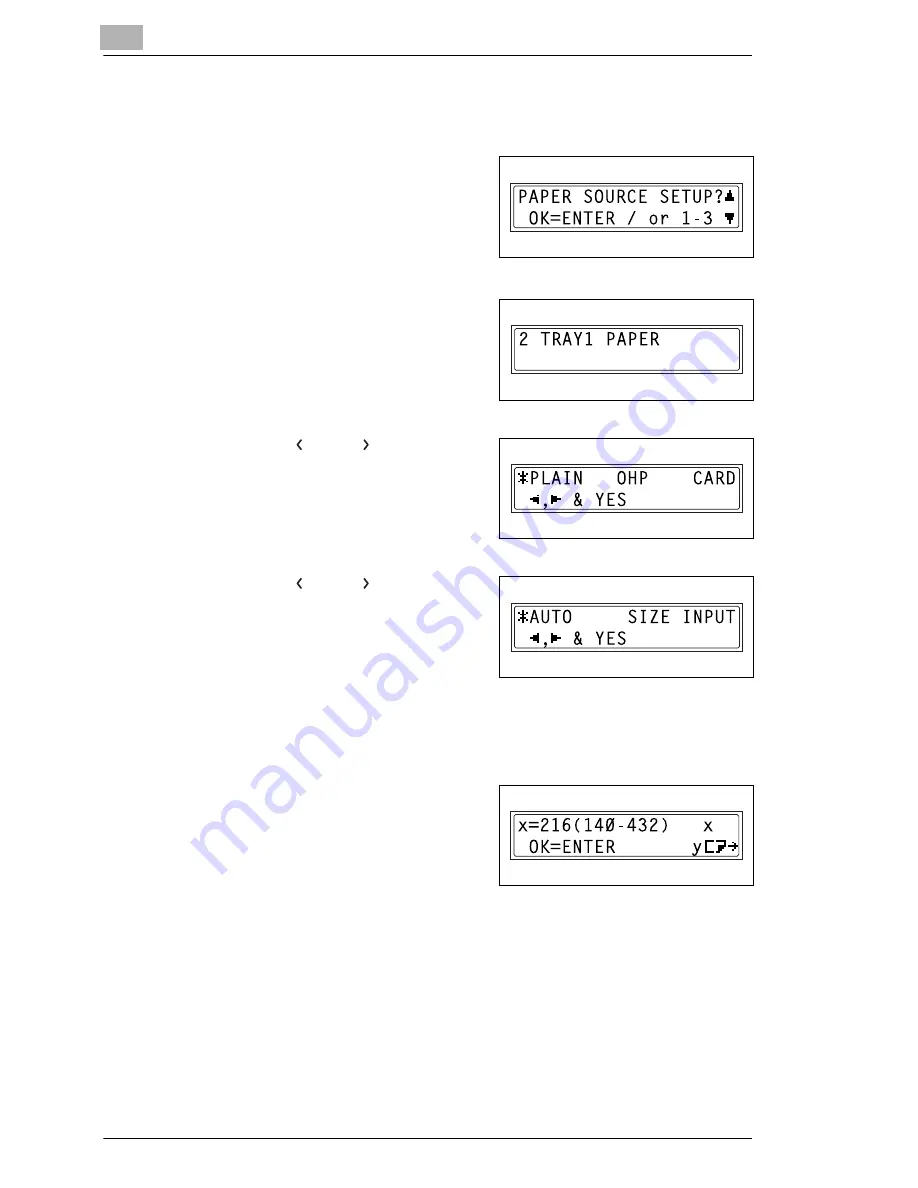
To specify the size of paper loaded into the 1st Tray (“TRAY1
PAPER” function)
1
Select the “PAPER SOURCE
SETUP” menu.
❍
Refer to “To select the “PAPER
SOURCE SETUP” menu” on
page 9-12.
2
Press the [2] key from the KEYPAD
to select “TRAY1 PAPER”.
3
Using the [
] and [
] keys, select
“PLAIN”, “OHP” or “CARD”, and
then press the [YES] key.
4
Using the [
] and [
] keys, select
either “AUTO” or “SIZE INPUT”, and
then press the [YES] key.
❍
If “AUTO” was selected, the
“PAPER SOURCE SETUP”
menu appears again.
❍
If “SIZE INPUT” was selected, a screen appears, allowing you to
specify the paper size.
5
Using the KEYPAD, enter the paper
length (mm), and then press the
[ENTER] key.
❍
The paper length can be set
between 140 mm and 432 mm.
However, when the length is set between 421 mm and 432 mm,
the maximum width that can be set is 279 mm.
❍
If you wish to correct the setting, press the [NO] key, and then enter
the new number.
Summary of Contents for 7115F
Page 1: ...7115F 7118F FK 117...
Page 30: ...2 Precautions 2 6 Konica 7115F 7118F...
Page 118: ...5 Advanced Copy Operations 5 16 Konica 7115F 7118F...
Page 264: ...10 Initial Set Mode Fax Functions 10 54 Konica 7115F 7118F...
Page 284: ...12 Error Messages 12 14 Konica 7115F 7118F 5 Load the paper into the Bypass Tray again...
Page 292: ...12 Error Messages 12 22 Konica 7115F 7118F...
Page 300: ...13 Troubleshooting 13 8 Konica 7115F 7118F...
Page 325: ...Index 15 Konica 7115F 7118F 15 7 Z Zoom setting 4 21 AMS 4 21 X Y zoom function 4 23...
Page 326: ...15 Index 15 8 Konica 7115F 7118F...


