


To make cursor measurements
1.
Press
[Cursors]
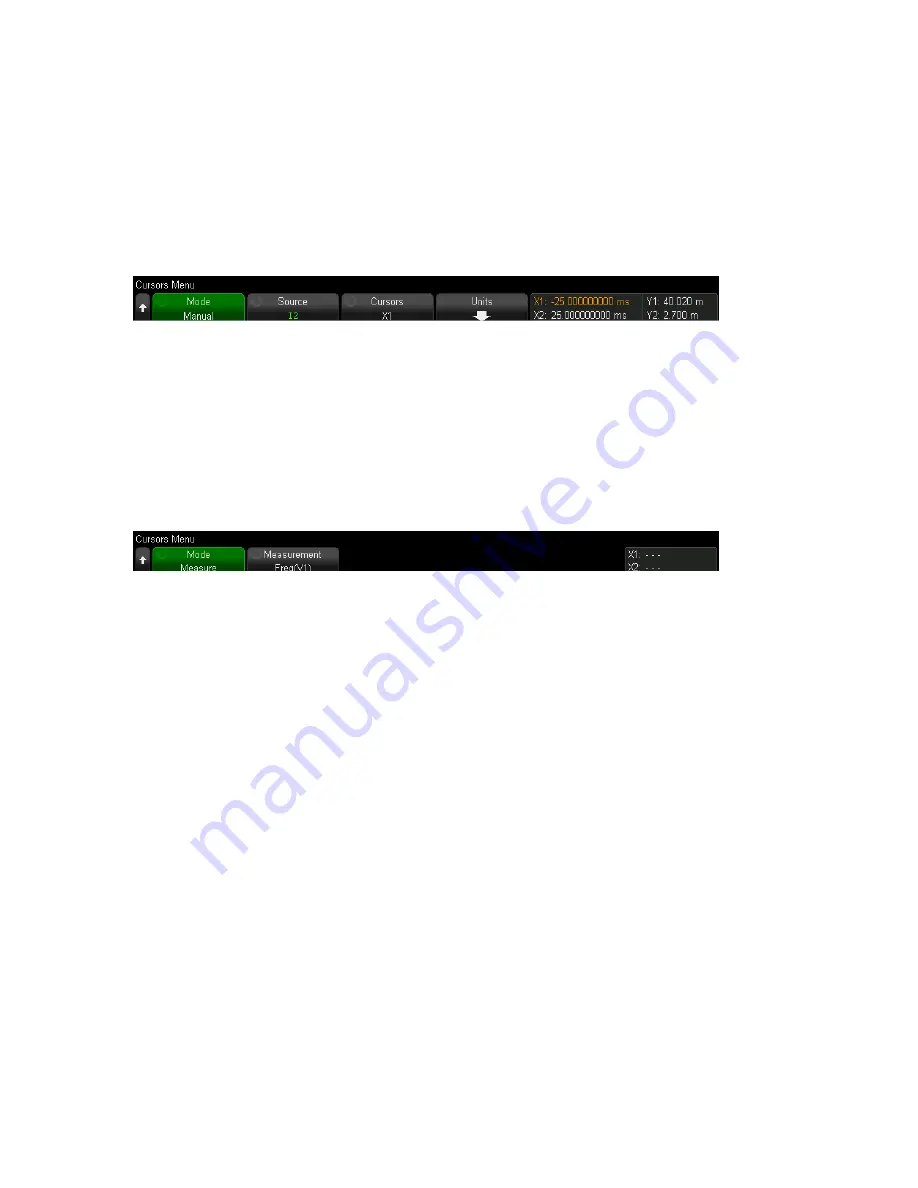
. The Cursors sidebar appears at the right side of the display, indicating that
you pressed the
[Cursors]
key to enable cursors. (Press
[Cursors]
again to turn cursors off.)
2.
In the Cursors Menu, press
Mode
; then, select the desired mode:
Manual — AX, 1/
Δ
X, and
Δ
Y values are displayed.
Track Waveform — As you move a marker horizontally, the vertical amplitude of the
waveform is tracked and measured. The time and voltage positions are shown for the
markers. The vertical (Y) and horizontal (X) differences are shown as AX and
Δ
Y.
Measure — When measurements are displayed, this shows the cursor locations used to
make the measurement. When you add a measurement, it becomes the one that cursors
are displayed for. Use the Measurement softkey or touch in the Meas sidebar dialog to select
the measurement whose cursor locations are displayed.
Manual and Track Waveform modes can be used on voltage, current, and power signals,
math waveforms, and reference waveforms.
3.
Press Source (or X1 Source, X2 Source in the Track Waveform mode); then, select the input
source for cursor values.
4.
To select the cursor(s) to be adjusted, push the
[Cursors]
knob, turn it,
– Push the
[Cursors]
knob, then turn it. To finish, push the knob again.
– Press the
Cursors
softkey; then, turn the
[Entry]
knob.
The X1 X2 linked and Y1 Y2 linked selections let you adjust both cursors at the same time,
while the delta value remains the same. This can be useful, for example, for checking pulse
width variations in a pulse train. The currently selected cursor(s) display brighter than the
other cursors.
106
Keysight IntegraVision PA2200 Series Power Analyzers Operating and Service Guide


