141
Set up VMD areas, etc. [Filtering]
Assign the search area, setup the motion detection area in the image and masking period.
Step 1
Click [Search] button on the playback operation panel
and click [VMD] tab. (
☞
Step 2
Select a camera that you want to search on the
camera number panel.
Step 3
Click the [Filtering] button.
→
→
The filtering panel will be displayed.
[Designate the search range]
Designate the time range to search.
→
→
Set the "Start" and "End" by clicking [
▲
]/[
▼
]
button of the date and time respectively.
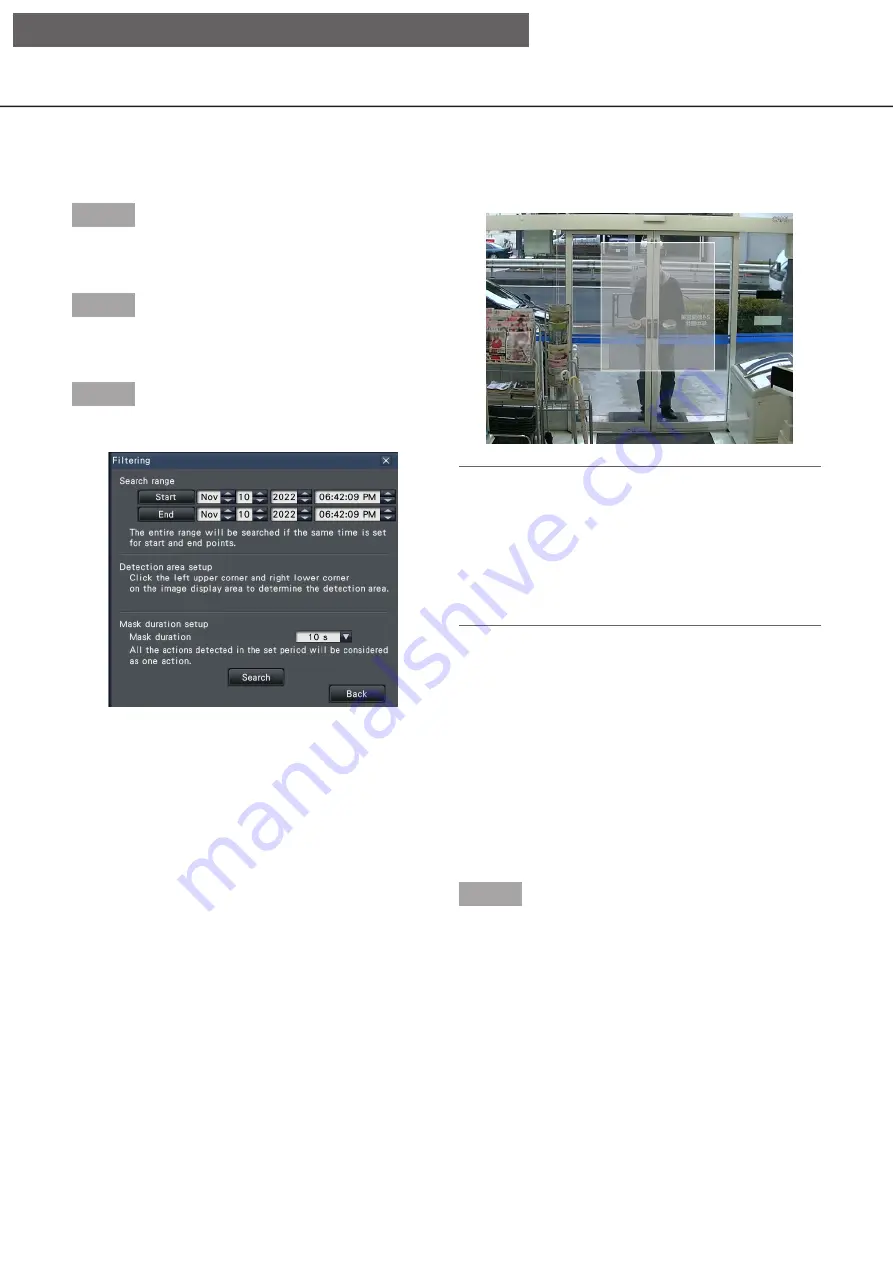
[Detection area setup]
Click 2 points of the upper left and lower right to
create a square to be set as the area on the displayed
image.
→
→
The set area will be displayed in gray, and the
area will become subject to be searched for
motion detection.
Note:
• As the detection areas will be set up to match the
image display area divided into 16×16 segments,
the top left and bottom right detection areas may
not be exactly as designated.
• It is impossible to delete the detection area that
has been set. To change the area, re-set the
detection area.
[Mask duration setup]
If VMD search takes too much time or the search
produces too many results, set a mask duration to
reduce the search frequency. When mask duration is
set, no motion detection will be performed from the
time motion is detected to the time mask duration is
set.
To set, click the [
▼
] button next to [Mask duration
setup] on the advances setup panel.
Mask duration: 1 s/ 5 s/ 10 s/ 30 s/ 1 min/ 5 min/ 10 min
Default:
10 s
Step 4
Clicking the [Search] button will start searching by the
assigned conditions.
[Operation via recorder's main monitor]


