38
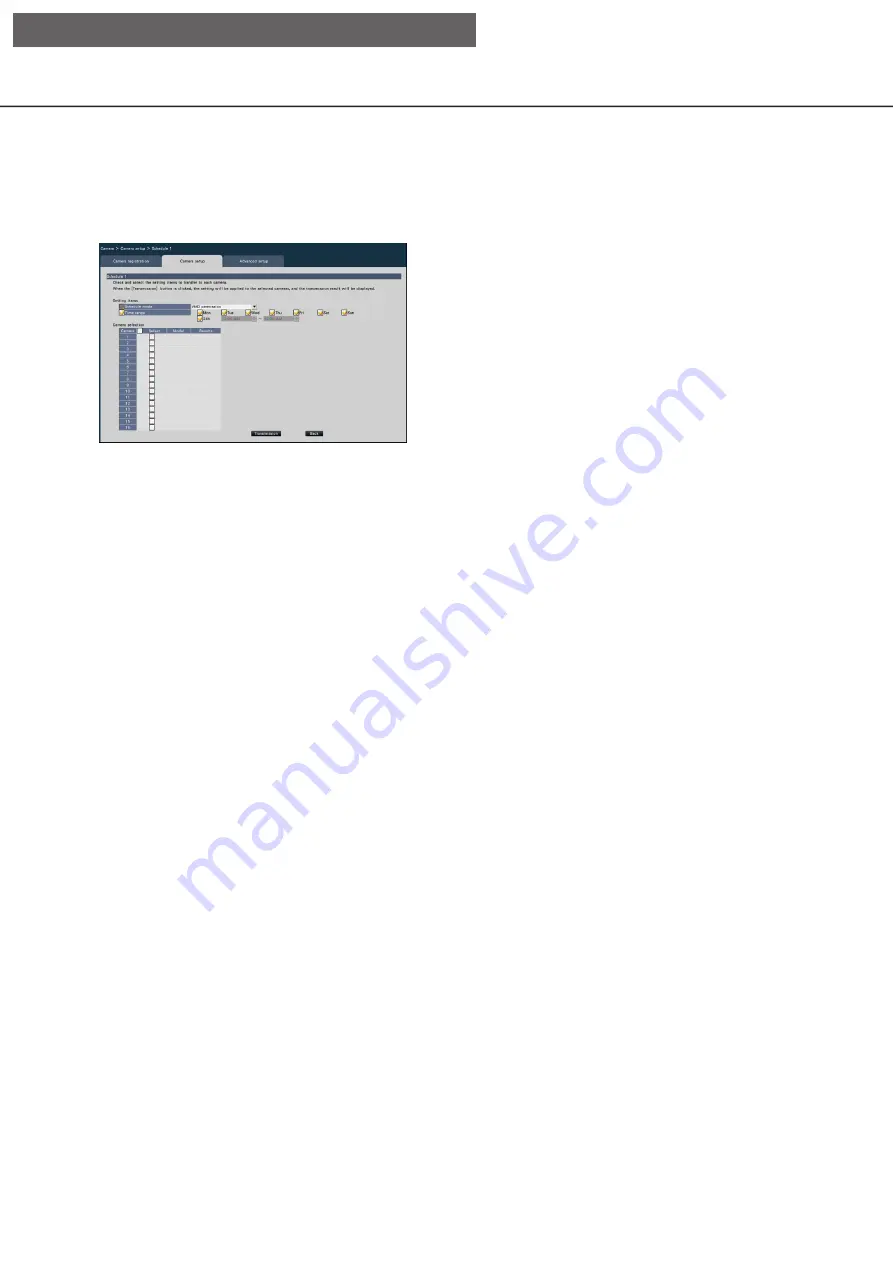
Set schedule [Schedule 1 to Schedule 4]
Click the [Setting
>
] button for "Schedule 1" to "Schedule 4" in the [Camera setup] tab to display the setup
window.
[Schedule mode]
Select the schedule operation.
Off: Do not perform the schedule operation.
Alarm permission (Terminal alarm 1,2,3):
Allow the terminal to input an alarm during the
set range of the schedule.
Alarm permission (Terminal alarm 1):
Allow Terminal 1 to input an alarm during the
set range of the schedule.
Alarm permission (Terminal alarm 2):
Allow Terminal 2 to input an alarm during the
set range of the schedule.
Alarm permission (Terminal alarm 3):
Allow Terminal 3 to input an alarm during the
set range of the schedule.
VMD permission:
Allow VMD during the set range of the
schedule.
Preset position: 1 to Preset position: 8:
After the time is set for the schedule, it moves
to the position selected from the preset
position registered in advance.
[Schedule]
Check the boxes for the day you want to set the
schedule range. Set the start time and the end time
when you want to specify a time period. Check "24 h"
when the time period is not set.
■
Camera selection
Select the camera to which the setting of the
"Schedule" is to be sent. Mark the checkbox of the
camera to which the setup information is to be
transmitted.
[Transmission] button
Transmit the setting of the "Schedule" to the camera.
Once transmission is completed and the setting has
been applied to the camera, "OK" will be displayed in
the "Results" field. If the display reads "Authentication
error", etc., the camera connection or the setting may
have failed.
[Back] button
Click the button after completing the settings. The
screen returns to the [Camera setup] tab.
[Setup via recorder's main monitor]


