MX8000 Installation and Operation Guide
4–12
Table 4–6: Printer Menu Choices (cont’d)
Printer Menu
Choice 1
Choice 2
Comments
Date/Time
Y or N
Format Type
Y or N
Ref Number
Y or N
Call Sep
Y or N
Device Num
Y or N
Edit Evnt Format
Prt Condensed
Y or N
Y Indicates that this item will print on a report.
N Indicates that this item will not print on a
report.
Default setting is Y for all edit event format
options.
These settings are saved to flash memory.
Line Terminator
CR or CRLF
CR = Carriage return.
CRLF = Carriage return and Line feed.
Offline Time
0 - 60 seconds
Offline time is how long the receiver will wait
before giving a trouble indication after
communication is lost with the printer. The default
setting is 2 seconds. (30 second maximum for UL
applications.)
Config Printer
Switch Delay
Time
0 - 60 seconds
Switch delay time is the duration the receiver will
wait before switching to the backup printer after
communication is lost with the primary printer. The
default setting is 20 seconds.
4.6.8.1 Print
Report
<Printer Menu>
1=Print Report
2 Edit Evnt Format
3 Config Printer
<Print Report>
1=Call History
2 System History
3 System Config
<Print Report>
4 Test Page
< Exit menu
¯
¯
1
5=LC Statistics
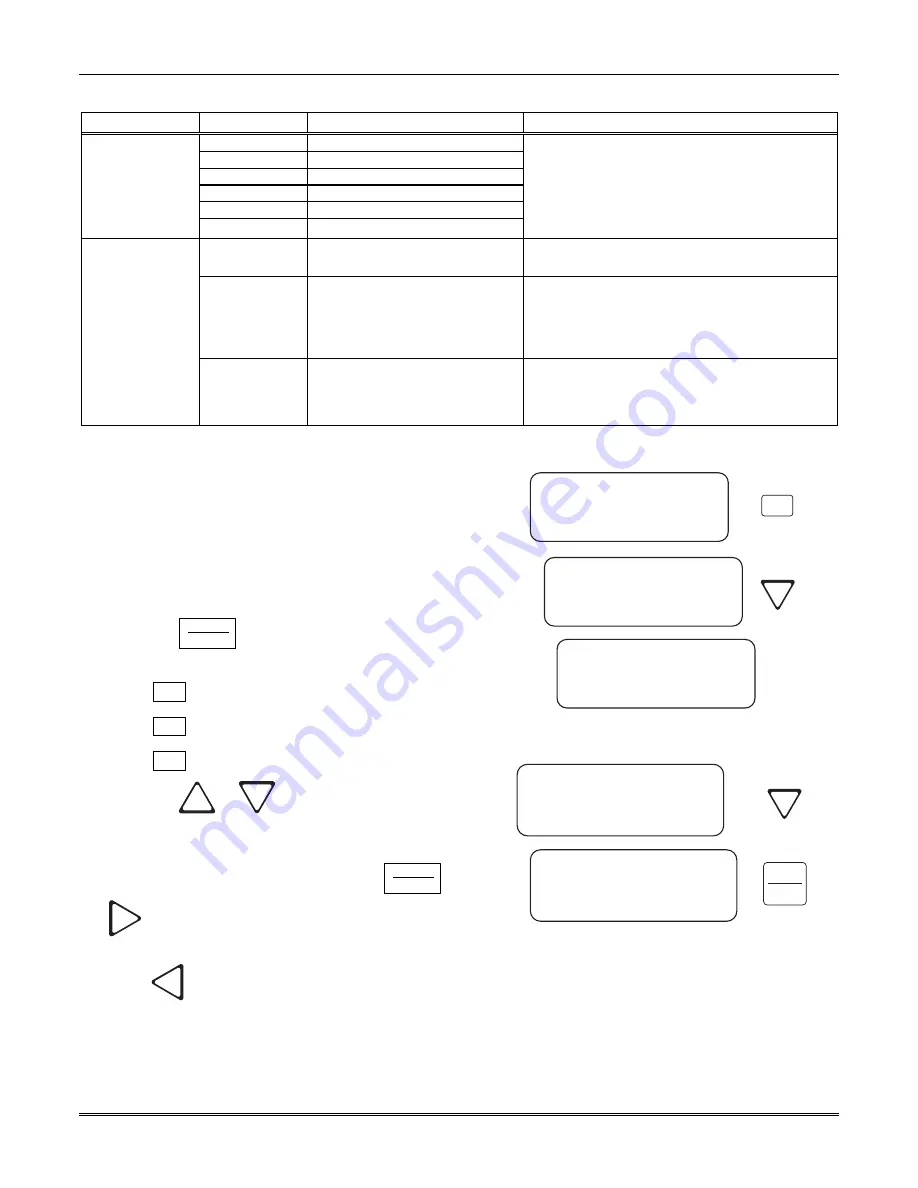
Figure 4–13: Print Report Menu Items
Through the print report option you can choose to print
the call history, system history, system configuration
information, or just print a test page.
How to Print Call History
Follow these steps to print the call history:
1. Log on to the receiver (see Section 4.4.4 for log on
procedure).
2. Press
the
ENTER
MENU
button to view the main menu
items.
3. Press
6
for the printer menu. (See Figure 4–12.)
4. Press
1
for print report menu. (See Figure 4–13.)
5. Press
1
for call history options.
6. Press
the
or
button to move through the
call history menu choices. See Figure 4–14.
7. When the equal sign highlights the call history items
you desire to print for this report press
ENTER
MENU
or
to toggle the setting between Y (yes print) or N
(don’t print).
8. Press
to exit menu.
<Call History>
01=Priority #1 [Y]
02 Priority #2 [Y]
03 Priority #3 [Y]
<Call History>
04=Priority #4 [Y]
05 Priority #5 [Y]
< Exit Menu
¯
ENTER
MENU
Figure 4–14: Call History Options
How to Print System History
Follow these steps to print the system history:
1. Log on to the receiver (see Section 4.4.4 for log on procedure).


