53
_____________________________________________________________________________________________
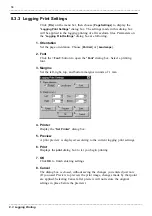
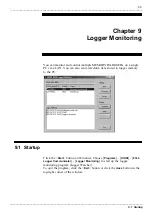
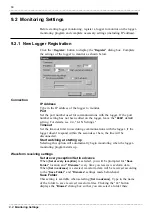
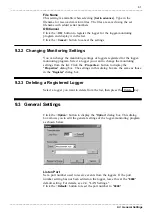
8.1 Detail Printing
______________________________________________________________________________________________
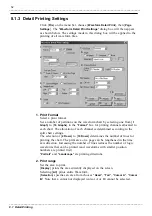
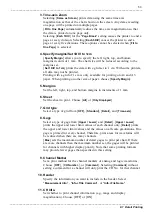
3. Time-axis Zoom
Selecting [
Same as Screen
] prints data using the same time axis
magnification as that of the chart shown on the screen. Any data exceeding
one page will be printed on multiple pages.
[
Fit to One Page
] automatically reduces the time axis magnification so that
the data is printed on one page only.
Selecting [
Each 1DIV
] for the "
Page Break
" setting causes the printer to end a
page at every division. Selecting [
Each 5DIV
] causes the printer to end a
page at every five divisions. These options cannot be selected when [
Fit to
One Page
] is selected.
4. Specify margins/Set 1DIV to 1cm
[
Specify Margin
] allows you to specify the left, right, top, and bottom
margins in units of 1 mm. The chart size will be reduced according to the
margins set.
[
Set 1DIV to 1cm
] prints the data with a grid set to 1 cm. With some printers,
all data may not be printed.
Printing with a grid of 1 cm is only available for printing on A4 and A3
paper. When printing on other size of paper, choose [
Specify Margin
].
5. Margins
Set the left, right, top, and bottom margins in increments of 1 mm.
6. Sheet
Set the sheet to print. Choose [
All
] or [
Only Displayed
].
7. Grid type
Select a type of grid from [
OFF
], [
Standard
], [
Detail
], and [
Time-axis
].
8. Gage
Select a type of gage from [
Upper / Lower
] and [
Detail
]. [
Upper / Lower
]
prints the upper and lower limit values of each channel only. [
Detail
] prints
the upper and lower limit values and the values on all scale graduations. One
gage is printed for every channel. Therefore, print areas for waveforms will
be reduced when there are many channels.
[
Max
] sets the maximum number of detail gages to print per chart. If there
are more channels than the maximum number set, the gages will be printed
for channels with higher display priority. Note that some printing formats
may provide fewer gages than specified in this setting.
9. Channel Marker
Set a print method for the channel markers of analog and logic waveforms.
Choose [
OFF
], [
CH Number.
], or [
Comment
]. Selecting [
Comment
] without
setting a comment for a channel will only print the CH No. for that channel.
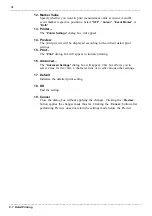
10. Header
Specify the information you want to include in the header. Select
"
Measurement Info.
", "
Info.+Title Comment
", or "
Info.+File Name.
"
11. CH Info.
Set whether to print channel information (e.g., range and display
magnification). Choose [OFF] or [ON].

