26
_____________________________________________________________________________________________
5.2 Making Changes to the Time Axis
______________________________________________________________________________________________
5.1.3 Applying Display Conditions to Measurement Settings
5.2.1 Changing the Size of the Time Axis
5.2.2 Changing the Format of the Time Axis
5.2 Making Changes to the Time Axis
Upon opening an HLW file, you can apply the display conditions for the
waveform viewer to the measurement settings of real-time data acquisition,
so that when real-time data acquisition is next performed, the waveforms are
viewed under current display conditions.
While the waveform of an HLW file is displayed, click [
Measurement
] on
the menu bar, then click [
Apply Display Conditions
]. The display conditions
will then be applied to settings for the measurement system to which the
same MEMORY HiLOGGER is registered. The same MEMORY
HiLOGGER means the logger used when the HLW file is created (when
performing real-time data acquisition).
The display conditions applied are only those that can be edited in the
"
Measurement Settings
" dialog box.
On the [
View
] menu, click [
Zoom In
] or [
Zoom Out
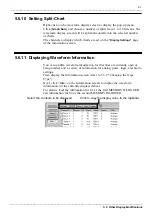
]. The time axis is
magnified or reduced.
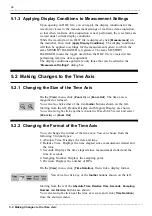
You can also click either of the two
toolbar
buttons shown on the left.
Starting from the left: Reduce Display and Magnify Display are shown.
You can also right-click anywhere inside the Waveform Viewer and select
[
Zoom In
] or [
Zoom Out
].
You can change the format of the time axis. You can choose from the
following 5 format types:
1. Absolute Time: Displays the date and time.
2. Relative Time: Displays the time elapsed since measurement started and
the time.
3. Seconds: Displays the time elapsed since measurement started and the
time in seconds.
4. Sampling Number: Displays the sampling point.
5. Division: Displays the number of DIVs.
On the [
View
] menu, click [
Time Notation
], then click a display format.
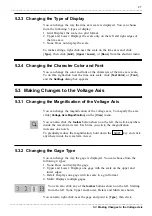
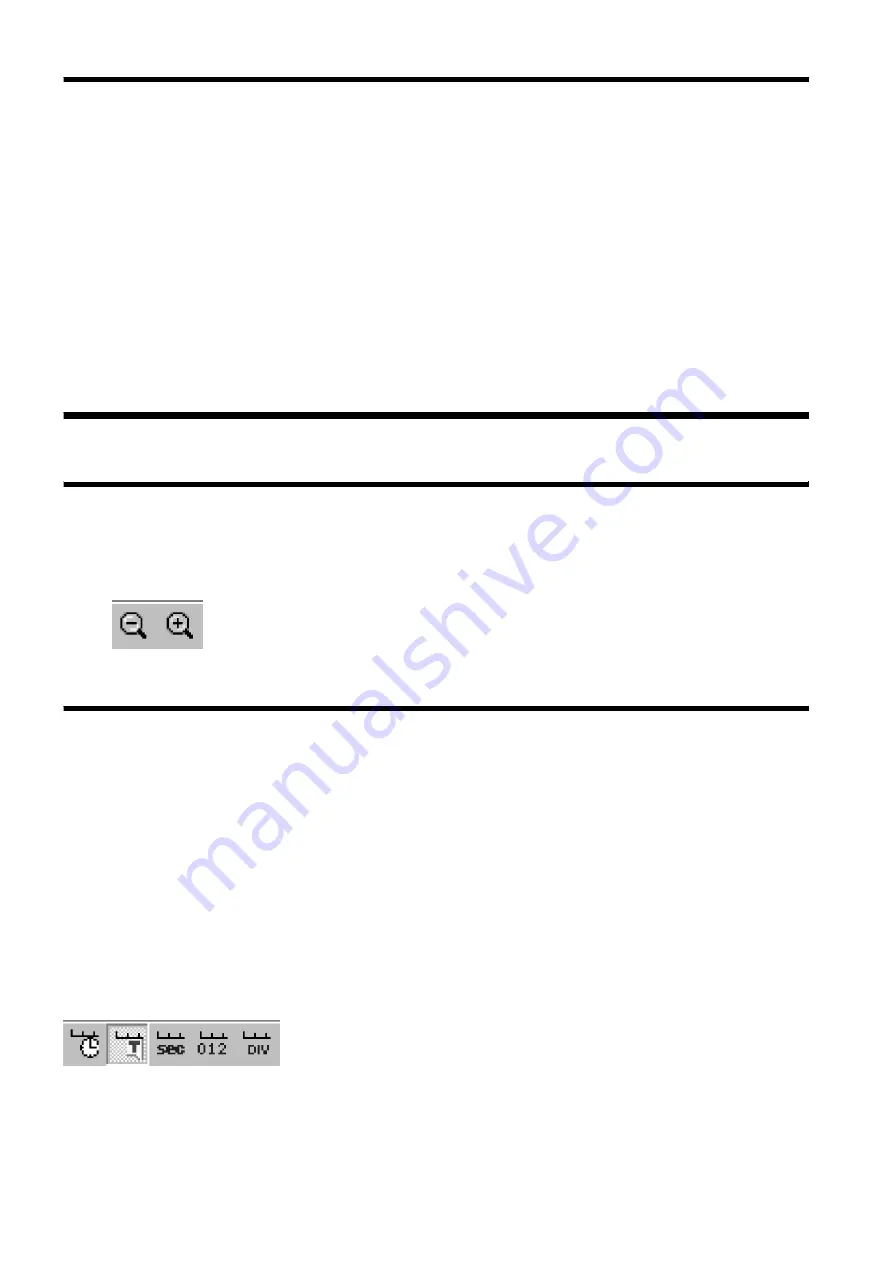
You can also click any of the
toolbar
buttons shown on the left.
Starting from the left: the
Absolute Time
,
Relative Time
,
Seconds
,
Sampling
Number
and
Division
buttons are shown.
You can also right-click near the time axis scale and click [
Time Notation
]
from the shortcut menu.


