12
_____________________________________________________________________________________________
4.1 Preparing for Real-time Data Acquisition
______________________________________________________________________________________________
4.1.1 Measurement System Settings
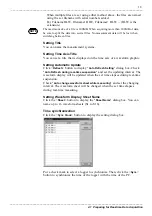
Click one of the measurement system icons (Measurement 1 to Measurement
8) in the tree view of the "
Measurement Settings
" dialog box. The "
Settings
"
page of the clicked measurement system will appear on the right. This page
allows various settings; such as selecting the file for saving acquired data,
the recording interval, and recording period. These settings apply to all
MEMORY HiLOGGERs allocated to the measurement system.
Setting Location and Filename
To set the location and the file for saving acquired data, type in the path and
filename, or use the <
Browse
> button. Click the <
Browse
> button to display
the "
Browse
" dialog box and choose the folder there.
Setting Recording Interval
Select a recording interval from the following presets:
100 ms, 200 ms, 500 ms, 1 s, 2 s, 5 s, 10 s, 20 s, 30 s, 1 min., 2 min., 5
min., 10 min., 20 min., 30 min., and 1 hr.
Setting Split Screen
Select the number of split screens from the following presets:
1, 2, 4, 8, and 16
Setting Recording Period
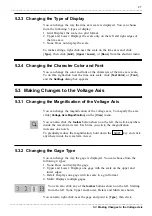
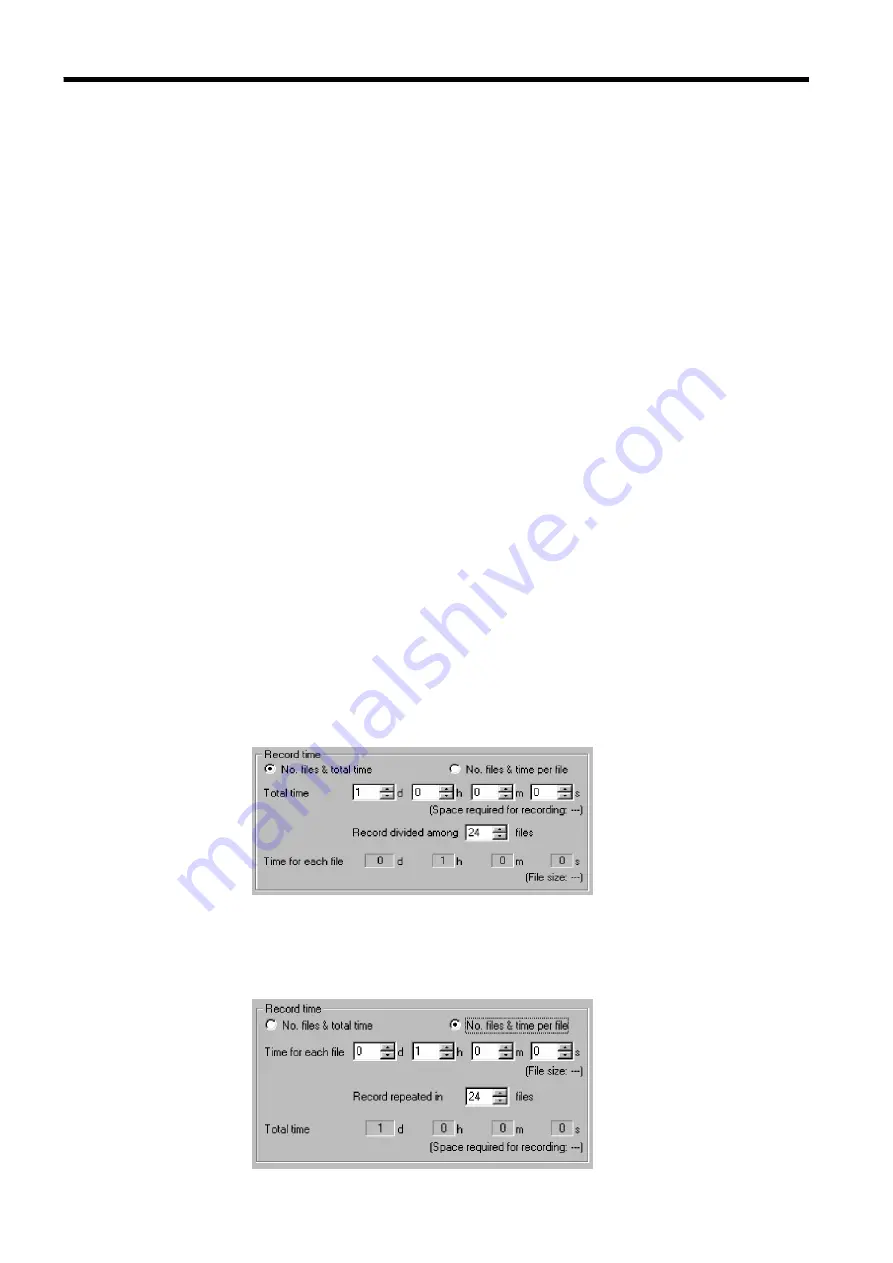
There are two methods of setting the recording period: selecting the number
of files that segmentize the Total Time, and selecting the number of files
with recording time per file.
1. No. files & total Time
Set the total recording time and number of files for recording data within
the time. For example, if the total recording time is set to one day and the
number of files is set to 24, data is recorded in each file for one hour.
2. No. files & time per file
Set the recording time for one file and number of files. For example, if the
recording time for one file is set to 1 hour and the number of files is set
to 24, data is recorded in each file for one hour.

