18
_____________________________________________________________________________________________
4.1 Preparing for Real-time Data Acquisition
______________________________________________________________________________________________
4.1.5 Saving a Setting File
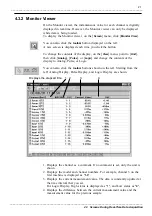
Setting Display Sheet
On the "
Settings
" page for each analog or pulse channel or the logic
"
Settings
" page, you can set the display sheet used to display the waveform.
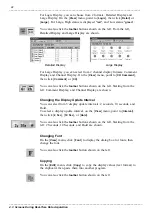
Click the <
Sheet
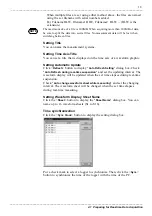
> button to display the "
Select Sheet
" dialog box. Check the
sheet you want to use to display the channel. You can display a waveform
on multiple sheets.
Setting ON/OFF Calculation Threshold
The "
Settings
" page for each analog channel allows you to set the threshold
for ON/OFF calculation. For details, see 5.4.4, "Displaying Cursor Interval
Calculation Results."
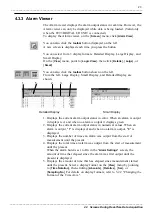
Setting Sound Alarm
The "
Settings
" page for the alarm allows you to set the sound alarm function
(i.e., playing back a WAV file at alarm output).
Check <
Sound Alarm
> and set the WAV file. To set the file, type in the path
of the file or use the <
Browse
> button. Click the <
Browse
> button to display
the "
Open
" dialog box, then choose a WAV file there.
To play back a WAV file, a soundboard must be installed on the PC.
Setting Trigger
The same trigger settings as the Memory HiLOGGER is possible, but some
settings are not applicable in the real-time data acquisition.
For details, see 4.2.1, "Starting Real-Time Data Acquisition".
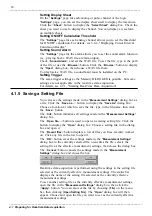
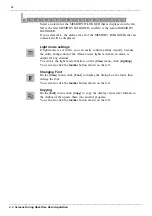
You can save the settings made in the "
Measurement Settings
" dialog box as
a file. Click the <
Save as...
> button to display the "
Save As
" dialog box.
Choose a location at which to save the file, type in the filename, then click
the <
Save
> button.
The <
Init
> button initializes all settings made in the "
Measurement Settings
"
dialog box.
The <
Open file...
> button is used to open an existing setting file. Click the
button to display the "
Open
" dialog box. Choose a setting file in the dialog
box and open it.
The <
Recent files
> button displays a list of files you have recently worked
on. Click any file in the list to open it.
The <
OK
> button saves the settings made in the "
Measurement Settings
"
dialog box to the currently selected file, overwrites the file, selects the
setting file as the effective measurement settings, then closes the dialog box.
The <
Cancel
> button cancels the settings made in the "
Measurement
Settings
" dialog box and closes the box.
Real-time data acquisition is performed using the settings in the setting file
selected as the currently effective measurement settings. The status bar
displays the name of the setting file selected as the currently effective
measurement settings.
To set another setting file as the currently effective measurement settings,
open the file in the "
Measurement Settings
" dialog box, then click the
<
Apply
> button. You can also set the file by choosing [
File
] on the menu
bar, then clicking [
Open Setting File
]. The "
Open
" dialog box will then
appear. Choose and open the file you want to set as the currently effective
measurement settings.

