Button Settings
When the scanner is connected via a USB cable, set the touch screen buttons in the following procedure.
1
Turn on the scanner and confirm that the scanner is connected to the computer.
For details about how to turn on the scanner, refer to
How to Turn the Power ON (page 56)
.
For details about how to connect the scanner to the computer, refer to
Icons on the Touch Screen (page 27)
2
Open the [Control Panel] window.
●
Windows Server 2008 R2/Windows 7
Click [Start] menu → [Control Panel].
●
Windows Server 2012
Right-click the Start screen, and select [All apps] on the app bar → [Control Panel] under [Windows
System].
●
Windows Server 2012 R2/Windows 8.1
Click [↓] on the lower left side of the Start screen → [Control Panel] under [Windows System].
To display [↓], move the mouse cursor.
●
Windows 10/Windows Server 2016/Windows Server 2019
Click [Start] menu → [Windows System] → [Control Panel].
3
Click [View devices and printers].
The [Devices and Printers] window appears.
4
Right-click on the scanner icon, and select [Scan properties] from the displayed menu.
The properties window of the scanner appears.
5
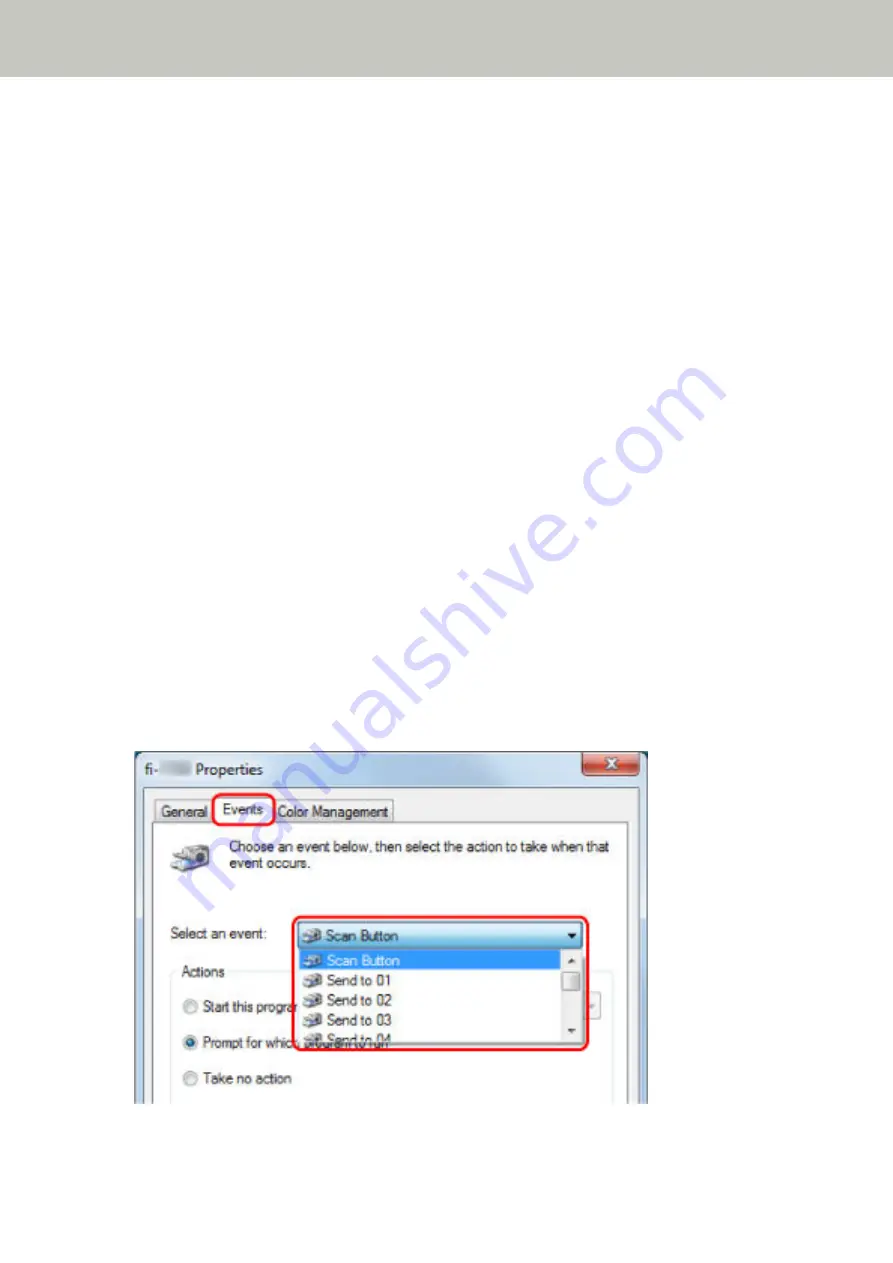
Click the [Events] tab and select a button to be set.
From the [Select an event] drop-down list, select a button.
The following buttons can be selected:
How to Perform a Basic Scan
73
Summary of Contents for fi-7300NX
Page 1: ...P3PC 6192 05ENZ2 FUJITSU Image Scanner fi 7300NX Operator s Guide ...
Page 44: ... Scanner Settings Network Scanner Setup 44 ...
Page 117: ... Documents on which the toner is not sufficiently fused Daily Care 117 ...
Page 257: ...The password is set Scanner Settings Software Operation Panel 257 ...
Page 260: ...The password is set Scanner Settings Software Operation Panel 260 ...
Page 314: ...Outer Dimensions The outer dimensions are as follows Unit mm in Appendix 314 ...


