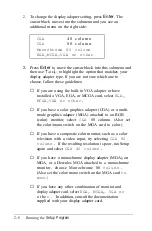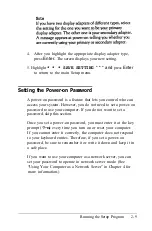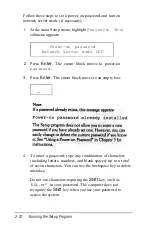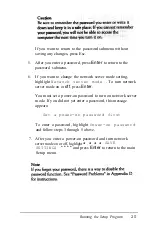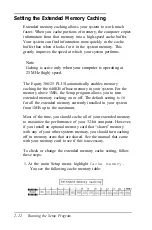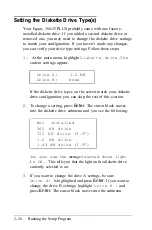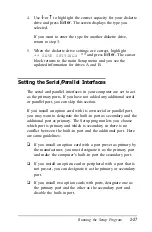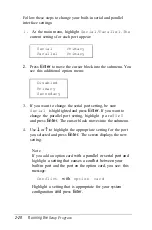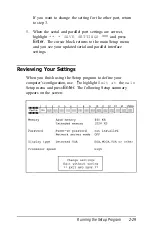
5.
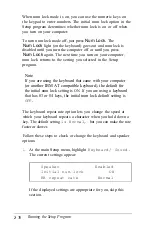
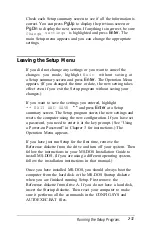
If you have disconnected the drive or if the drive does not
exist, highlight None and press
Enter.
All the drive
settings become 0. Go to step 8.
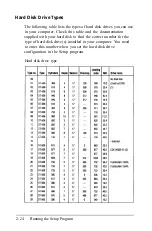
If your hard disk matches one of the drive types listed in the
Hard Disk Drive Types table, go to step 6.
If your hard disk does not match one of the drive types listed
in the Hard Disk Drive Types table, go to step 7.
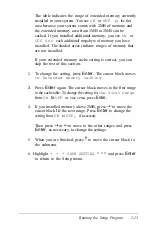
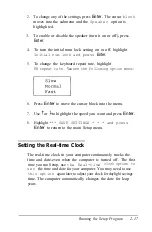
6.
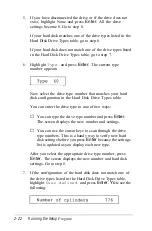
Highlight
Type
and press
Enter.
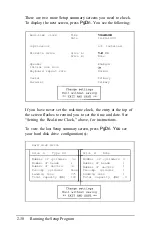
The current type
number appears:
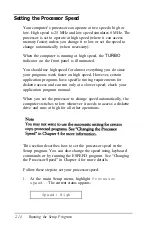
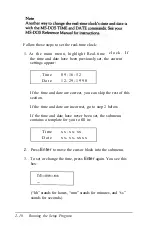
Now select the drive type number that matches your hard
disk configuration in the Hard Disk Drive Types table.
You can enter the drive type in one of two ways:
❏
You can type the drive type number and press
Enter.
The screen displays the new number and settings.
❏
You can use the cursor keys to scan through the drive
type numbers. This is a handy way to verify new hard
disk settings before you press
Enter
because the settings
list is updated as you display each new type.
After you select the appropriate drive type number, press
Enter.
The screen displays the new number and hard disk
settings. Go to step 8.
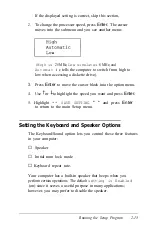
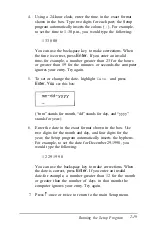
7.
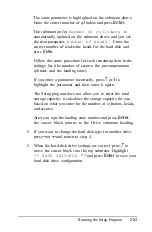
If the configuration of the hard disk does not match one of
the drive types listed in the Hard Disk Drive Types table,
highlight
User defined
and press
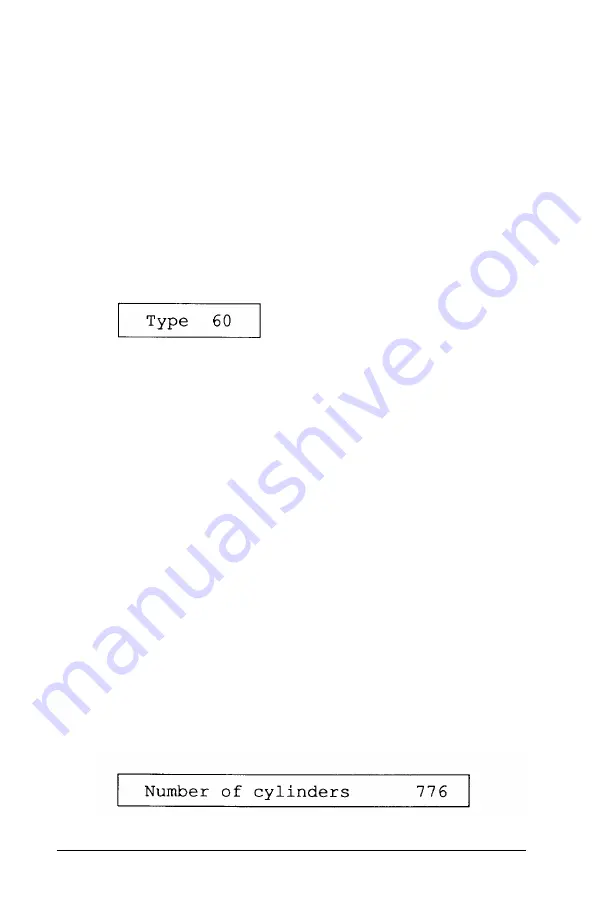
Enter. You
see the
following:
2-22
Running the Setup
Program
Summary of Contents for Equity 386/25
Page 1: ......
Page 3: ......
Page 14: ...xii ...
Page 20: ...6 lntroduction ...
Page 63: ...Hard disk drive types continued Running the Setup Program 2 25 ...
Page 142: ...5 34 lnstalling and Removing Options ...
Page 248: ...C 14 Physically Formatting a Hard Disk ...
Page 298: ...F 6 Specifications ...
Page 326: ......

