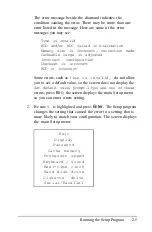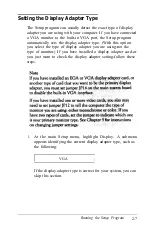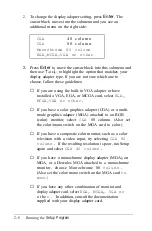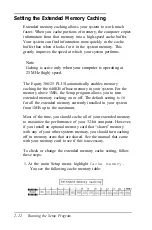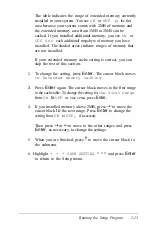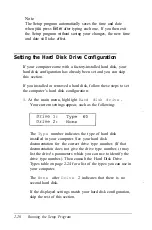
The table indicates the range of extended memory currently
installed in your system. You see
ON
or
OFF in
the first
area because your system comes with 2MB of memory and
the extended memory area from 1MB to 2MB can be
cached. If you installed additional memory, you see
ON
or
OFF for
each additional megabyte of memory you have
installed. The shaded areas indicate ranges of memory that
are not installed.
If your extended memory cache setting is correct, you can
skip the rest of this section.
2.
To change the setting, press
Enter.
The cursor block moves
to Extended memory caching.
3.
Press
Enter
again. The cursor block moves to the first range
in the cache table. To change the setting for
the first range
from
ON
to
OFF
or vice versa, press
Enter.
4.
If you installed memory above 2MB, press to move the
cursor block
to
the next range. Press
Enter
to change the
setting from
ON
to
OFF,
if necessary.
Then press or to move to the other ranges and press
Enter,
as necessary, to change the settings.
5.
When you are finished, press to move the cursor block to
the submenu.
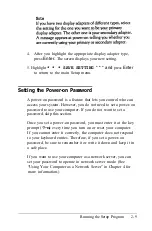
6. Highlight
* * *
SAVE SETTING
* * * and press
Enter
to return to the Setup menu.
Running the Setup Program
2-13
Summary of Contents for Equity 386/25
Page 1: ......
Page 3: ......
Page 14: ...xii ...
Page 20: ...6 lntroduction ...
Page 63: ...Hard disk drive types continued Running the Setup Program 2 25 ...
Page 142: ...5 34 lnstalling and Removing Options ...
Page 248: ...C 14 Physically Formatting a Hard Disk ...
Page 298: ...F 6 Specifications ...
Page 326: ......

