

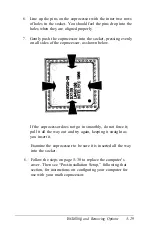


6.
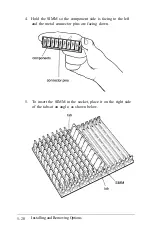
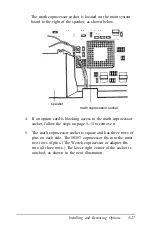
Line up the pins on the coprocessor with the inner two rows
of holes in the socket. You should feel the pins drop into the
holes when they are aligned properly.
7.
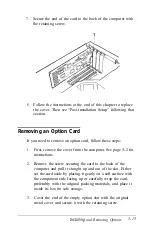
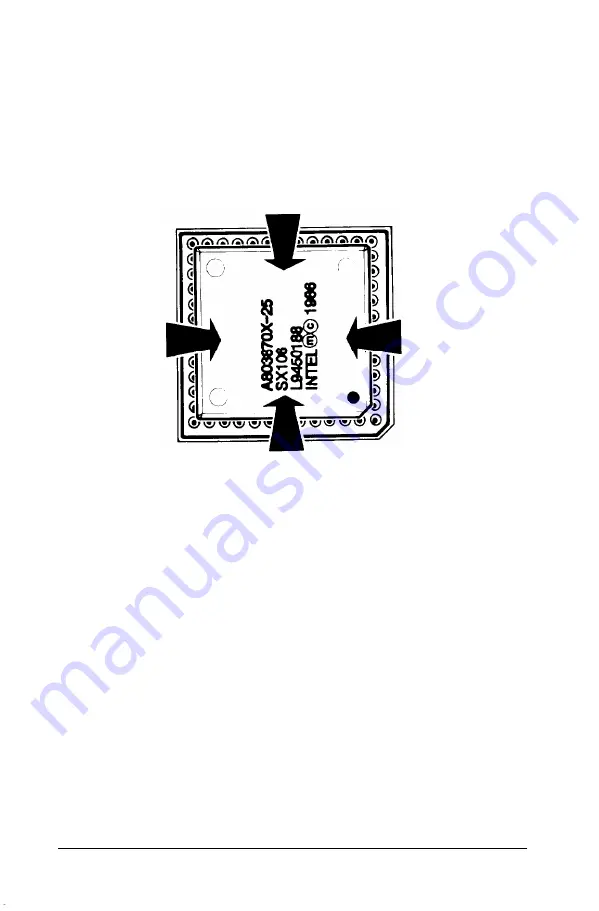
Gently push the coprocessor into the socket, pressing evenly
on all sides of the coprocessor, as shown below.
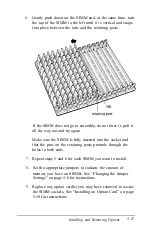
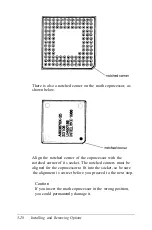
If the coprocessor does not go in smoothly, do not force it;
pull it all the way out and try again, keeping it straight as
you insert it.
Examine the coprocessor to be sure it is inserted all the way
into the socket.
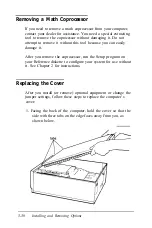
8.
Follow the steps on page 5-30 to replace the computer’s
cover. Then see “Post-installation Setup,” following that
section, for instructions on configuring your computer for
use with your math coprocessor.
Installing
and Removing Options
5-29
Summary of Contents for Equity 386/25
Page 1: ......
Page 3: ......
Page 14: ...xii ...
Page 20: ...6 lntroduction ...
Page 63: ...Hard disk drive types continued Running the Setup Program 2 25 ...
Page 142: ...5 34 lnstalling and Removing Options ...
Page 248: ...C 14 Physically Formatting a Hard Disk ...
Page 298: ...F 6 Specifications ...
Page 326: ......