
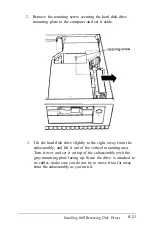

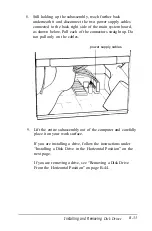
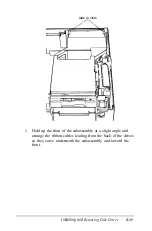


8.
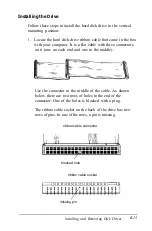
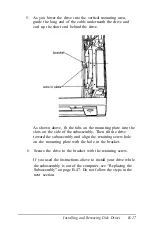
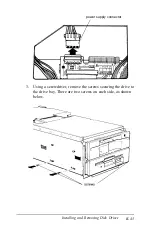
Still holding up the subassembly, reach further back
underneath it and disconnect the two power supply cables
connected to the back right side of the main system board,
as shown below. Pull each of the connectors straight up. Do
not pull only on the cables.
power supply cables
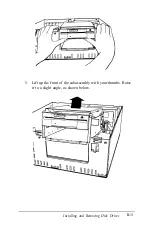
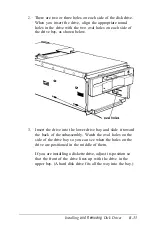
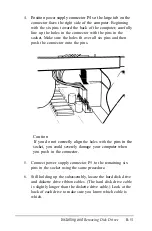
9.
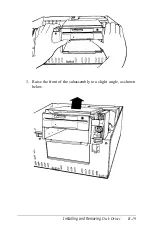
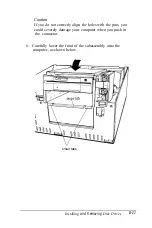
Lift the entire subassembly out of the computer and carefully
place it on your work surface.
If you are installing a drive, follow the instructions under
“Installing a Disk Drive in the Horizontal Position” on the
next page.
If you are removing a drive, see “Removing a Disk Drive
From the Horizontal Position” on page B-44.
Installing and Removing
Disk Drives
B-33
Summary of Contents for Equity 386/25
Page 1: ......
Page 3: ......
Page 14: ...xii ...
Page 20: ...6 lntroduction ...
Page 63: ...Hard disk drive types continued Running the Setup Program 2 25 ...
Page 142: ...5 34 lnstalling and Removing Options ...
Page 248: ...C 14 Physically Formatting a Hard Disk ...
Page 298: ...F 6 Specifications ...
Page 326: ......