e
Select
Save
, and then press the [
] button.
To register additional schedules, repeat steps 3 to 5.
f
Select
Setup complete
, and then select
Yes
to finish saving.
a
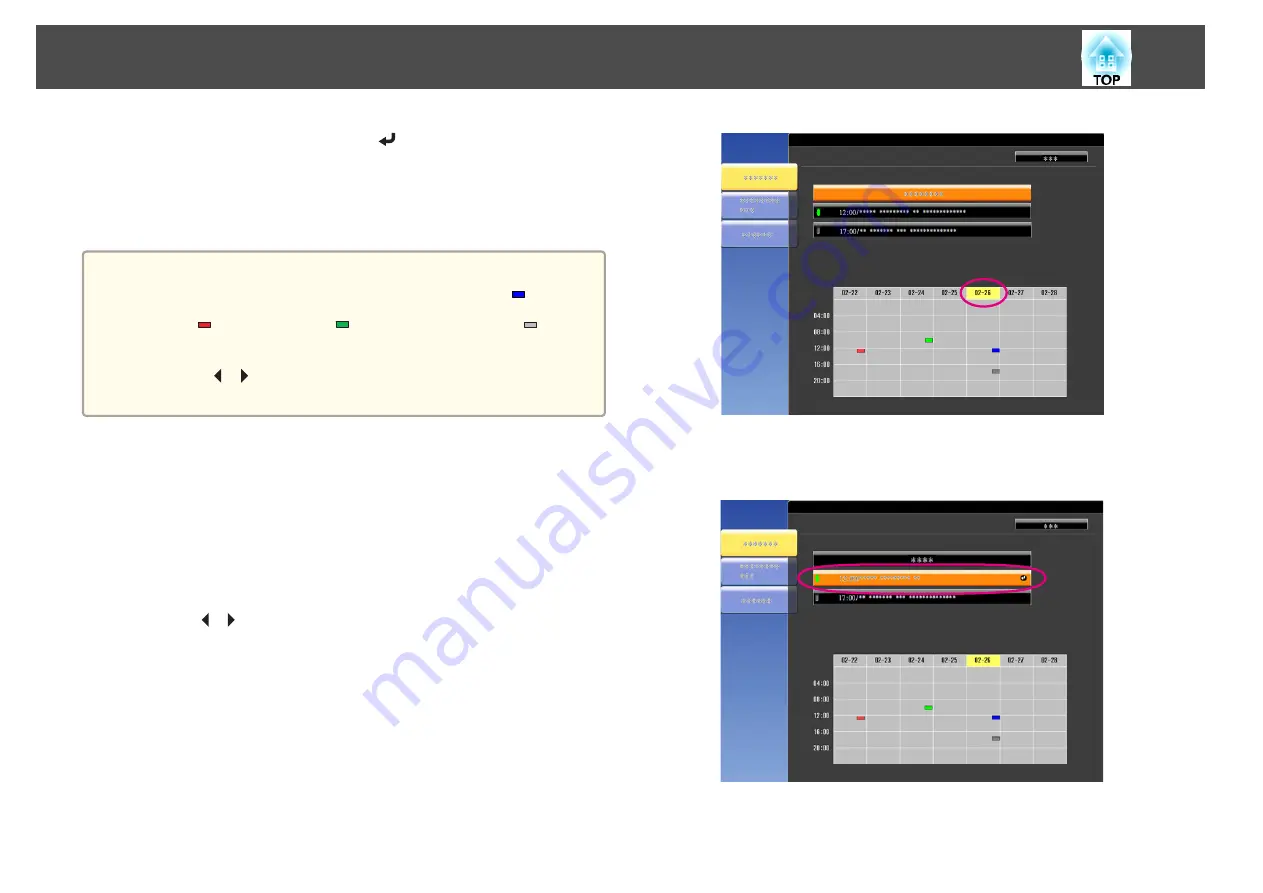
A calendar is displayed on the
Schedule Settings
screen (the screen in
step 3). The indicator turns on when an event is saved. (
: one-time
event;
: periodic event;
: communication on/off;
: event
invalid)
Use the [
][
] buttons to highlight and check the schedule
registered for that day.
Editing a schedule
a
Press the [Menu] button while projecting.
s
"Using the Configuration Menu"
b
Select
Schedule Settings
from
Extended
.
c
Use the [
][
] buttons to highlight the date containing the
schedule you want to edit.
d
Highlight the schedule you want to edit, and then press the [Esc]
button.
Scheduling Function
76
Summary of Contents for EB-G6800
Page 1: ...User s Guide ...
Page 7: ...Introduction This chapter explains the names for each part ...
Page 18: ...c Pull the lens unit straight out as it is released Part Names and Functions 18 ...
Page 39: ...Basic Usage This chapter explains how to project and adjust images ...
Page 83: ...Configuration Menu This chapter explains how to use the Configuration menu and its functions ...
Page 137: ...Appendix ...


