b
Select
Multi-Projection
from
Extended
.
c
Select
Multi-screen
, and then press the [
] button.
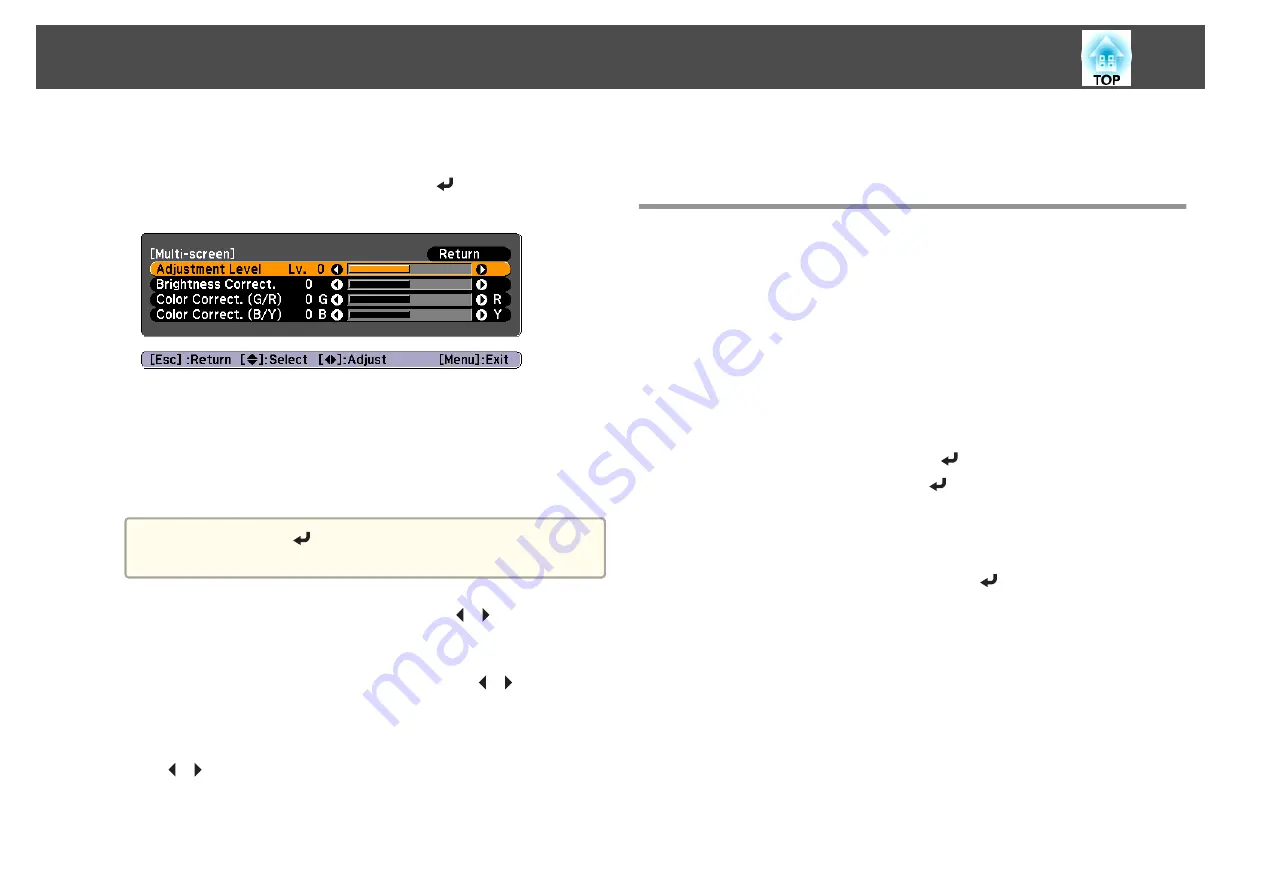
The following screen is displayed.
Adjustment Level
: There are five levels from white, gray, and up to
black. Adjust each level individually.
Brightness Correct.
: Adjust from black to white for each color tone.
Color Correct. (G/R)
: Adjust the color tone for green and red.
Color Correct. (B/Y)
: Adjust the color tone for blue and yellow.
a
Whenever the [
] button is pressed, the screen changes
between the projected image and the adjustment screen.
d
Select
Adjustment Level
, and then use the [
][
] buttons to set
the adjustment level.
e
Select
Brightness Correct.
, and then use the [
][
] buttons to
adjust the brightness.
f
Select
Color Correct. (G/R)
or
Color Correct. (B/Y)
, and then use
the [
][
] buttons to adjust the color.
g
Return to step 4 and adjust each level.
h
When you are done, press the [Menu] button to exit the correction
menu.
Scaling an Image (Scale)
A section of the image is cropped and displayed. This allows you to create
one large image by combining images projected from multiple projectors.
a
Press the [Menu] button while an image is being projected.
s
"Using the Configuration Menu"
b
Select
Scale
from
Signal
.
c
Set
Scale
to
On
.
(1)
Select
Scale
, and then press the [
] button.
(2)
Select
On
, and then press the [
] button.
(3)
Press the [Esc] button to return to the previous screen.
d
Set
Scale Mode
.
(1)
Select
Scale Mode
, and then press the [
] button.
Multi-Projection Function
64
Summary of Contents for EB-G6800
Page 1: ...User s Guide ...
Page 7: ...Introduction This chapter explains the names for each part ...
Page 18: ...c Pull the lens unit straight out as it is released Part Names and Functions 18 ...
Page 39: ...Basic Usage This chapter explains how to project and adjust images ...
Page 83: ...Configuration Menu This chapter explains how to use the Configuration menu and its functions ...
Page 137: ...Appendix ...


