


14
www.digiop.com
SECTION 2: INSTALLATION
WARNING
!
When you change the IP address on a DIGIOP® 3D camera and click
Save
, you will lose connectivity to that camera for
several seconds while it re-configures itself with the new network settings. To reconnect to the camera, enter the new IP
address into the URL address bar of the browser and press enter to reconnect.
If you are assigning the camera to a different subnet, you will lose connectivity to the camera until you connect the to the
camera to the assigned subnet and access it there, or until you modify your PC‘s network settings to include the subnet.
The camera is now ready to be connected to the network using its new IP address and etwork configuration. Disconnect all cables
and prepare for mounting the camera.
7.
Complete the steps in this section for each additional DIGIOP® 3D camera being installed.
8.
Set the network configuration of your PC back to its original settings.
2.2 Mount the DIGIOP® 3D camera
This section describes some basic mounting guidelines for mounting DIGIOP® 3D camera.
NOTE
Before mounting any camera(s), you should check the
Camera/Lens Selection Tables
in the appendix of this document
to ensure that you are using the appropriate lens for your installation height and door width.
WARNING
!
If you are mounting the DIGIOP® 3D camera outdoors,refer to
Eliminating Tracking Disabled Messages
in the
appendix of this document to configure the camera for outdoor tracking.
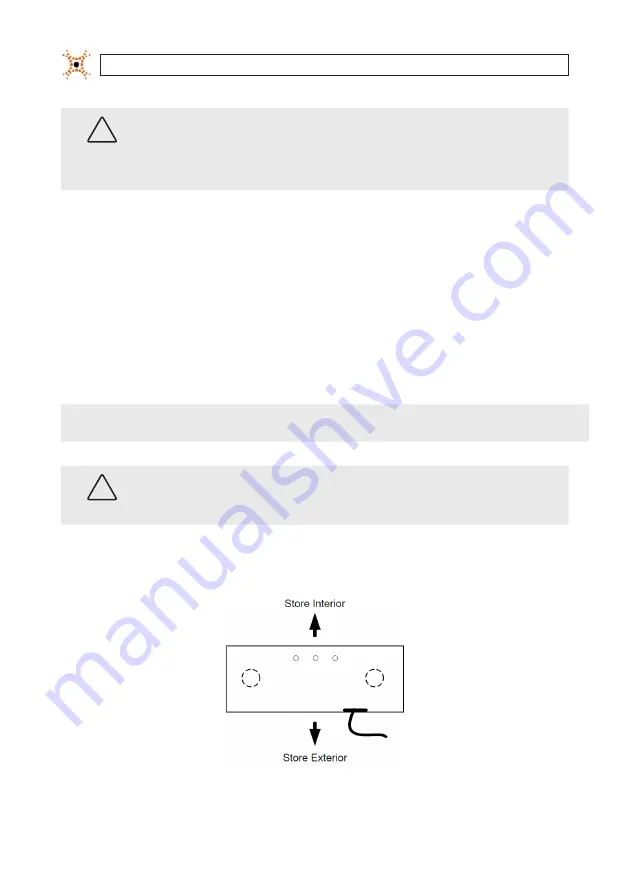
The camera should be mounted so that the camera lens coverage area is of maximum width in respect to the entry way (see the
figures
Camera Orientation
– Top View
and
Sample Coverage Area
.
Camera Orientation – Top View


