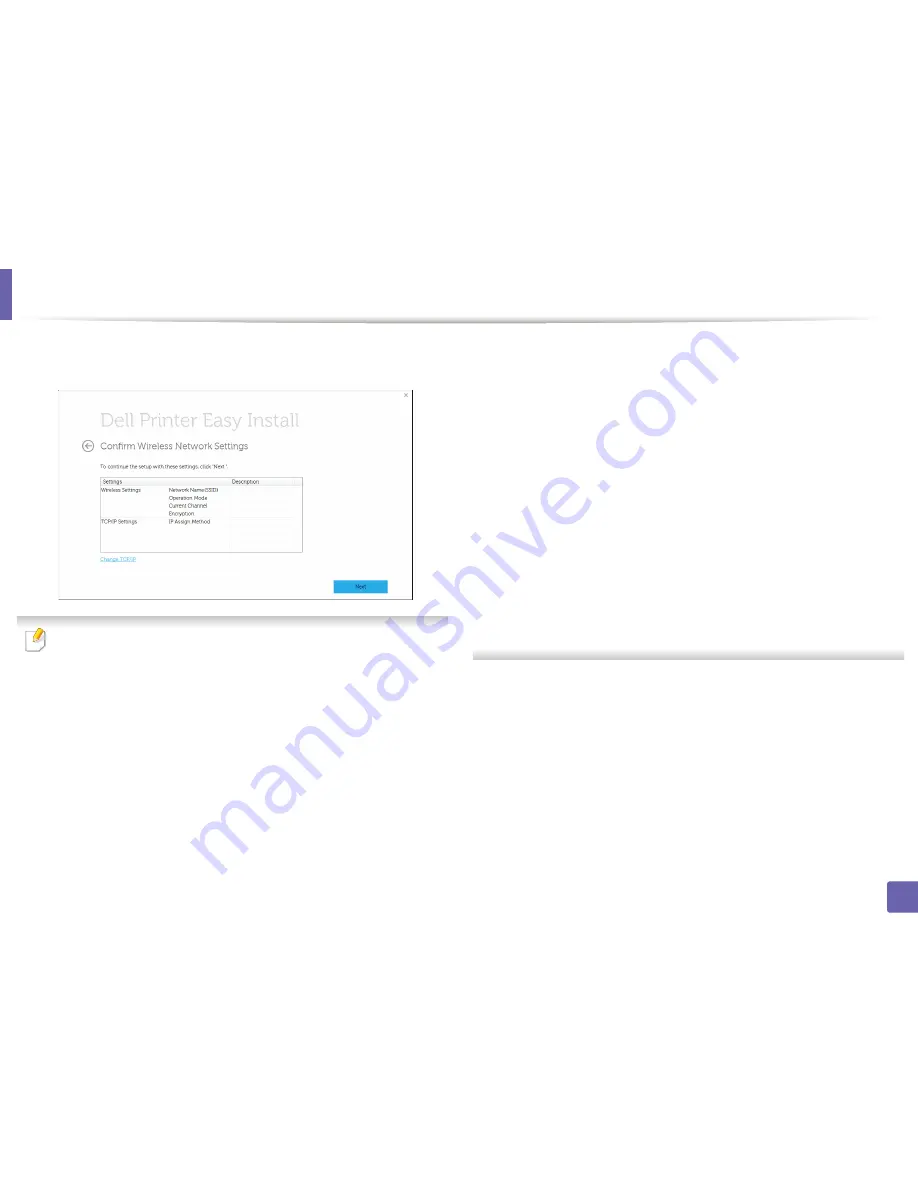
9
Wireless network setup
The
Confirm Wireless Network Settings
window appears. Click the
settings and click
Next
.
If you want to change TCP/IP settings, click
Change TCP/IP
Before entering the IP address for the machine, you must know the
computer’s network configuration information. If the computer’s network
configuration is set to DHCP, the wireless network setting should also be
DHCP. Likewise, if the computer’s network configuration is set to Static, the
wireless network setting should also be Static.
If your computer is set to DHCP and you want to use the Static wireless
network setting, you must contact the network administrator to get the
static IP address.
•
Receive IP address automatically (DHCP)
If the IP address assignment method is DHCP, check if DHCP is shown in
the
Confirm Wireless Network Settings
window. If it shows Static, click
Change TCP/IP
to change the assignment method to
Receive IP
address automatically (DHCP)
.
•
Use static address
If the IP address assignment method is Static, check if Static is shown in
the
Confirm Wireless Network Settings
window. If it shows DHCP, click
Change TCP/IP
to enter the IP address and other network configuration
values for the machine.
For example:
If the computer’s network information is as shown follows:
-
IP address: 169.254.133.42
-
Subnet Mask: 255.255.0.0
Then, the machine’s network information should be as below:
-
IP address: 169.254.133.
43
-
Subnet Mask: 255.255.0.0 (Use the computer’s subnet mask.)
-
Gateway: 169.254.133.
1
When the wireless network settings are completed, disconnect the USB
10
cable between the computer and machine. Click
Next
.
Click
Next
when the
Install Printer Driver
window appears.
11
Select the components to be installed. Click
Next
.
12
After selecting the components, you can also change the machine name,
13
set the machine to be shared on the network, set the machine as the
default machine, and change the port name of each machine. Click
Next
.
2. Using a Network-Connected Machine
164
Summary of Contents for B1265DFW
Page 21: ...13 Control panel overview Adjusting the control panel 1 Introduction 21 ...
Page 22: ...Turning on the machine Connect the machine to the electricity supply first 1 Introduction 22 ...
Page 39: ...I Media and tray 2 Menu overview and basic setup 39 ...
Page 85: ...2 Clearing original document jams Original paper jam inside of scanner 4 Troubleshooting 85 ...
Page 88: ...5 Clearing paper jams In the manual tray 4 Troubleshooting 88 ...
Page 90: ...7 Clearing paper jams In the exit area 4 Troubleshooting 90 ...
Page 91: ...1 1 2 2 8 Clearing paper jams In the duplex unit area 4 Troubleshooting 91 ...


