UNITIZED TRANSAXLE
Unitized Transaxle Disassembly
Page 16-14 2001 Pioneer 900 Gasoline Vehicle Maintenance and Service Manual
16
Unitized Transaxle Removal, Continued:
UNITIZED TRANSAXLE DISASSEMBLY
Read DANGER and WARNING on page 16-1.
NOTE: The following information provides instructions for disassembling the unitized transaxle; however, the
transaxle case can be separated and gears accessed without removing the axles or axle tubes from
the case.
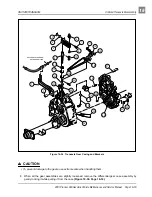
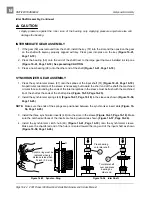
1. Remove the drain plug and gasket. Drain and dispose of the oil properly (Figure 16-2, Page 16-2).
2. Using 90° (.090 tip) internal snap ring pliers, remove the internal retaining rings from the axle tubes
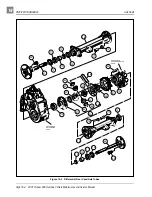
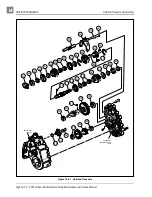
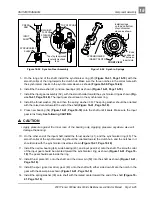
3. Pull the axles (67 and 68) out of the axle tubes (Figure 16-5, Page 16-4).
4. Remove seven bolts (77), with lock washers (78), mounting each axle tube to the transaxle case (Fig-
ure 16-5, Page 16-4). Then remove axle tubes and the differential guard from the transaxle case. See
following NOTE.
NOTE: It may be necessary to tap the axle tube with a rubber or plastic mallet to break it free from the tran-
saxle case.
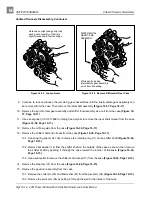
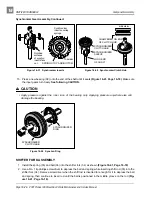
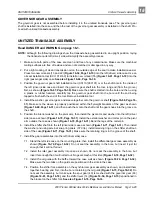
5. Remove the fifteen bolts (27) that hold the transaxle housing together (Figure 16-34, Page 16-15).
6. The unitized transaxle is equipped with a slot for prying the housing apart. Use the slot to open the
case. Pull the housing apart, making sure all gear assemblies inside the transaxle stay together in one
(either) side of the case. See following CAUTION.
∆ CAUTION
• To prevent damage to the mating seal surfaces of the case, use care when separating the halves.
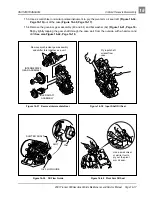
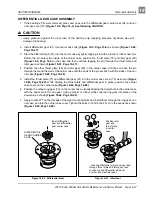
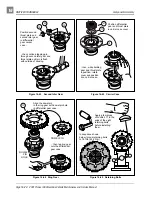
7. Turn the case section containing the gearing on edge as shown (Figure 16-35, Page 16-16). While
holding it in this position, gently rock all the gear assemblies to slightly loosen them in their seating.
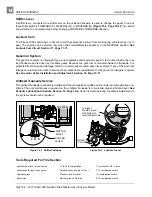
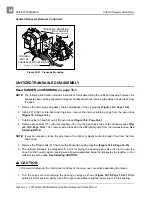
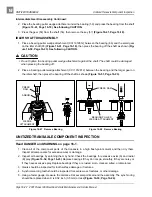
Figure 16-33 Transaxle Mounting
ClubCar
ClubCar
WOODEN
BLOCKS
TRANSAXLE MOUNTING NUT
TRANSAXLE MOUNTING
BOLT AND NUT
(TYPICAL 4 PLACES)
(TYPICAL 2 PLACES)


