FE350 ENGINE
General Information
2001 Pioneer 900 Gasoline Vehicle Maintenance and Service Manual Page 13-7
13
Spark Plug Removal
Read DANGER and WARNING on page 13-1.
∆ CAUTION
• Before removal and disassembly, clean the engine.
Remove all dirt from plug base in the cylinder head before removing plug. Use a 13/16 deep well socket
wrench or 13/16 plug wrench to loosen the plug.
Spark Plug Cleaning, Inspection and Repair
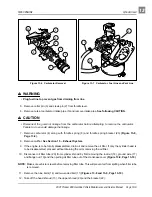
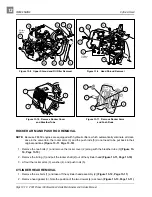
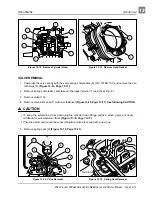
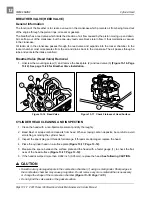
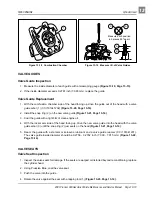
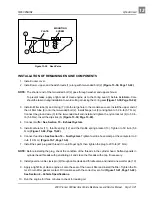
Examine the plug (Figure 13-5, Page 13-7). The deposits on the plug base and electrode are an indication of
the correct heat range and efficiency as well as a guide to the general condition of the engine, fuel and air
mixture and ignition system. If all of the above conditions are proper, the spark plug should be a light brown
color. There should be no bridging between the electrode and base. The electrode should not be eroded.
Black color, excessive carbon, and/or a wet plug indicate a too rich condition. White, burned or melted elec-
trodes indicate a too lean condition or pre-ignition. Oily deposits on the plug electrode are an indication of
worn rings, valve guides, cylinder wall, etc. Also examine the spark plug wire. Remove rubber boot and
inspect internal spring for damage. Inspect spark plug wire for damage and be sure spring coil is securely
attached to spark plug. See following WARNING.
∆ WARNING
• Remove spark plug wire to avoid accidental start up of the engine when servicing vehicle. To
avoid ignition of fuel and serious personal injury or death, never try to start the engine with
plug removed from engine.
Testing the Spark Plug
Check the sparking ability of a cleaned and properly gapped plug on a sparking comparator if possible.
Spark should be blue and strong and able to jump a 5/16 inch (8 mm) gap.
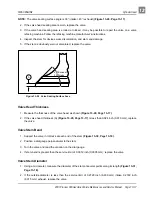
Figure 13-5 Spark Plug
A

