Mounting the Quantum Maestro Orchestrator MHO-140 and MHO-170 in a Rack
Quantum Maestro Getting Started Guide | 72
Before you mount the Quantum Maestro Orchestrator to the rack, plan the way you wish to place it:
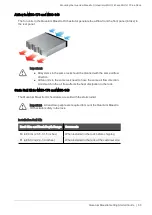
Pay attention to the airflow within the rack cooling, connector, and cabling options.
While you plan how to place the Quantum Maestro Orchestrator, review these points:
n
Make sure the Quantum Maestro Orchestrator air flow is compatible with your installation
selection.
It is important to keep the airflow within the rack in the same direction.
n
Note that the part of the Quantum Maestro Orchestrator, to which you choose to attach the rails,
determines the Quantum Maestro Orchestrator's adjustable side.
The Quantum Maestro Orchestrator's part, to which the blades are attached, should be adjacent to
the cabinet.
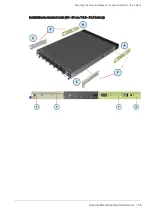
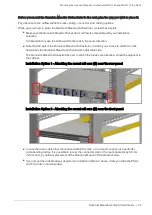
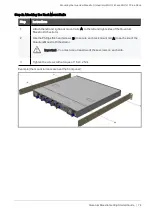
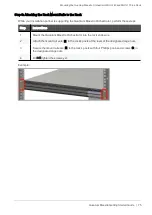
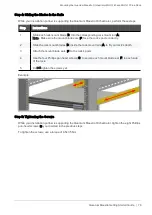
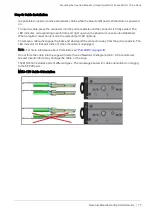
Installation Option 1 - Attaching the mount rail ears (E) near the rear panel
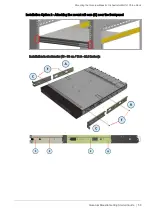
Installation Option 2 - Attaching the mount rail ears (E) near the front panel
n
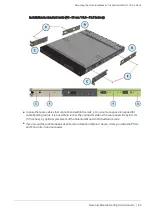
In case there are cables that cannot bend within the rack, or in case more space is needed for
cable bending radius, it is possible to recess the connector side or the rear panel side by 8.9 cm
(3.5 inches), by optional placement of the Quantum Maestro Orchestrator's rails.
n
If you mount the rack blades as depicted in
Installation Option 2
above, it lets you slide the PSUs
and Fan Units in and out easier.

