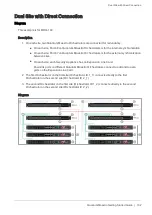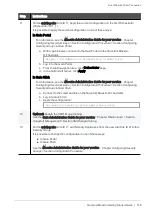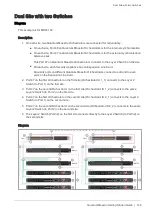
Dual Site with Direct Connection
Quantum Maestro Getting Started Guide | 143
Step
Instructions
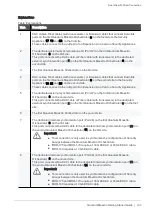
7
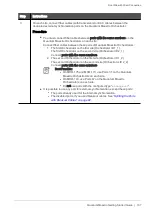
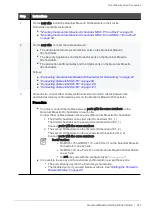
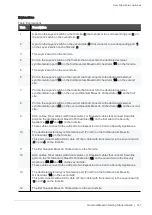
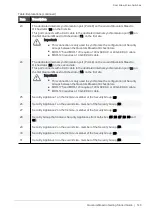
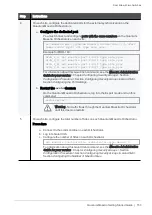
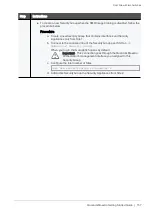
On the existing site (Site ID 1), back up the current configuration on each Quantum
Maestro Orchestrator (Orchestrator ID 1_1 and Orchestrator ID 1_2).
Procedure
a. Connect to the command line on the Quantum Maestro Orchestrator.
b. Log in to the Expert mode.
c. Back up the
/etc/maestro.json
file to some directory (for example, your
home
directory):
cp -v /etc/maestro.json ~/maestro.json_BKP
d. Back up the
/etc/maestro_full.json
file to some directory (for example,
your
home
directory):
cp -v /etc/maestro_full.json ~/maestro_full.json_BKP
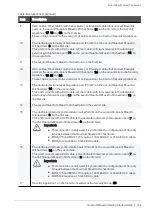
8
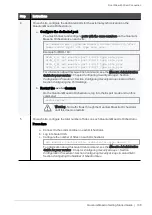
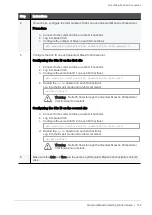
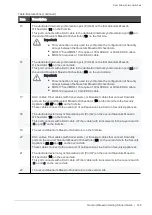
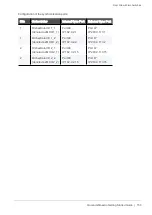
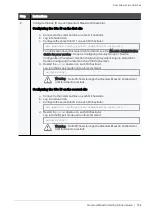
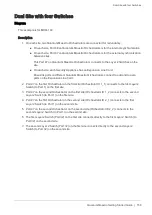
On the new site (Site ID 2), configure the dedicated ports for the external synchronization
on the Quantum Maestro Orchestrators (Orchestrator ID 2_1 and Orchestrator ID 2_2).
Warning - You must perform this step on the Quantum Maestro Orchestrators on
the new site
before
you perform this step on the Quantum Maestro Orchestrators
on the existing site. This is to make sure the current configuration is preserved on
the new site.
Procedure
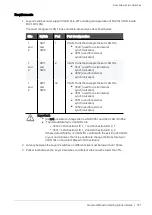
a. Connect to the command line on the Quantum Maestro Orchestrator.
b. Log in to Gaia Clish.
c. Configure the dedicated port.
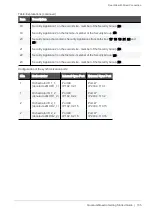
You must connect and configure ports with the same numbers on the Quantum
Maestro Orchestrators on each site.
set maestro port <
Quantum Maestro Orchestrator ID
>/<
Port
Label
>/<
Port Split ID
> type site_sync
Example for MHO-140:
Orch_2_1> set maestro port 2/47/1 type site_sync
Orch_2_2> set maestro port 2/47/1 type site_sync
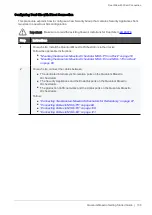
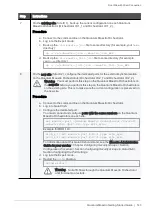
For information about this Gaia Clish command, see the
Maestro Administration
Guide for your version
> Chapter
Configuring Security Groups
> Section
Configuration Procedure
> Section
Configuring Security Groups in Gaia Clish
>
Section
Configuring the Port Settings
.
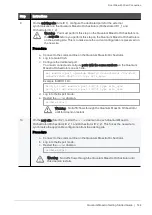
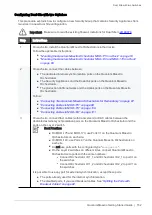
d. Log in to the Expert mode.
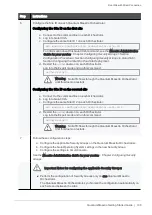
e. Restart the
orchd
daemon.
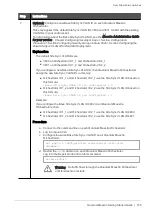
orchd restart
Warning - No traffic flows through the Quantum Maestro Orchestrator
until this daemon restarts.

