Replacing Fan Units
Quantum Maestro Getting Started Guide | 52
Replacing Fan Units
The Quantum Maestro Orchestrators are equipped with four replaceable fan units. They can fully operate, if
one fan unit failed.
Important:
n
It is not supported to operate a Quantum Maestro Orchestrator, if two or more fan
units failed.
n
Make sure that the fans have the air flow that matches the model number.
An air flow opposite to the Quantum Maestro Orchestrator design causes the
Quantum Maestro Orchestrator to operate at a higher (less than optimal)
temperature.
See:
l
"Airflow in MHO-175" on page 54
l
"Airflow in MHO-170 and MHO-140" on page 69
n
See
.
Removing a Fan Unit
Step
Instructions
1
Grasp and hold the fan unit's handle with your hand.
2
Push the latch release with your thumb.
3
Pull out the fan unit from the Quantum Maestro Orchestrator.
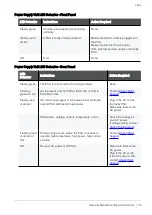
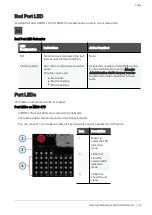
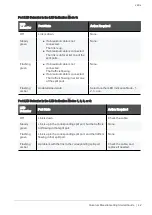
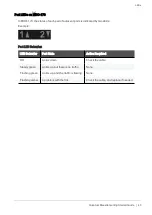
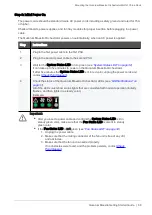
As you pull out the fan unit, its status LEDs turns off (see
).
Installing a Fan Unit
Step
Instructions
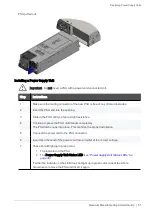
1
Make sure the mating connector of the new fan unit is free of any dirt and obstacles.
2
Insert the fan unit end into the opening.
3
Slide in the fan unit until you feel a slight resistance.
4
Continue to press the fan unit until it seats completely.
The fan unit latch snaps into place. This confirms the proper installation.
5
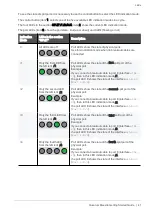
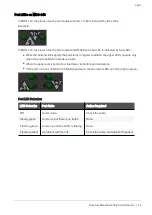
These should light up in green color:
1. The indicator on the fan unit
2. The
Fan Status LED
(see
If either the indicator, or the LED does not light up in green color, repeat the whole
procedure to remove the fan unit and insert it again.
After two unsuccessful attempts to install the fan unit, power off the Quantum Maestro
Orchestrator before you attempt any hardware troubleshooting.

