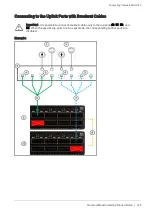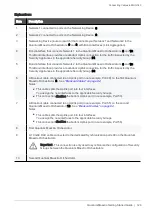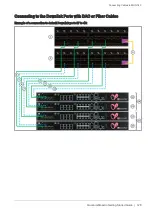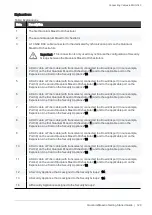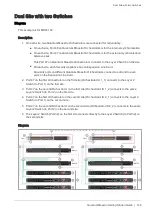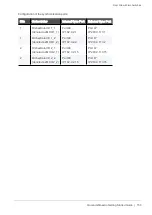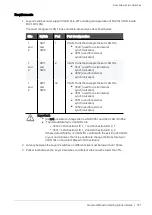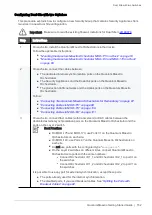
Dual Site with Direct Connection
Quantum Maestro Getting Started Guide | 139
Step
Instructions
6
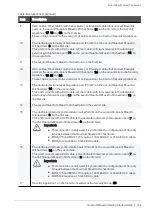
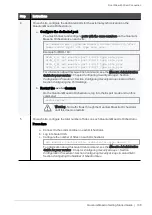
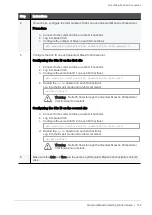
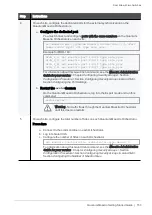
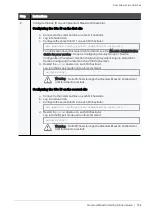
Configure the Site ID on each Quantum Maestro Orchestrator.
Configuring the Site ID on the first site
a. Connect to the command line on each Orchestrator.
b. Log in to Gaia Clish.
c. Configure the same Site ID 1 on each Orchestrator:
set maestro configuration orchestrator-site-id 1
For information about this Gaia Clish command, see the
Maestro Administration
Guide for your version
> Chapter
Configuring Security Groups
> Section
Configuration Procedure
> Section
Configuring Security Groups in Gaia Clish
>
Section
Configuring the Site ID in Dual Site Deployment
.
d. Restart the
orchd
daemon on each Orchestrator.
Log in to the Expert mode and run this command:
orchd restart
Warning - No traffic flows through the Quantum Maestro Orchestrator
until this daemon restarts.
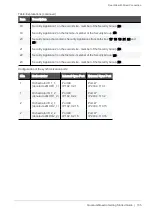
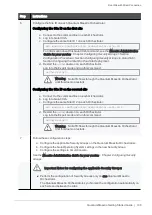
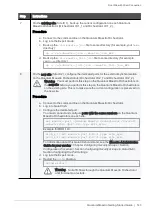
Configuring the Site ID on the second site
a. Connect to the command line on each Orchestrator.
b. Log in to Gaia Clish.
c. Configure the same Site ID 2 on each Orchestrator:
set maestro configuration orchestrator-site-id 2
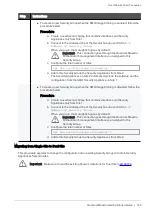
d. Restart the
orchd
daemon on each Orchestrator.
Log in to the Expert mode and run this command:
orchd restart
Warning - No traffic flows through the Quantum Maestro Orchestrator
until this daemon restarts.
7
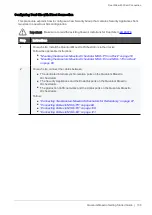
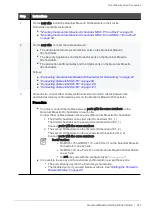
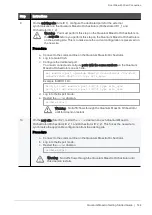
Follow these configuration steps:
a. Configure the applicable Security Groups on the Quantum Maestro Orchestrators.
b. Configure the Gaia Operating System settings in the new Security Group.
c. Configure the settings in SmartConsole.
See the
Maestro Administration Guide for your version
> Chapter
Configuring Security
Groups
.
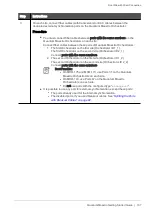
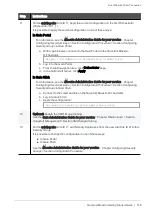
Important Notes for configuring the applicable Security Groups:
n
Perform the configuration of Security Groups only on one Quantum Maestro
Orchestrator.
The Quantum Maestro Orchestrators synchronize the configuration automatically on
each site and between the sites.

