Mounting the Quantum Maestro Orchestrator MHO-140 and MHO-170 in a Rack
Quantum Maestro Getting Started Guide | 68
Mounting the Quantum Maestro
Orchestrator MHO-140 and MHO-
170 in a Rack
This section provides the information necessary to mount the Quantum Maestro Orchestrator in a rack.
Installation and Initialization
Installation and initialization of the Quantum Maestro Orchestrator requires attention to the normal
mechanical, power, and thermal precautions for rack-mounted equipment.
Important:
n
The rack mounting holes conform to the EIA-310 standard for racks with
length 50-60 cm (19.7-23.6 inches).
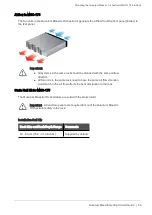
Take precautions to guarantee proper ventilation to maintain good airflow at
ambient temperature.
n
Unless otherwise specified, Check Point products are designed to work in an
environmentally controlled data center with low levels of gaseous and dust
(particulate) contamination.
The installation procedure for the Quantum Maestro Orchestrator involves these phases:
Phase
Instructions
1
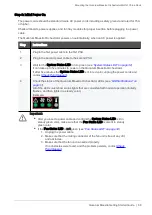
Make sure that none of the shipping carton contents is missing or damaged.
See
"Shipping Carton Contents" on page 17
.
2
Follow the
3
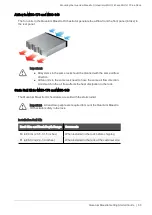
Pay attention to the airflow consideration within the Quantum Maestro Orchestrator and
rack.
See
"Airflow in MHO-170 and MHO-140" on the next page
.
4
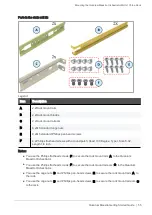
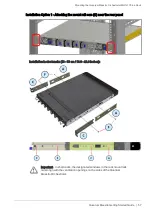
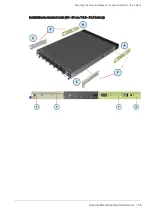
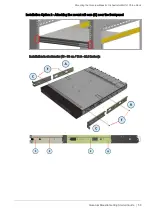
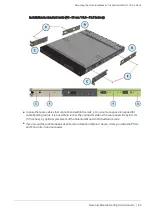
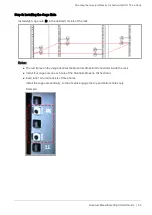
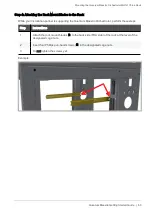
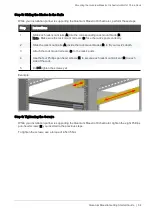
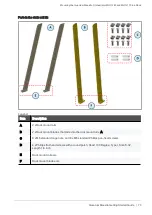
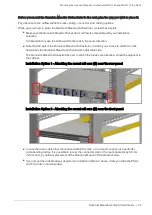
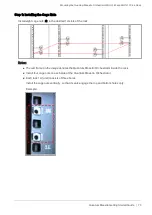
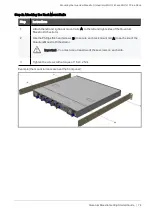
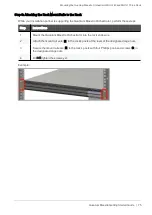
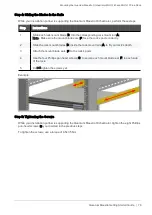
Mount the Quantum Maestro Orchestrator into a rack enclosure.
See
"Static Rail Kit for MHO-170 and MHO-140" on the next page
.
5
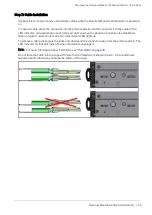
Power on the Quantum Maestro Orchestrator.
See
"Step 7: Initial Power On" on page 79
.

