Appendices
202
●
Operation panel
POWER button (on the left)
Press the POWER button to switch the
printer on.
POWER/ERROR lamp
After the printer is switched on, the lamp
blinks green for a few seconds and then
lights green. The lamp blinks orange and
green when an error occurs.
Off........................ Printer is switched off.
Lit green.............. Printer is ready to use.
Blinking green.... Printer is warming up
or receiving print data
from the computer.
Blinking orange and green
............................ An error has occurred
and printing has
halted.
RESUME button (on the right)
Press to cancel printing or to resume
printing after correcting the probelm that
interrupted operation.
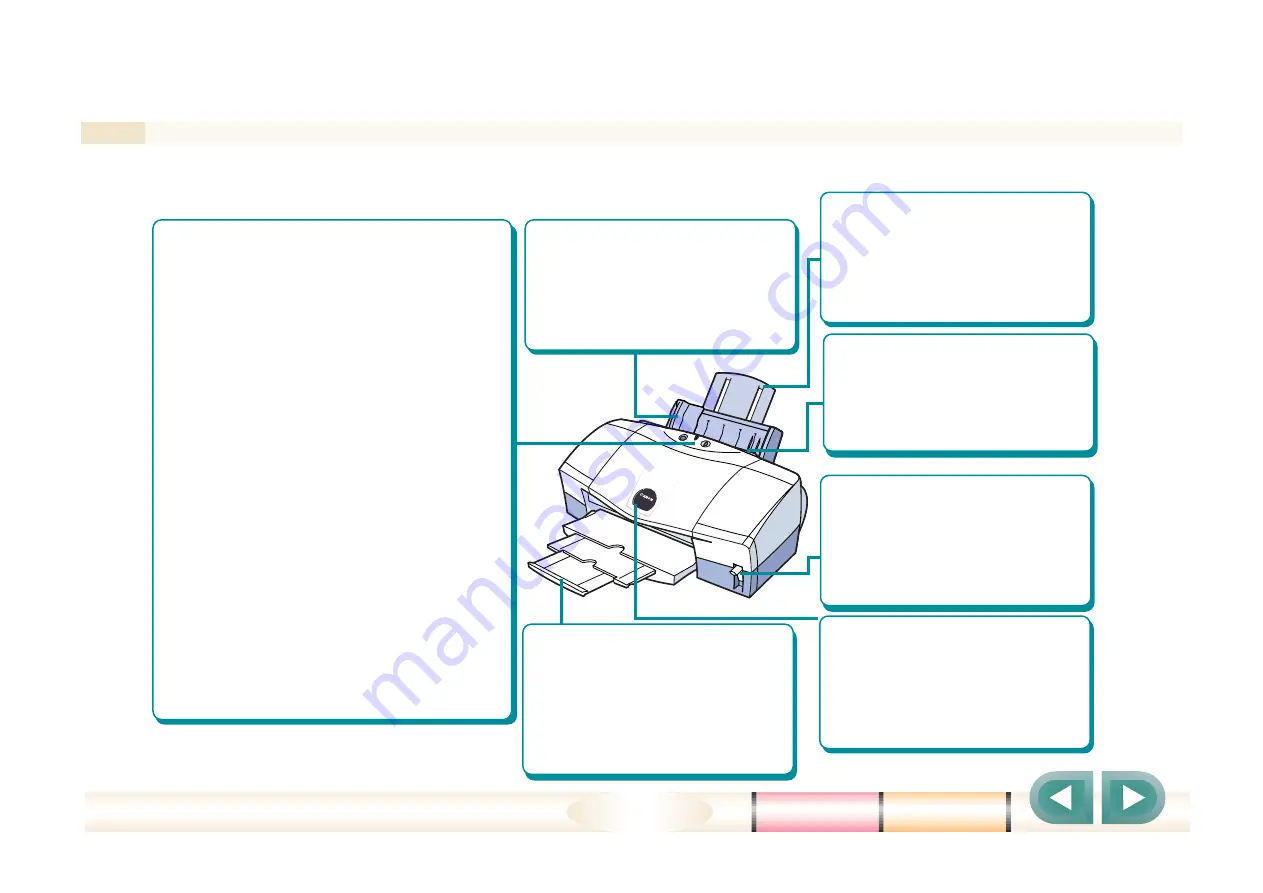
Printer part names and functions
Paper guide
Adjusts to the edge of the
paper loaded in the sheet
feeder, guides the paper and
ensures that it feeds straight
without skewing.
Paper output tray
Holds printed sheets as they
are ejected from the printer.
Always lower the printer output
tray and extend the tray and
extension before you start a
print job.
Front cover
Open the front cover to install
the Printhead and ink tanks,
install the optional Scanner
Cartridge, and to remove
paper jams.
Sheet feeder
Feeds paper or other media
one sheet at a time
automatically. Set sheets of
paper here for automatic feed.
Paper rest
Supports paper loaded in the
sheet feeder to ensure correct
feeding by preventing the
paper from drooping down
over the back of the printer.
Paper thickness lever
Adjusts the distance between
the print head and the printing
surface of the sheet. Set the
lever according to the paper or
media that you are using.
Here is a summary of the names and functions of each part of the printer.
●
Front View


