9
9
9-35
9-35
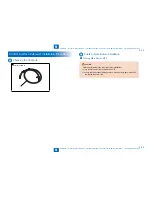
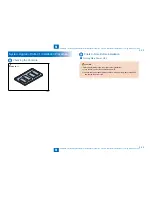
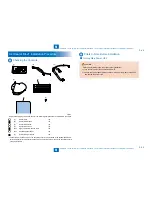
Installation > Control Interface Cable-A1 Installation Procedure > Installation Procedure
Installation > Control Interface Cable-A1 Installation Procedure > Installation Procedure
Installation Procedure
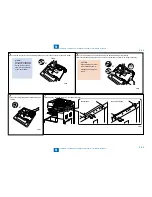
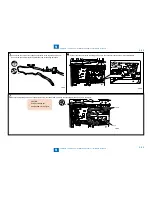
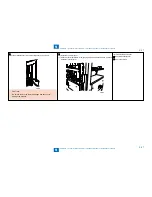
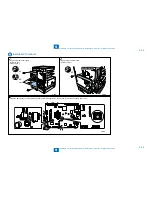
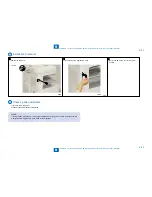
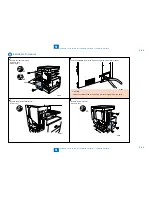
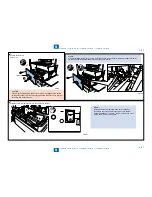
1) Remove the rear cover (right).
Screws (3 pcs.)
Claws (2 pcs.)
Claws
x3
x2
•
•
F-9-75
F-9-75
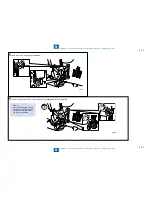
2) Remove one screw and then the rear-left blanking cover.
Screw (1 pc.)
•
F-9-76
F-9-76
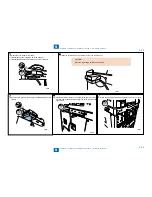
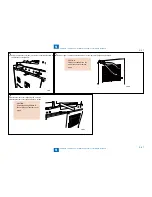
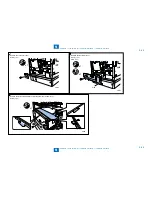
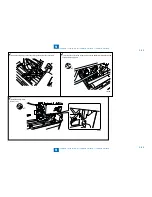
3) Remove the rear-left cover.
Screws (3 pcs.)
x3
•
F-9-77
F-9-77
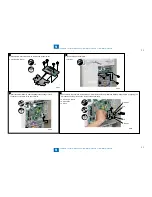
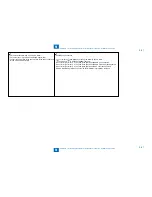
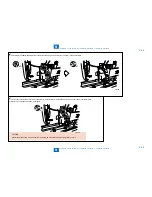
4) Remove the controller cover.
Screws (3 pcs.)
x3
•
F-9-78
F-9-78
Summary of Contents for IMAGERUNNER 2530
Page 1: ...9 8 7 6 5 4 3 2 1 imageRUNNER 2530 2525 2520 Series Service Manual...
Page 4: ...Blank Page...
Page 16: ...1 1 Product Overview Product Overview Product Lineup Feature Specifications Name of Parts...
Page 111: ...3 3 Periodical Service Periodical Service Consumable Parts and Cleaning Parts...
Page 159: ...5 5 Adjustment Adjustment Outline Adjustment when replacing parts Image position adjustment...
Page 166: ...6 6 Troubleshooting Troubleshooting Upgrading Targets and Procedure...
Page 171: ...7 7 Error Code Error Code Overview Error Code Jam Code Alarm Code...
Page 186: ...8 8 Service Mode Service Mode Outline Details of Service Mode...
Page 321: ...Service Tools General Circuit Diagram Appendix...

