90
Proprietary Information: Not for use or disclosure except by written agreement with Calix.
© 2001-2008 Calix. All Rights Reserved.
To install a generator connector
1.
Unpack the generator connector from the shipping packaging.
2.
For 30 Amp generator connectors, install an adapter plate onto the cabinet mounting
fixture as follows:
Note:
No adapter plate is required for 60 or 100 Amp generator connectors. If you are
using a 60 or 100 Amp connector, skip to Step 3.
a.
Get the adapter plate from the installation kit.
b.
At the exterior front of the cabinet, insert the adapter plate into the mounting fixture,
aligning the four studs with the counterpart holes in the wall fixture.
c.
From inside the splice compartment, install four nuts (removed previously) onto the
four studs. Tighten the nuts to secure the adapter plate in place.
3.
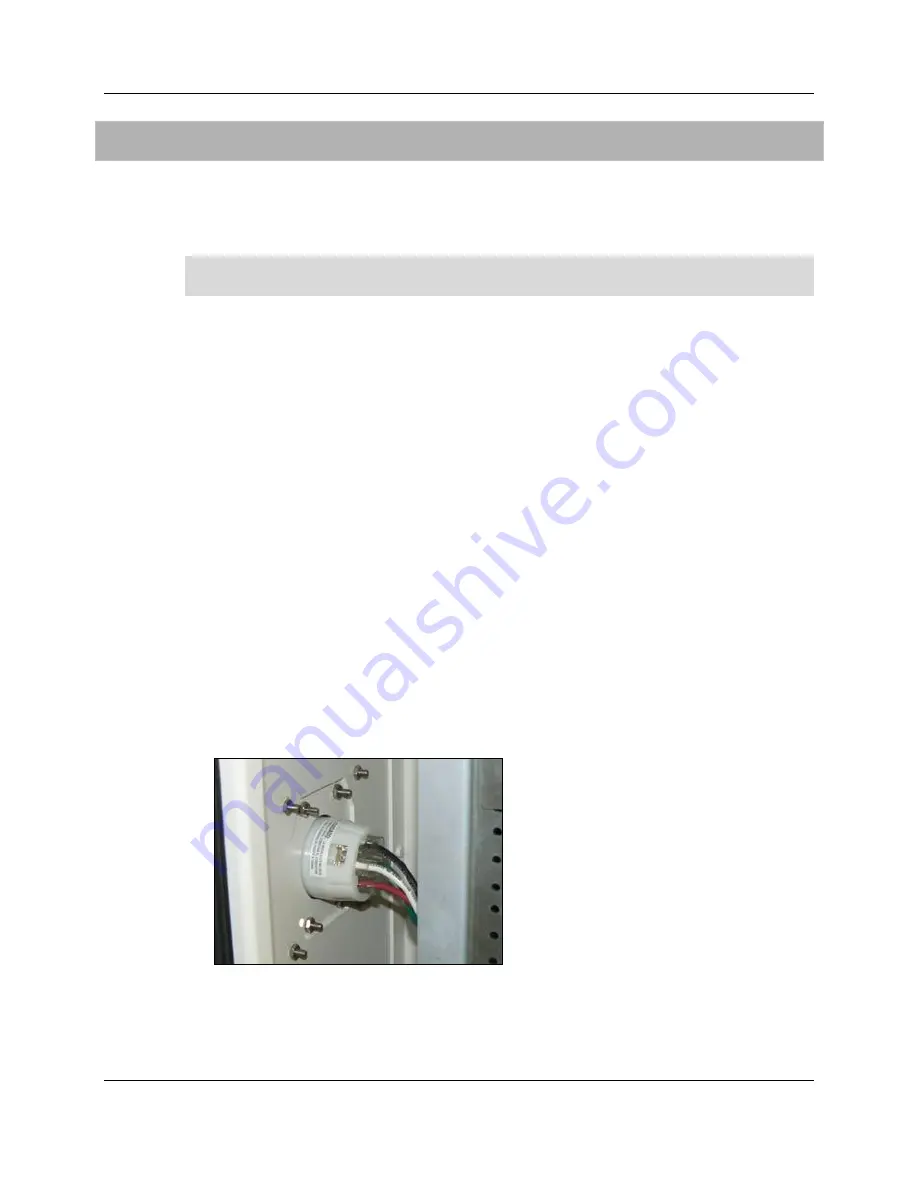
Attach the generator connector to the cabinet mounting fixture as follows:
a.
From the exterior front of the cabinet, feed the generator connector wires into the
splice compartment through the mounting fixture opening.
b.
Insert the generator connector into the mounting fixture, aligning the four studs (30
and 60 Amp models) or inserts (100 Amp model) with the counterpart holes in the
fixture (60 and 100 Amp models) or adapter plate (30 Amp model).
c.
From inside the splice compartment, attach the generator connector to the mounting
fixture as follows:
30A and 60A models:
Install four nuts onto the four studs. Tighten the nuts to
secure the generator connector assembly in place
100A models:
Install four mounting screws into the four mounting holes
(threaded inserts). Tighten the screws to secure the generator connector assembly
in place.
30A model


