77
Proprietary Information: Not for use or disclosure except by written agreement with Calix.
© 2001-2008 Calix. All Rights Reserved.
To install a C7 expansion shelf
1.
Unpack the C7 shelf from the shipping packaging.
2.
Remove the C7 mounting brackets from the shelf. Re-orient the brackets for 23-inch
mounting and re-attach to the shelf.
3.
Mount the C7 shelf onto the front equipment rack as follows:
a.
Identify the expansion shelf mounting position on the equipment rack.
b.
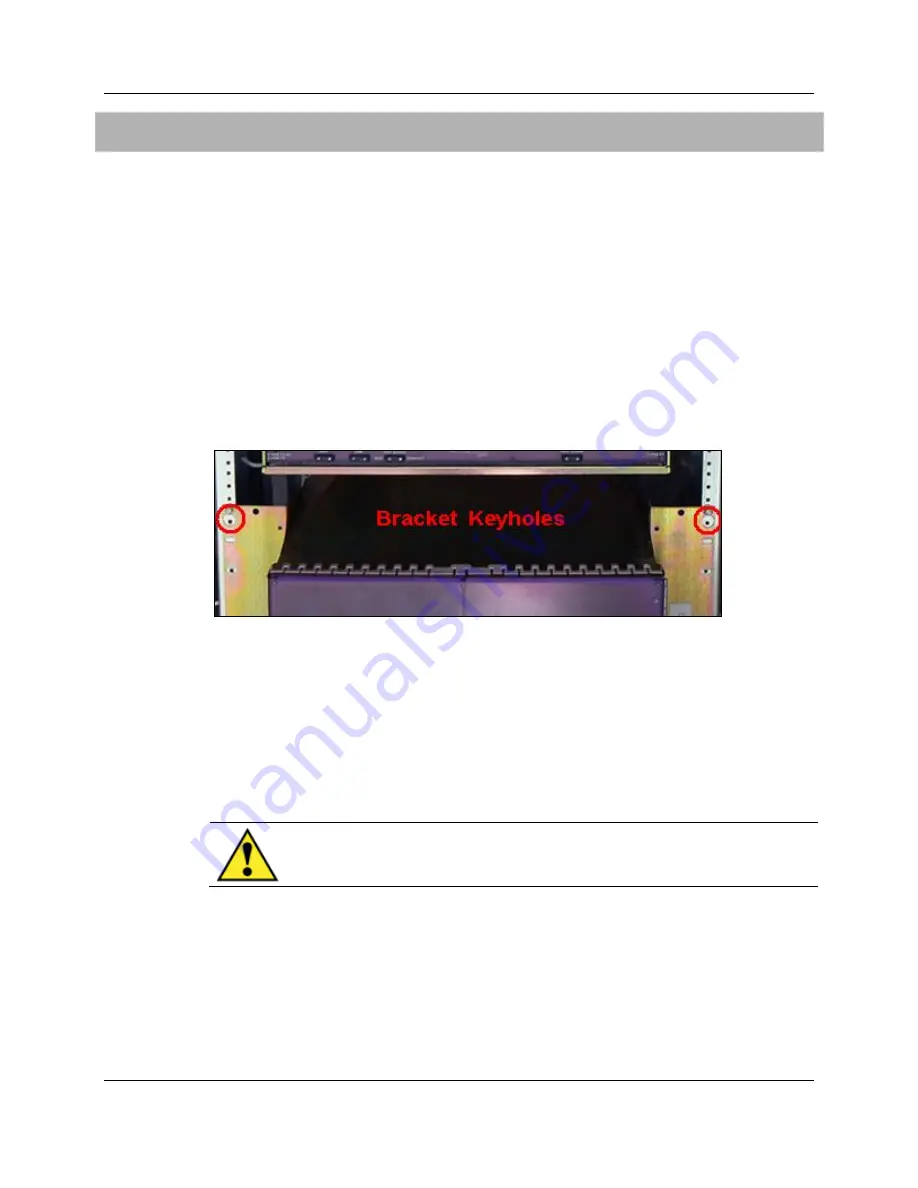
Temporarily hold the C7 shelf against the rack at its mounting position to identify the
top screw hole locations (one on each side). Once identified, carefully set the C7 shelf
aside.
c.
Install two mounting screws to half depth at the identified hole locations on the rack.
d.
Lift the C7 shelf so that the bracket keyholes fit over the screws protruding from the
rack, then hang the C7 shelf from the screws.
e.
Immediately tighten the top two mounting screws, then install eight additional screws
(10 total, 5 per side) to secure the shelf to the rack. Tighten the screws to 45 in. lbs.
of torque.
4.
Route the C7 ground wire to the splice compartment and terminate the lug to the
cabinet's main ground bar.
5.
Route and terminate the C7 power cables as follows:
a.
At the DC distribution panel above, switch
OFF
the two 30A C7 load breakers for
the new shelf.
WARNING!
Risk of electric shock. Follow all safety precautions and
use insulated tools when working with power.


