119
4
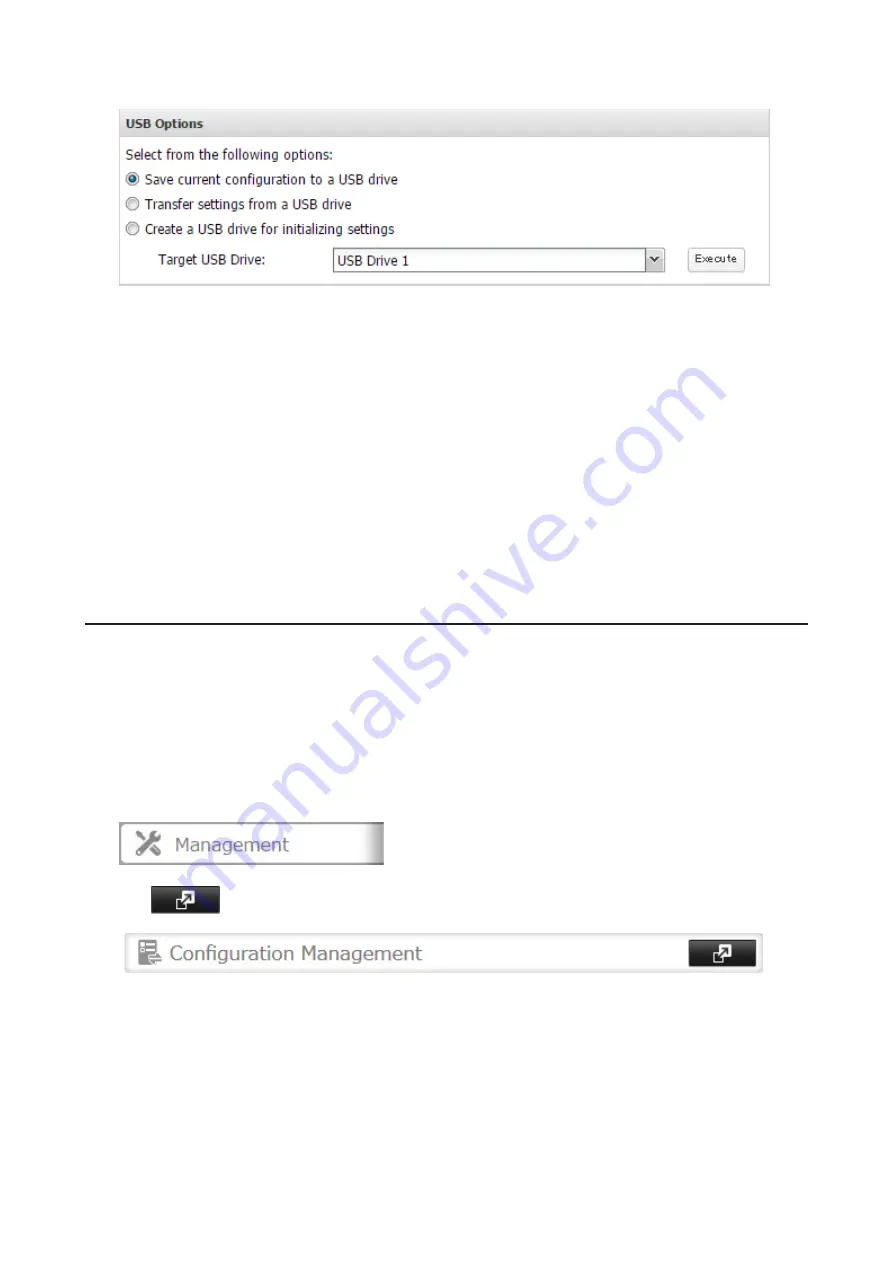
From "Target USB Drive", select the USB drive that is connected to the USB port on the TeraStation.
5
Select "Save current configuration to a USB drive", then click
Execute
.
6
The "Confirm Operation" screen will open. Enter the confirmation number, then click
OK
. The TeraStation will
save the settings.
7
When the "finished" message is displayed, saving settings is finished. Click
OK
.
Troubleshooting:
If the settings are not saved to the USB drive successfully, you may receive the error message "The specified
operation cannot be executed.". Verify:
• The USB drive has a capacity of 1 GB or larger.
• The USB drive is not write-protected.
Applying Settings
The saved settings can be applied to a different TeraStation of the same series. If applying settings to another
TeraStation, the unit's current firmware version will be changed to the version used to save the settings.
Note:
Since firmware version 2.10, saved settings cannot be applied from a USB drive which contains saved
settings from a unit running firmware version is 2.03 or earlier. In such a case, create the settings restoration USB
drive again using the unit running firmware version 2.10 or later.
1
Connect the USB drive with the saved settings to a USB port on the TeraStation.
2
In Settings, click
Management
.
3
Click
to the right of "Configuration Management".
Summary of Contents for TeraStation 5010
Page 8: ...7 For Customers in Taiwan 175 ...
Page 75: ...74 3 Click Edit 4 Click Add 5 Click Browse under Replication Source ...
Page 87: ...86 18Click Time Machine ...
Page 88: ...87 19Click Select Backup Disk 20Select the TeraStation then click Use Disk ...
Page 97: ...96 3 Click Create New Job 4 Select backup settings such as date and time to run 5 Click Add ...
Page 103: ...102 4 Click the Options tab 5 Click Edit ...
Page 137: ...136 3 Click Edit ...
Page 138: ...137 4 Select or enter the desired MTU size and click OK ...


