1.
Create a new 2D project.
2.
Define the canvas dimensions based on what is needed for the project.
3.
Create displays and position them in the canvas.
4.
Add timelines and media as in 3D mode.
2D media manipulation
and
Keyframing
can be used if needed.
5.
Proceed with calibration, output control, and playback as in 3D mode.
8.1.2
2D concepts
Canvas
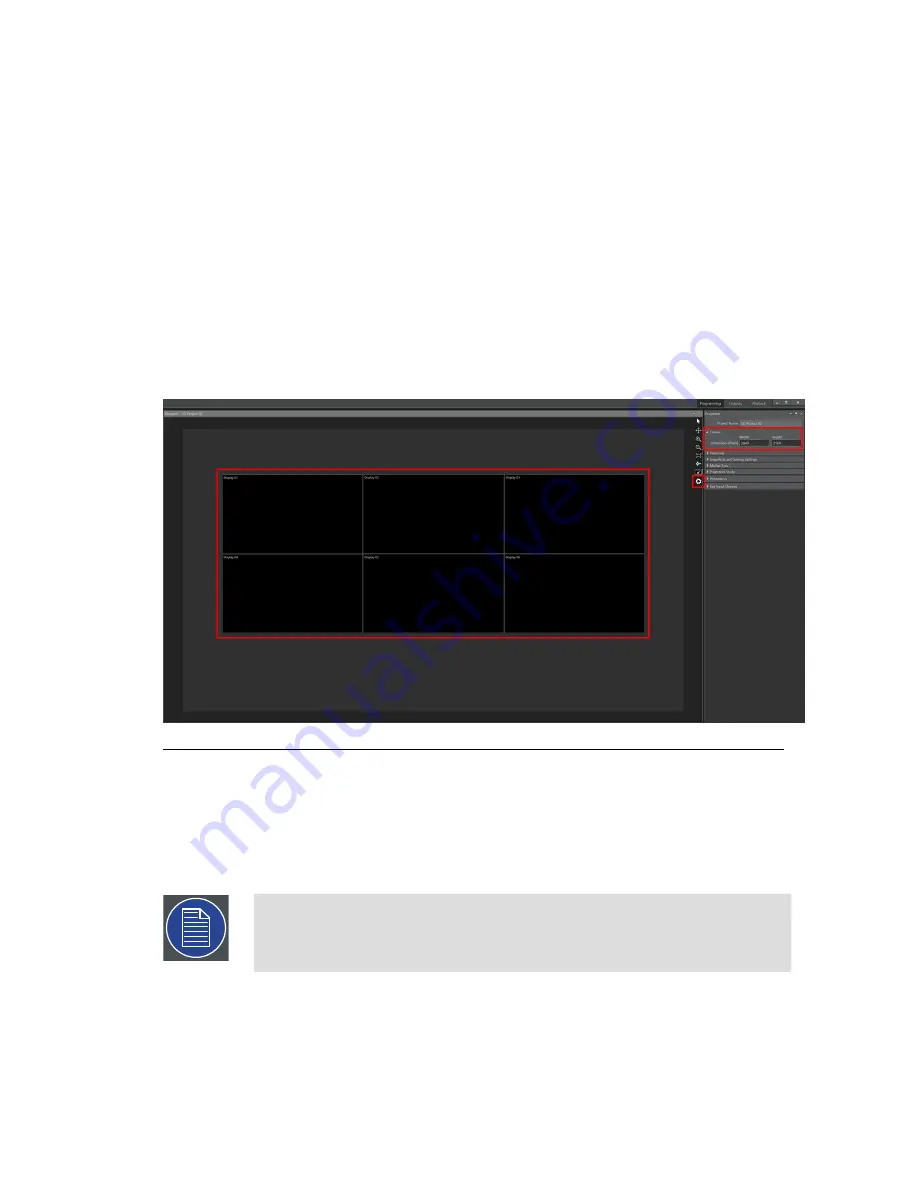
Figure 8.2. Canvas
The canvas is a 2D workspace in which your project is built. The canvas is a visual ref-
erence, giving you a way to build boundaries within which to work. No restrictions
force you to place displays and elements within the canvas, but it is strongly suggested
that you do so for convenience. The canvas is defined by its width and its height in
pixels. You may access these properties by using the gear icon in the Viewport's toolbar.
Note
The size in pixels of the canvas itself has no effect on performance whatso-
ever. A canvas can be defined to be as large as is necessary.
Barco Pn: 60600320
182
Section 8: Features
Barco Media Server XHD-Series User Guide
Summary of Contents for XHD-200
Page 1: ...Barco Media Server XHD Series User Guide Part number 60600320 Version 04 00 January 22 2016...
Page 4: ...HighEndSystems Barco Pn 60600320...
Page 11: ......
Page 17: ......
Page 19: ......
Page 55: ......
Page 69: ......
Page 121: ......
Page 135: ......
Page 225: ......
Page 227: ......
Page 237: ......
Page 245: ......
Page 257: ......


