136
WT430
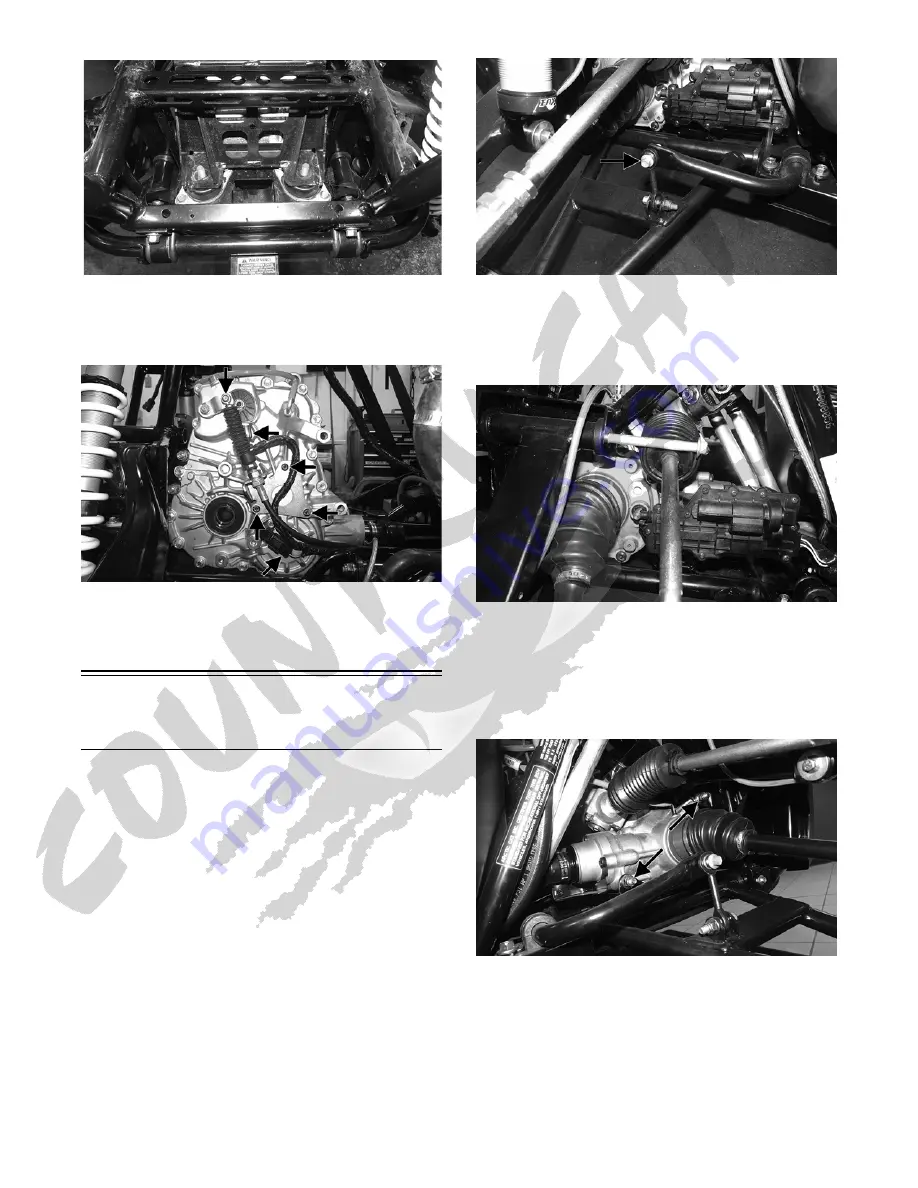
3. Install the shift cable bracket and tighten to 7 ft-lb.
4. Connect the shift cable to the transaxle and secure with the
E-clip. Connect the speed sensor and gear position switch.
WT439A
5. Install the hood, wheels, seats, center console, floor,
and driveshaft.
6. Remove from the vehicle from the support stand.
Driveshaft/Carrier
Bearing
REMOVING
1. Remove the hood, seats, center console, floor, and engine.
2. Secure the vehicle on a support stand to elevate the
wheels; then remove the front wheels.
3. Remove the lower cap screw on the front left shock
and slide the shock off of the upper A-arm. Discard
the cap screw but retain the washer.
WT323A
4. Rotate the steering rack all the way to the right; then
remove the upper cap screw securing the upper A-arm
to the frame and remove it from the mounting brack-
ets. Account for the washer and bushing. Discard the
lock nut.
WT334
NOTE: Removing the inner upper A-arm from the
frame will aid in removing the upper front differential
cap screw.
5. Remove the cap screws securing the front differential to
the frame. Account for washers and discard the lock nuts.
WT423A
6. Remove the cap screws and lock nuts securing the carrier
bearing housing to the frame. Discard the lock nuts.


