


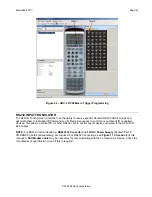


SmartPad LCD
™
Page:
57
© 2008 Xantech Corporation
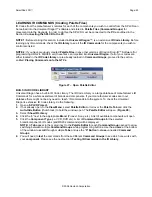
TRANSFERRING THE PROJECT
With all commands tested, the project can now be transferred to the SPLCD.
NOTE:
Before continuing, make sure the
PC
is properly connected to the
SPLCD
by running a
Base Unit/ Who
Am I
. A proper connection will return a window with product information on the connected Panel. See Section:
Verifying Com Port Communication/Who Am I
for additional information. If programming for the current
project will include advanced configuration you may also transfer the project at this time for a System Test
before getting into more complex system features. To transfer the project to the SPLCD:
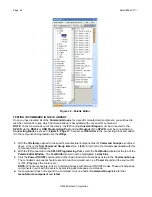
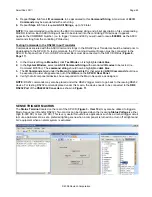
1.
In the
Menu Bar
, click
Base Unit
and select
Who Am I
from the
pop-up
. Verify a valid response is
received.
2.
In the
File Menu
select
Transfer Project
or click the
Transfer Project Icon
(
) in the
Tool Bar
.
3.
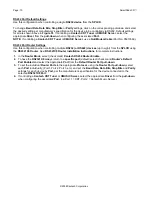
A
File Transfer Dialog Window
should appear on the
PC
and start showing progress of the transfer
process. During this time, the
SPLCD Display
will turn
white
with an activity wheel in the middle of the
display to show activity.
4.
When the transfer is complete the message:
Transfer Succeeded
will appear in the
File Transfer Dialog
Window.
Click
OK.
5. Test all Buttons on the SPLCD to confirm the Project Transfer.
6.
In some cases, recalibration may be necessary after a
Project Transfer
or
Firmware Update
. See
Section:
Calibration
for additional information.
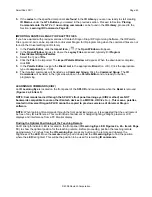
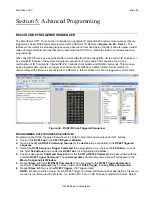
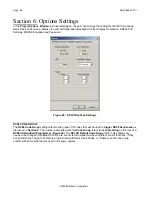
SAVING THE PROJECT
Once the Project has been transferred and all functions tested and confirmed the project should be saved for
future reference or upgrades.
Save Project
1.
In the
File Menu
, select
Save Project
or in the
Tool Bar,
click the
Save Project Icon
.
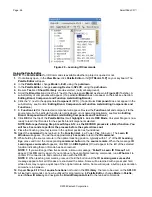
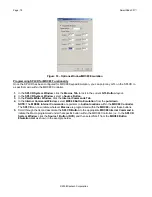
2.
The
Save As
Window
will appear for a new, unsaved project. (No window will appear when saving new
work on a previously saved project.)
3.
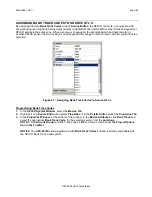
The default Folder for Universal Dragon™ Projects is:
C:\Program Files\Xantech\Universal Dragon vX.X\Projects
. Navigate to this location if the
Projects
Folder
does not appear in the
Save In Box
.
4.
Enter a name for the project in the
File Name Box
. (The client’s name, ie: ‘Jones Home’ is a good way to
keep track of individual projects.)
5.
Click
Save
.
6.
To close a project without saving changes, In the
File Menu
, select
Close Project
. In the
Save Window
,
click
NO
. The project will close without saving changes. The project will still be available for future use, in its
last saved form.
Save Project As
When programming a project for a new client that is similar or identical to an existing project,
Open
the existing
project. In the
File Menu
select
Save As
, then enter the new file name as described in
Step 4
above. The
project will be saved with the new file name. At this point, the project can be transferred to the Controller if no
additional changes are required, or after making the necessary changes for the new client.
File Size
The Maximum file size for a SPLCD Project is 3MB for SPLCD39G. SPLCD64G/V prior to
Serial Number
071118
max file size is 32MB. SPLCD64G/V
Serial Number 071119
and higher max file size is 1GB.
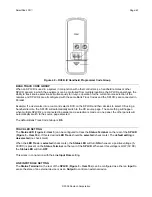
Project Transfer Interruption
Once a Project Transfer starts downloading, if it is interrupted at any point during the download, the SPLCD
may lock up and you may lose communication with the SPLCD. This can occur when the PC goes into screen
saver or standby power mode, the SPLCD loses power or the programming cable becomes disconnected.
1.
Press and release the
Reset Button
on the
SPLCD.


