Videonics PowerScript
Lesson 8 Setting Page Duration and Transitions for the Opening Page
51
5
Click the
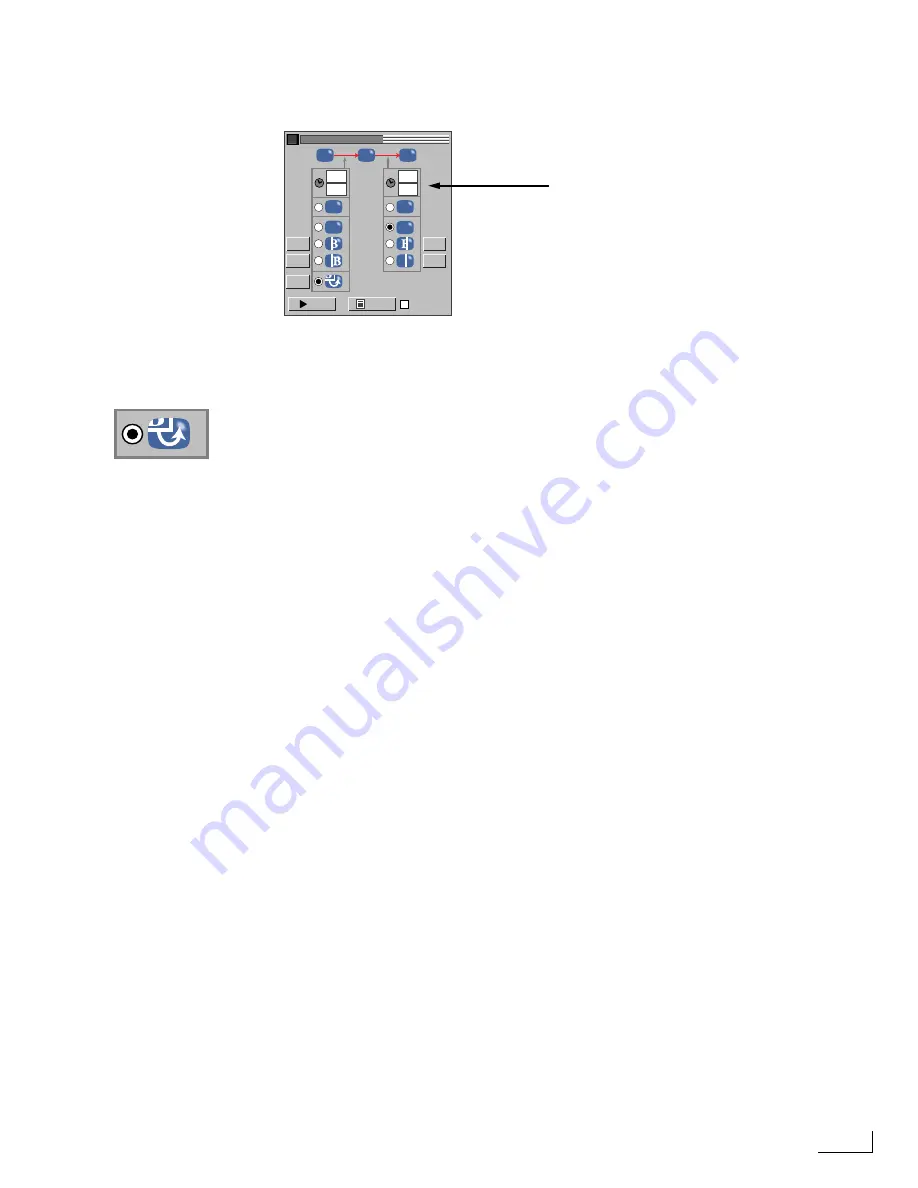
Set Transitions
button at the bottom of the menu to display the TRANSISTION
EFFECTS menu, or enter Ctrl+Shift+F10.
Use the column on the left to specify a Transition IN effect. Use the right column for the
Transition OUT effect. The two columns are identical with the exception of the
Path
option
for Transition IN effects.
6
Select the
Path
option in the left-hand column, then click the
Select
button to its imme-
diate left. The
PATH
menu appears showing the available path options.
7
Select the smooth bouncing path option (shown at left) then close the path menu.
8
Select the
Fade
option in the right-hand column (for the Transition OUT).
9
Set the
Seconds
and
Frames
text boxes to 2 and zero, respectively, for both the Transi-
tion IN and Transition OUT durations.
10
Enter Shift+Esc to close all open menus.
You have specified how long the page is to remain on the screen while playing (5 sec-
onds), specified a Transition IN and its duration (a smooth bouncing path for 2 seconds),
and specified a Transition OUT and its duration (a fade occurring over a two second
period).
SECONDS
FRAMES
+
CUT
FADE
WIPE
SLIDE
PATH
A
B
C
B
B
B
B
B
SAVE
TRANSITION EFFECTS
SELECT
SELECT
SELECT
SELECT
SELECT
PLAY
AUTO-SAVE
2
2
0
0
This menu gives you access to the more interesting
and creative transitions available with PowerScript.
This menu (like the
TRANSITIONS
menu above)
has Transition IN and Transition OUT text boxes.
These are merely duplicates of one another. If you
change the value or values in one menu, they also
change automatically in the other menu.
Содержание PowerScript PS4000S
Страница 22: ...Notes ...
Страница 38: ...Notes ...
Страница 72: ...Notes ...
Страница 96: ...Notes ...
Страница 122: ...Notes ...
Страница 156: ...Notes ...
Страница 174: ...Notes ...
Страница 226: ...Notes ...
Страница 236: ...Notes ...


