Chapter 3
PowerScript Tutorial
46
In an earlier lesson, you learned how to select all text in a text object by dragging across all of
the characters. An easier way to do this is to enter
Ctrl+A
(the
Select All
option).
7
Display the TEXT menu (Ctrl+F1).
8
Set the
Font Size
=25,
Justification
=Left, and
Line Spacing
=35.
When you set the
Line Spacing
to such a high value, several of the lines in the text object dis-
appear from the page. The text is still there, it has just been pushed below the bottom of the
screen.
9
Enter Ctrl+Shift+G to engage the PowerScript Hot Borders feature.
Hot Borders allow you to access parts of the page that extend beyond the edges of the screen.
In this particular case, it gives you a way to access those lines of text that just disappeared
from the screen.
10
Drag the mouse pointer down to the bottom edge of the screen, then continue drag-
ging. If necessary, pick the mouse up, move it forward, place it back on its surface, then
continue dragging.
As you drag beyond the screen edges, the area of the page below the screen’s bottom edge
scrolls into view. Continue this dragging action until those lines of text that previously dis-
appeared come back onto the screen. The top lines in the object move off the top of the
screen.
Dragging around the screen when Hot Borders is engaged can get you disoriented. To reposi-
tion the screen to its center, enter
Alt+Home
.
11
Drag across the first job title (Production Design) in the text object to select it.
12
Display the FONTS menu (Ctrl+Shift+F1) and change the font to Heavenetica-BoldSH.
13
Display the TEXT menu (Ctrl+F1) and set the
Font Size
to 15.
If this were an actual production job, you would probably select all of the other job titles
(one-by-one) and assign them the same attributes that you just assigned to the Production
Design job title. It’s a fair amount of work, but the results are often worth the effort. Whether
or not you choose to make those changes as part of this tutorial is up to you.
In addition, you might want to select each person’s last name in the text object and set the
font style to bold to create better separation between first and last name. Again, it’s a design
decision that is entirely up to you.
14
Return to the PROJECT/PAGES menu and save this page.
A
TEXT
WORD
WRAP
25
35
0
B o o k w o m a n - D e m i S H
Font Size
Line Spacing
Justification Left
P r o d u c t i o n D e s i g n … C h r i s t o r K I R K
V i d e o g r a p h e r … J a m i e S T U A R T
W r i t t e n b y … E r n e s t H E M I N G
E d i t o r … J a c k P A R I S , A . C . E
L i g h t i n g … S t e v e S P I N B U R G
E x e c u t i v e P r o d u c e r … F r a n c i s C O P R A
P r o d u c e d b y … M o j o R O S E N T H A L
D i r e c t e d b y … K e l l i e T H U R G O O D
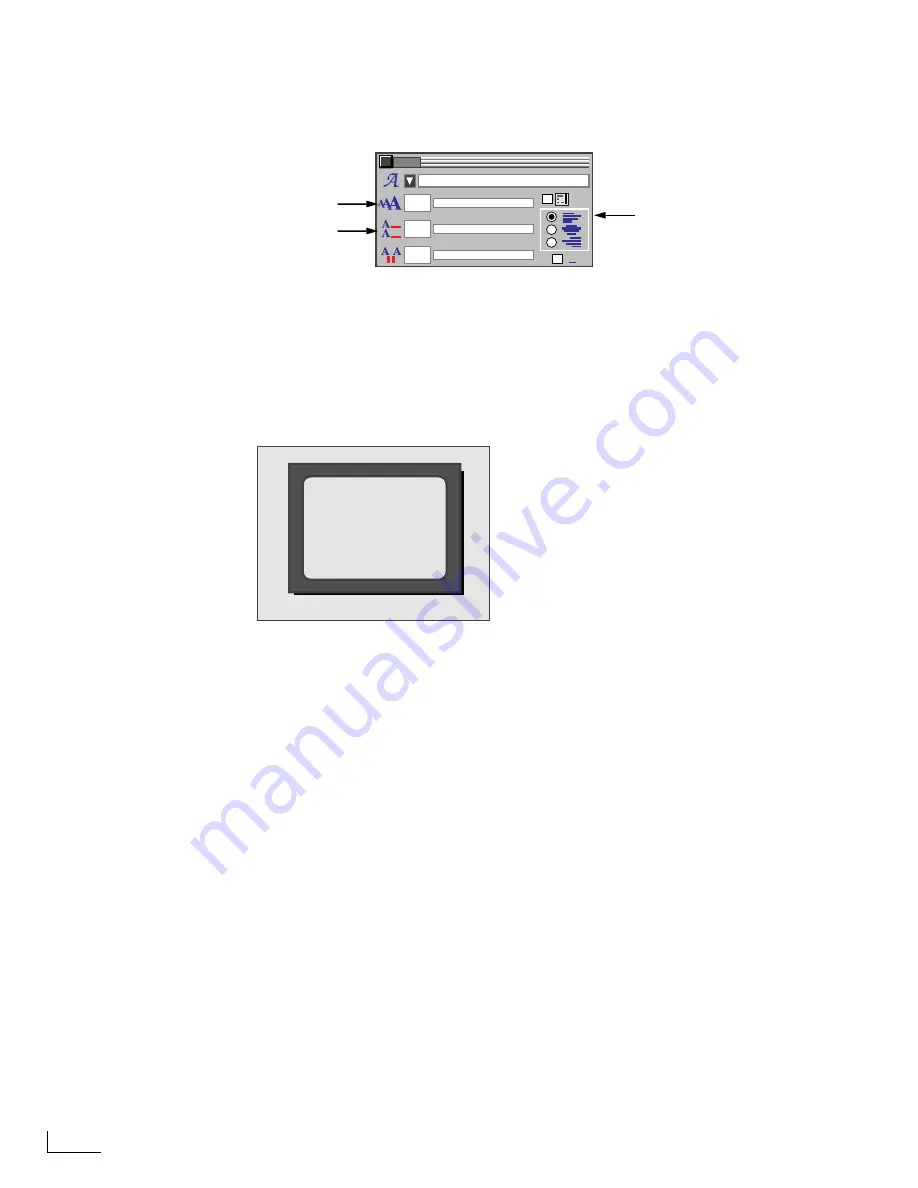
PowerScript pages can be larger than the screen
on which they appear. When a page is larger than
the screen, use Hot Borders to access the parts of
the page that lie beyond the screen edges.
Hot Borders is a
toggle-type
feature—you can
alternately turn it off and on by entering its
assigned control key—
Ctrl+Shift+G
.
Содержание PowerScript PS4000S
Страница 22: ...Notes ...
Страница 38: ...Notes ...
Страница 72: ...Notes ...
Страница 96: ...Notes ...
Страница 122: ...Notes ...
Страница 156: ...Notes ...
Страница 174: ...Notes ...
Страница 226: ...Notes ...
Страница 236: ...Notes ...


