Section 3 Scan Mode
3-7
This will allow the automatic width detection system to determine the image width when an
original is placed in the scanner.
(Eng)
Engineering widths = 34, 22, 17, 11, and 8.5 inches
(Arch)
Architecture widths = 36, 30, 24, 18, 12, and 9 inches
2.2.2 Original
Type
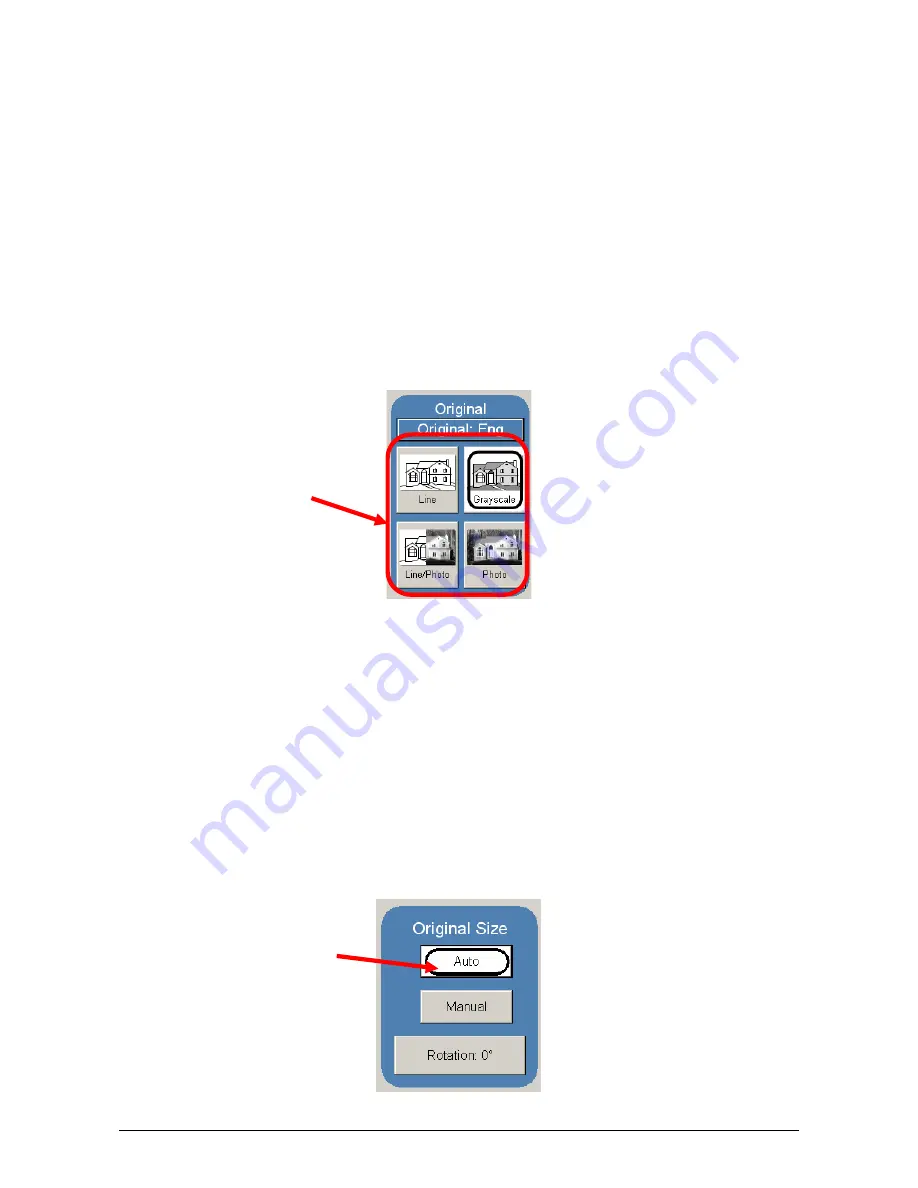
There is a selection of four different predetermined original types. The selections are:
a) Line
- used for simple line documents
b) Line / Photo
- used for a combination of lines & photos documents
c) Greyscale
- used for a combination of lines & areas of shade (CAD)
originals
d) Photo
- used for photographic originals
Press the desired original setting from one of the four diagrams. This will allow automatic
image quality adjustments for the next scan. Please note that the selection will be
highlighted with a “black” circle and the icon will become white, as in the above example
“Greyscale”
2.3 Original Size
This region is used to select the image size to be scanned.
2.3.1 Automatic
Size
For most scans, “Automatic” should be selected. This will allow the scanner to
automatically determine the width and length of the scan without any user intervention
( please also note “Original Size Mode” in 2.2 )
Содержание CX 8036
Страница 1: ...Instruction Handbook CX 8036 Large Format System ...
Страница 68: ...Section 2 Copy Mode 2 28 ...
Страница 94: ...Section 4 Job Info Screen 4 8 ...
Страница 110: ...5 16 Section 5 Help Configuration d Select Printer Driver from List e Choose Keep existing Driver ...
Страница 111: ...5 17 Section 5 Help Configuration f Setup Queue name all Caps in English g It is not necessary to Share driver ...
Страница 138: ...Section 6 Windows Driver 6 22 ...
Страница 150: ...Section 7 AutoCAD HDI Driver 7 12 5 0 Custom Settings 1 2 7 3 8 4 9 10 6 5 ...
Страница 201: ...Section 8 Request 8 45 ...
Страница 206: ...Section 8 Request 8 50 ...
Страница 224: ...9 18 Section 9 KIP Print Net KIP PrintNet on Opera ...
Страница 228: ...9 22 Section 9 KIP Print Net ...
Страница 242: ...Section 11 Connectivity 11 8 ...
Страница 246: ... 4 ...
Страница 252: ...2 2 Select the Applications folder 3 Select the Utilities folder ...
Страница 253: ...3 4 Find the Printer Setup Utility 5 On the top menu bar select Printers and then Add a Printer ...
Страница 255: ...5 8 Select Add 9 The printer set up will be in the Printer List ...
Страница 256: ...6 10 In the menu bar on top select Printers then select Create Desktop Printer from the pull down choices ...
Страница 265: ......
Страница 268: ...UTAX GmbH Ohechaussee 235 22848 Norderstedt Germany ...


