Section 8 Request
8-20
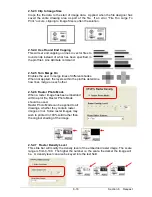
2.5.4.2 Use
Text
Allows the user to place text in their stamp.
2.5.4.3 Use
Image
Allows the user to place an image in their stamp.
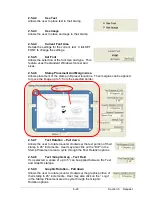
2.5.4.4 Current
Font
Area
Details the settings for the current text. Click SET
FONT to change the settings.
2.5.4.5
Set Font
Allows the selection of the font size and type. This
feature uses the standard Windows font set and
sizes.
2.5.4.6
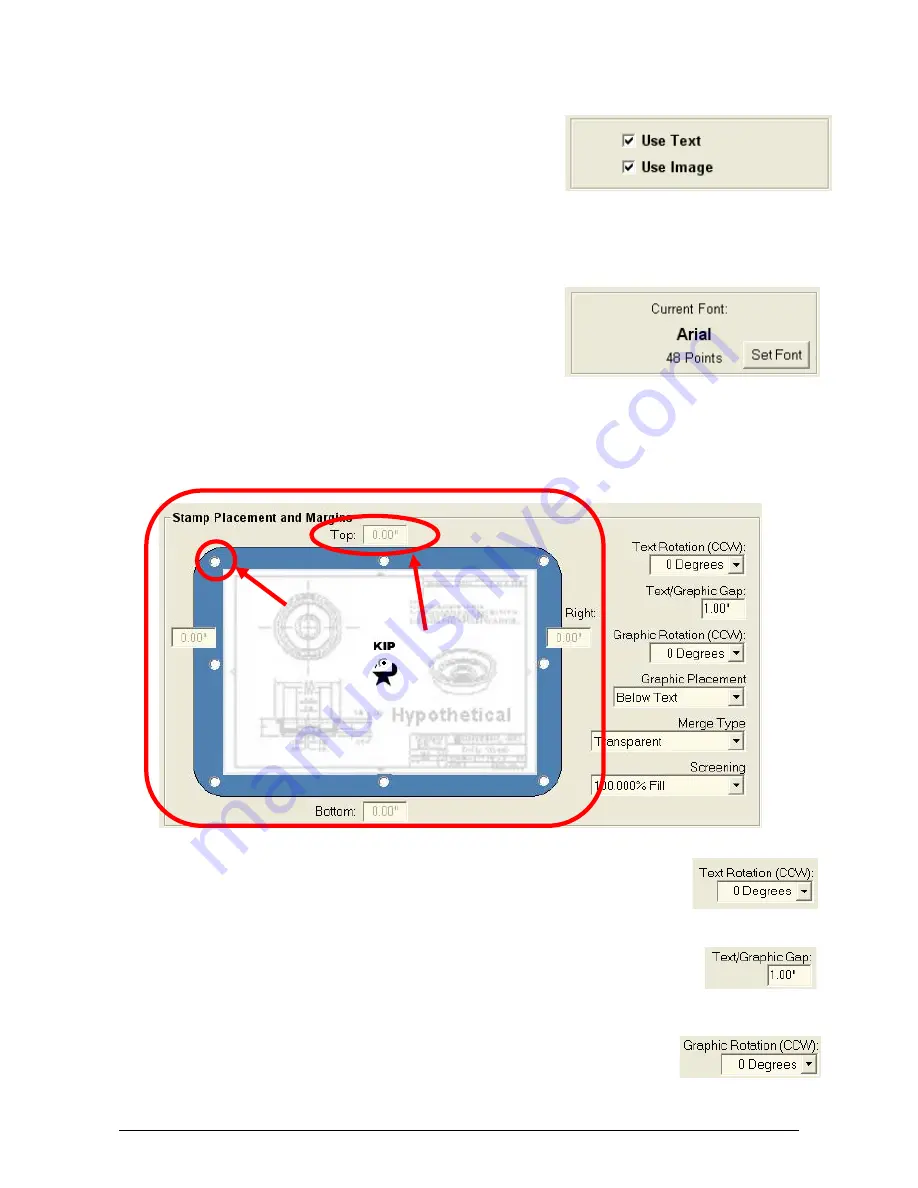
Stamp Placement And Margin Area
Allows placement of the stamp in
9
preset locations. Then margins can be applied
to move the image up to 5” from the selected border.
2.5.4.7
Text Rotation – Pull down
Allows the user to rotate (counter clockwise) the text portion of their
stamp in 45° increments. User may also click on the “KIP” in the
Stamp Placement area to cycle through the Text Rotation options.
2.5.4.8
Text / Graphic Gap – Text Field
If so selected, a space of up to 5” can be applied between the Text
and Graphic stamps.
2.5.4.9
Graphic Rotation – Pull down
Allows the user to rotate (counter clockwise) the graphic portion of
their stamp in 45° increments. User may also click on the “ Logo”
in the Stamp Placement area to cycle through the Graphic
Rotation options.
Содержание CX 8036
Страница 1: ...Instruction Handbook CX 8036 Large Format System ...
Страница 68: ...Section 2 Copy Mode 2 28 ...
Страница 94: ...Section 4 Job Info Screen 4 8 ...
Страница 110: ...5 16 Section 5 Help Configuration d Select Printer Driver from List e Choose Keep existing Driver ...
Страница 111: ...5 17 Section 5 Help Configuration f Setup Queue name all Caps in English g It is not necessary to Share driver ...
Страница 138: ...Section 6 Windows Driver 6 22 ...
Страница 150: ...Section 7 AutoCAD HDI Driver 7 12 5 0 Custom Settings 1 2 7 3 8 4 9 10 6 5 ...
Страница 201: ...Section 8 Request 8 45 ...
Страница 206: ...Section 8 Request 8 50 ...
Страница 224: ...9 18 Section 9 KIP Print Net KIP PrintNet on Opera ...
Страница 228: ...9 22 Section 9 KIP Print Net ...
Страница 242: ...Section 11 Connectivity 11 8 ...
Страница 246: ... 4 ...
Страница 252: ...2 2 Select the Applications folder 3 Select the Utilities folder ...
Страница 253: ...3 4 Find the Printer Setup Utility 5 On the top menu bar select Printers and then Add a Printer ...
Страница 255: ...5 8 Select Add 9 The printer set up will be in the Printer List ...
Страница 256: ...6 10 In the menu bar on top select Printers then select Create Desktop Printer from the pull down choices ...
Страница 265: ......
Страница 268: ...UTAX GmbH Ohechaussee 235 22848 Norderstedt Germany ...


