Section 6 Windows Driver
6-10
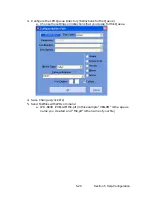
e) Do not change
Port Name
f) Choose
Server/Workstation
from
Installation Location
g) Do not change
Destination Directory
h) Provide the IP address
OR
hostname of your KIP printer for
Controller Name / IP
Address.
It is important to add EITHER the hostname OR the IP address. Do not
add both. This is the destination address.
i) Do not change
IP Port Number
j) Click
OK.
The selected KIP Printer Driver is added to the system and assigned to
the Printer Port monitor (KIP0).
k) Installed printer can now be accessed from the Microsoft Printer Control Panel. If
printer is not seen, press F5 to refresh the printer list
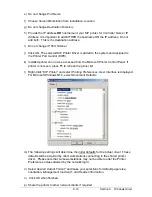
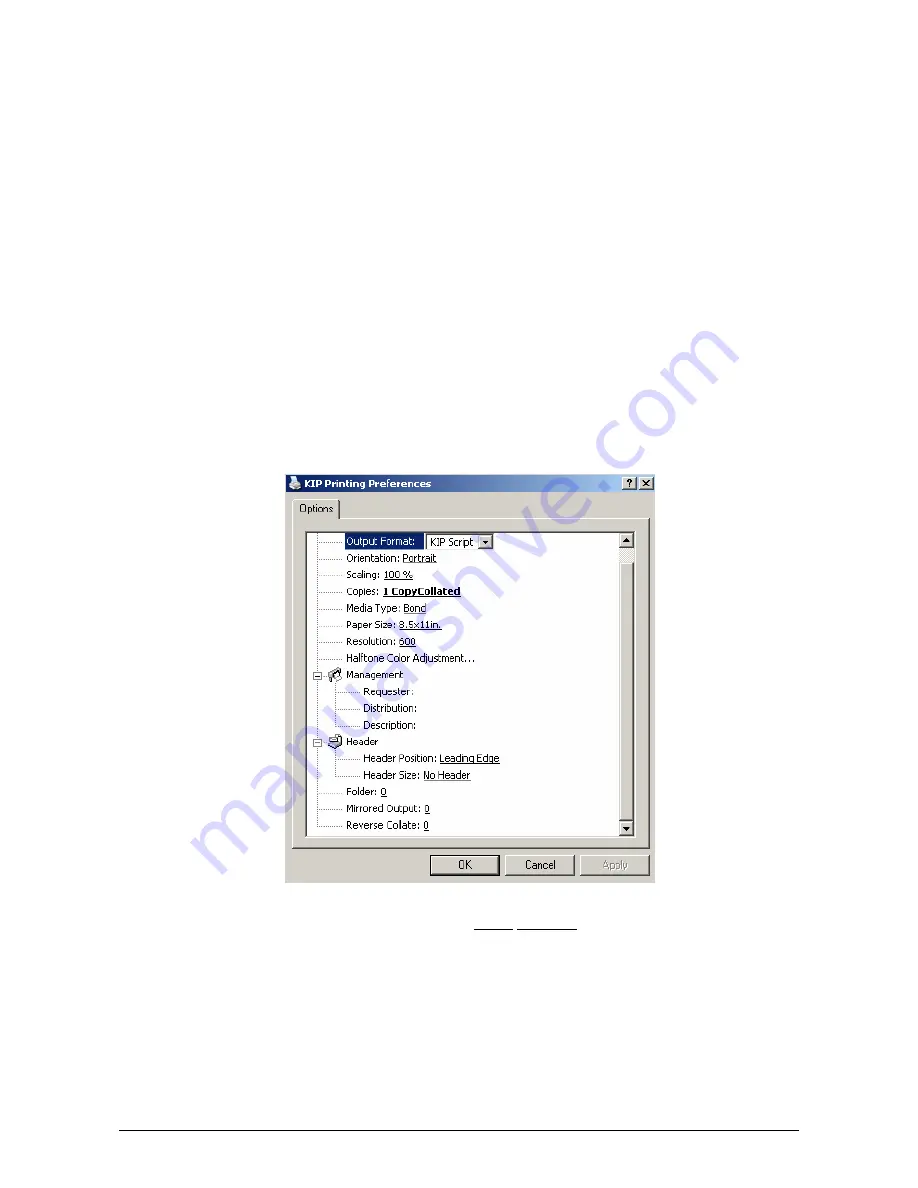
l) Right-Click “KIP Printer” and select
Printing Preferences
. User Interface is displayed.
For Microsoft Windows NT4, select
Document Defaults
m) The following settings will determine the initial defaults for the printer driver. These
defaults will be acquired by client workstations connecting to the shared printer
driver. Please note that some workstations may not be able to alter the Printer
Preferences unless allowed by the network login.
n) Select desired
Output Format*
and make your selections for default paper size,
orientation,
Management
functions*, and Header information.
o) Click
OK
when finished.
p) Share the printer to other network clients if required.
Содержание CX 8036
Страница 1: ...Instruction Handbook CX 8036 Large Format System ...
Страница 68: ...Section 2 Copy Mode 2 28 ...
Страница 94: ...Section 4 Job Info Screen 4 8 ...
Страница 110: ...5 16 Section 5 Help Configuration d Select Printer Driver from List e Choose Keep existing Driver ...
Страница 111: ...5 17 Section 5 Help Configuration f Setup Queue name all Caps in English g It is not necessary to Share driver ...
Страница 138: ...Section 6 Windows Driver 6 22 ...
Страница 150: ...Section 7 AutoCAD HDI Driver 7 12 5 0 Custom Settings 1 2 7 3 8 4 9 10 6 5 ...
Страница 201: ...Section 8 Request 8 45 ...
Страница 206: ...Section 8 Request 8 50 ...
Страница 224: ...9 18 Section 9 KIP Print Net KIP PrintNet on Opera ...
Страница 228: ...9 22 Section 9 KIP Print Net ...
Страница 242: ...Section 11 Connectivity 11 8 ...
Страница 246: ... 4 ...
Страница 252: ...2 2 Select the Applications folder 3 Select the Utilities folder ...
Страница 253: ...3 4 Find the Printer Setup Utility 5 On the top menu bar select Printers and then Add a Printer ...
Страница 255: ...5 8 Select Add 9 The printer set up will be in the Printer List ...
Страница 256: ...6 10 In the menu bar on top select Printers then select Create Desktop Printer from the pull down choices ...
Страница 265: ......
Страница 268: ...UTAX GmbH Ohechaussee 235 22848 Norderstedt Germany ...


