


Become Familiar With the Four Debugging Modes
2-13
An Introductory Tutorial to the C Source Debugger
The following steps show you how to switch debugging modes.
Use the MoDe menu to select assembly mode:
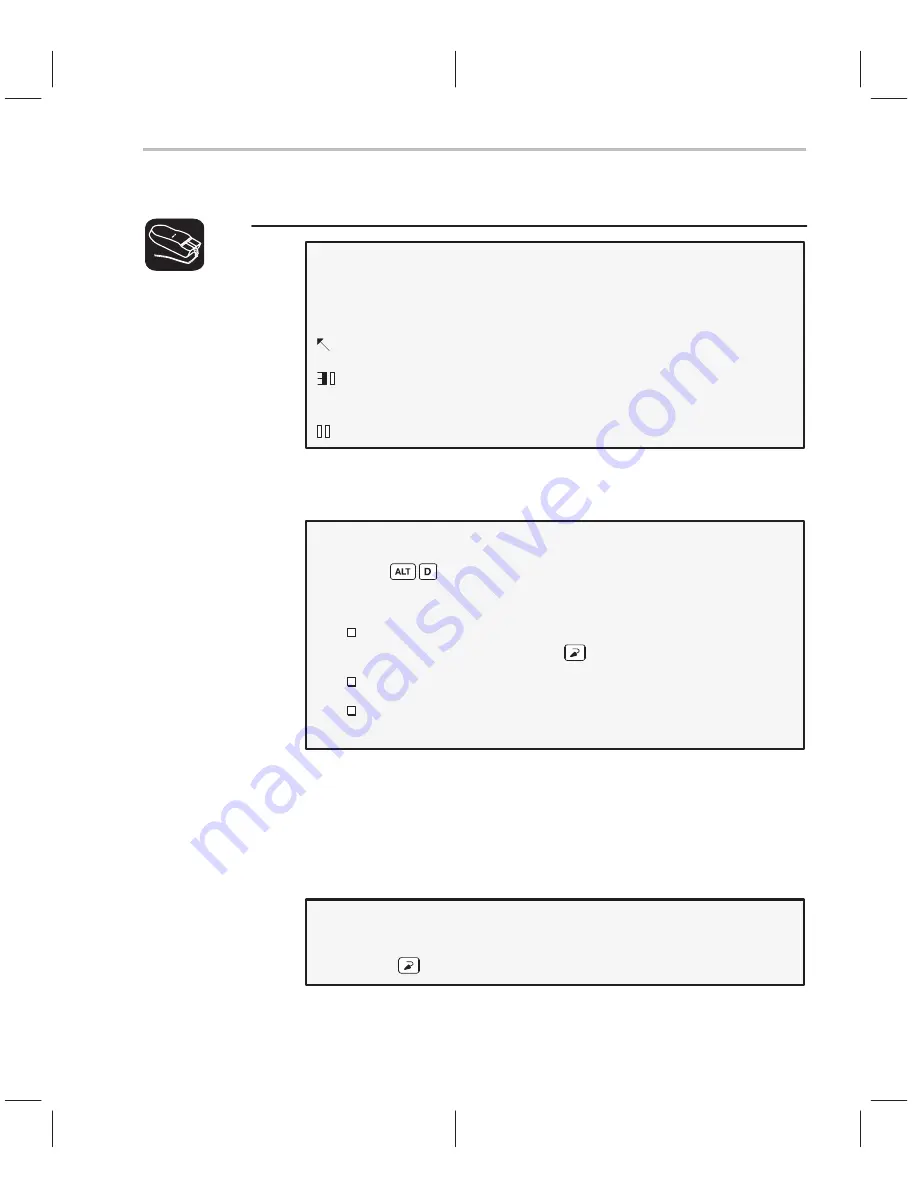
1) Look at the top of the display: the first line shows a row of pull-
down menu selections.
2) Point to the word MoDe on the menu bar.
3)
Press the left mouse button, but don’t release it; drag the
mouse downward until Asm (the second entry) is highlighted.
4)
Release the button.
This switches to assembly mode. You should see the DISASSEMBLY window,
but not the FILE window.
Switch to auto mode:
1) Press . This displays and freezes the MoDe menu.
2) Now select C(auto). To do so, choose one of these methods:
Press the arrow keys to move up/down through the menu; when
C(auto) is highlighted, press .
Type C.
Point the mouse cursor at C(auto), then click the left mouse but-
ton.
You should be in auto mode now, and you should see the FILE window. The
statement that defines the main( ) label should still be highlighted. You should
not see the DISASSEMBLY window, because the processor is in the C portion
of your program. Auto mode automatically switches between an assembly and
a C display, depending on where you are in your program. Here’s a demonstra-
tion of that:
Restart your program, so it is at a point that executes assembly language
code:
restart
lesson continues on the next page
→
Содержание TMS320C6 Series
Страница 10: ...x ...
Страница 20: ...xx ...
Страница 118: ...4 20 ...
Страница 144: ...6 16 ...
Страница 164: ...7 20 ...
Страница 170: ...8 6 ...
Страница 284: ...B 18 ...
Страница 290: ...C 6 ...


