MX-C250 ADJUSTMENTS 5 – 41
a. Adjustment procedure
1)
Enter the SIM 46-9 mode.
2)
Select the mode to be adjusted with [UP] or [DOWN] keys.
When adjusting density on low density part, select "A (COPY
LOW)". When adjusting density on high density part, select "D
(COPY HIGH)".
3)
Enter the adjustment value with 10-key.
In case of increase of image density, input large numeric
value. Or in case of diluting the image density, input small
numeric value.
4)
Press [OK] key.
5)
Make a copy in the RSPF mode and check the copy.
If a satisfactory result is not obtained, return to the SIM 46-9 mode
and change the adjustment value.
Repeat the above procedures until a satisfactory result is obtained.
9-L
Automatic color balance adjustment by the
user (Color balance automatic adjustment
ENABLE setting and adjustment)
a. General
In the user program mode, the user can execute the auto color cal-
ibration (auto adjustment of the copy color balance and density).
This adjustment is to set Enable/Disable of the above user opera-
tion with SIM 26-53.
This setting must be set to ENABLE only when the user's under-
standing on the automatic adjustment of the copy color balance
and density and the user's operational ability are judged adequate
enough to execute the adjustment.
When set to enable, operation procedures must be fully explained
to the user.
b. Setting procedure
1)
Enter the SIM 26-53 mode.
2)
Select ENABLE or DISABLE with [UP] and [DOWN] key.
When disabling, set to "0" (NO). When enabling, set to "1"
(Yes).
3)
Press [OK] key.
When set to DISABLE, the menu of the user auto color calibration
is not displayed in the user program mode.
(Auto color calibration by the user (Auto color balance adjust-
ment))
1)
Enter the system setting mode.
2)
Press the auto color calibration key.
3)
Press [OK] key.
The color patch image (adjustment pattern) is printed out.
4)
Set the color patch image (adjustment pattern) printed in pro-
cedure 4) on the document table.
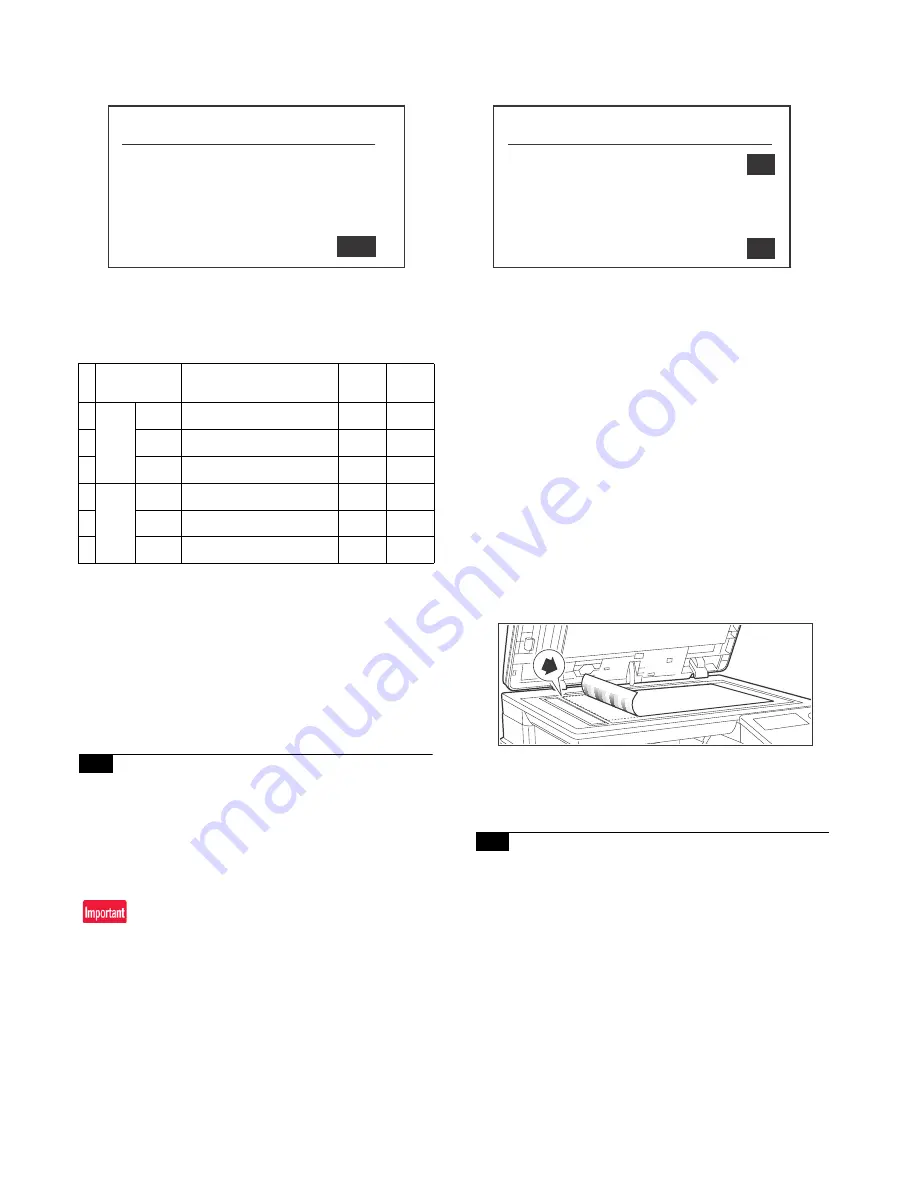
Set the patch image so that the tint color is on the left side as
shown in the figure.
At that time, place 5 sheets of white paper on the above color
patch image (adjustment pattern).
5)
Press [OK] key.
Then, the color balance adjustment is executed automatically.
After completion of the adjustment, the display returns to the
original operation screen
.
9-M
Copy gamma, color balance adjustment for
each dither (Automatic adjustment) (No
need to adjust normally)
a. General
This simulation is used to improve the image quality in a certain
mode. (Refer to the list in procedure 6.)
b. Adjustment procedures
1)
Enter the SIM46-54 mode.
2)
Press [OK] key.
A4/11" x 8.5" paper is automatically selected. The color patch
image (adjustment pattern) is printed.
3)
Set the patch image (adjustment pattern) printed in the proce-
dure 2) on the document table so that the tint color on the
printed patch image (adjustment pattern) are on the left side.
Place 5 sheets of white paper on the printed patch image
(adjustment pattern).
Item/Display
Content
Set-
ting
range
Default
1
LOW
COPY
SPF copy mode exposure
adjustment (Low density side)
1 - 99
48
2
SCAN
SPF scanner mode exposure
adjustment (Low density side)
1 - 99
48
3
FAX
SPF FAX mode exposure
adjustment (Low density side)
1 - 99
48
1
HIGH
COPY
SPF copy mode exposure
adjustment (High density side)
1 - 99
53
2
SCAN
SPF scanner mode exposure
adjustment (Low density side)
1 - 99
53
3
FAX
SPF FAX mode exposure
adjustment (High density side)
1 - 99
53
Sim46-9 EXP. ADJ (SFP)
1: LOW
㻌 㻌 㻌 㻌 㻌 㻌 㻌 㻌 㻌 㻌
2: HIGH
㻌 㻌 㻌 㻌 㻌 㻌 㻌 㻌 㻌 㻌
00
Sim26-53 AUTO COLOR CALIB
1: AUTO COLOR CALIBRATION
㻌 㻌 㻌 㻌 㻌 㻌 㻌 㻌 㻌 㻌
0
_
㻌 㻌 㻌 㻌 㻌 㻌 㻌
[
0-
1]
㻌 㻌 㻌 㻌 㻌 㻌 㻌 㻌 㻌 㻌
0
㻌 㻌 㻌 㻌 㻌 㻌 㻌


