80
2C. Contacts
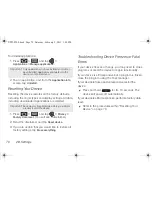
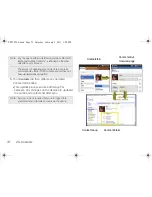
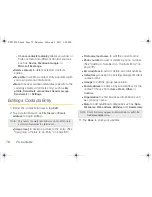
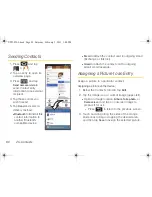
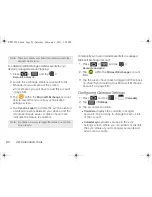
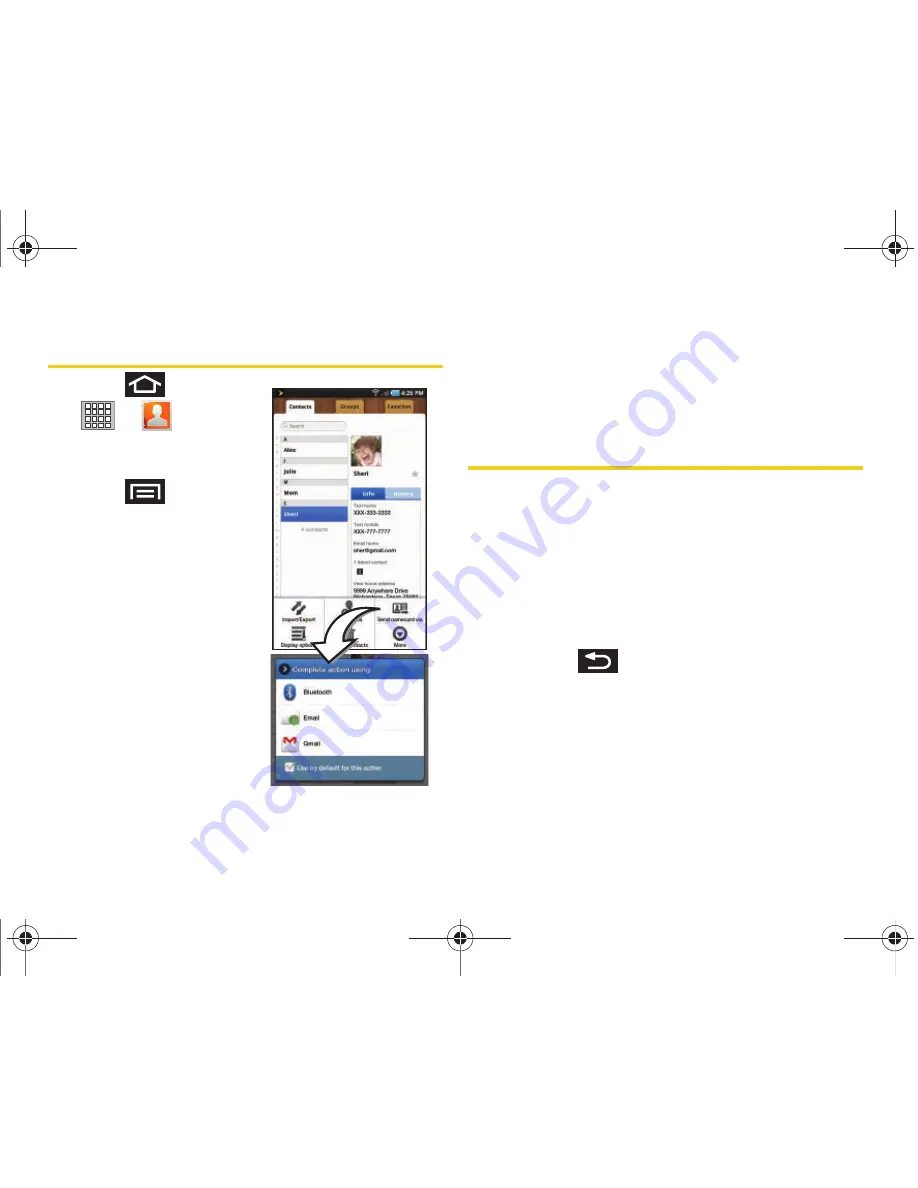
Sending Contacts
1.
Press
and tap
>
.
2.
Tap an entry to open its
overview page.
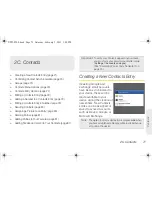
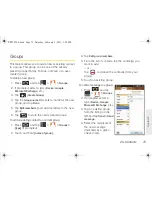
3.
Press
and tap
Send namecard via
to
send Contact entry
information to an external
recipient.
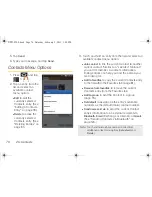
4.
Tap those entries you
wish to send.
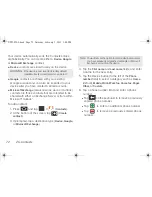
5.
Tap
Send
and select a
delivery method:
䡲
Bluetooth
to transmit this
contact information to
another Bluetooth-
compatible device.
䡲
to attach the contact card to outgoing email
(Exchange or Internet).
䡲
Gmail
to attach the contact card to outgoing
Gmail email message.
Assigning a Picture to an Entry
Assign a picture to a particular contact.
Assigning a picture via the device:
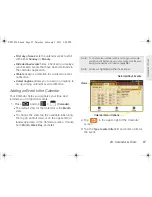
1.
Below the Contact’s Info tab, tap
Edit
.
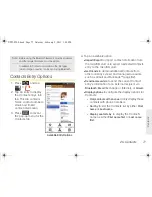
2.
Tap the image icon or current image (upper-left).
䡲
Open an image location (
Album
,
Take photo
, or
Remove icon
) and tap an onscreen image to
prepare it for use.
●
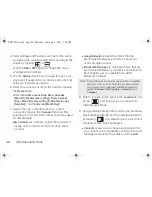
Press
to return to the previous screen.
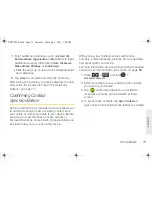
3.
Touch and drag along the sides of the orange
border box to begin cropping the desired area,
and then tap
Save
to assign the selected picture.
SPH-P100.book Page 80 Saturday, February 5, 2011 3:00 PM
Содержание Galaxy Tab SPH-P100
Страница 13: ...Section 1 Getting Started SPH P100 book Page 1 Saturday February 5 2011 3 00 PM ...
Страница 18: ...SPH P100 book Page 6 Saturday February 5 2011 3 00 PM ...
Страница 19: ...Section 2 Your Device SPH P100 book Page 7 Saturday February 5 2011 3 00 PM ...
Страница 137: ...Section 3 Sprint Service SPH P100 book Page 125 Saturday February 5 2011 3 00 PM ...
Страница 194: ...SPH P100 book Page 182 Saturday February 5 2011 3 00 PM ...
Страница 195: ...Section 4 Safety and Warranty Information SPH P100 book Page 183 Saturday February 5 2011 3 00 PM ...
Страница 224: ...SPH P100 book Page 212 Saturday February 5 2011 3 00 PM ...
Страница 238: ...SPH P100 book Page 226 Saturday February 5 2011 3 00 PM ...

