4.26 Bluetooth remote control
connection
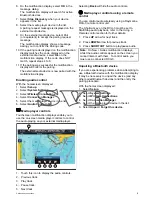
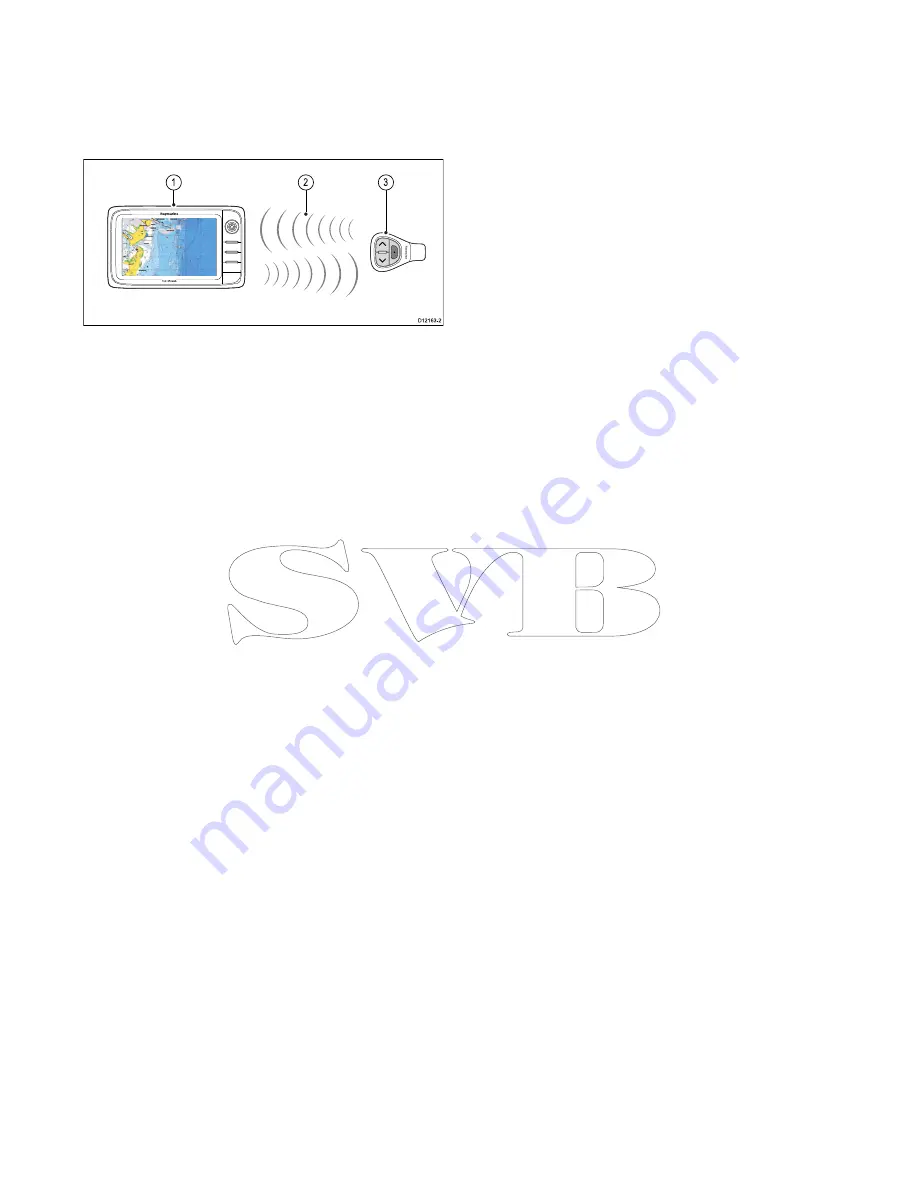
You can control the multifunction display wirelessly
using a Raymarine remote control unit.
The remote control uses a Bluetooth wireless
connection.
D12163-2
1
3
2
1.
Multifunction display.
2.
Bluetooth connection.
3.
Raymarine Bluetooth remote control (for
example, RCU-3).
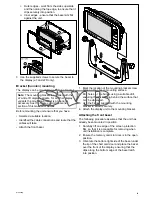
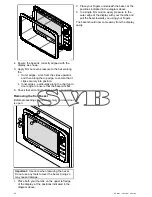
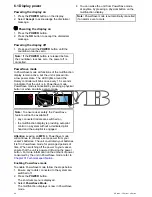
To use the remote control you must first:
• Enable Bluetooth in the System Settings on the
multifunction display.
• Pair the remote control unit with the multifunction
display.
Operating principles
Remote control operating principles.
• Only 1 multifunction display may be operated by
a remote control unit at any one time. You cannot
pair a multifunction display to more than 1 remote
control at the same time.
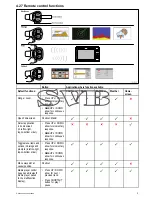
• The 3 buttons on the remote control unit have
different functions depending on the CONTEXT in
which you are using it. For example, in the chart
application the buttons control different functions
than they do in the homescreen.
• All functions are accessed using a combination of
the 3 buttons. For some functions you must press
a button MOMENTARILY. You can also HOLD
a button for continuous response (for example,
continuous ranging in the chart application).
• The main methods of operation involve the use
of the
UP
and
DOWN
“arrow” buttons to highlight
different on-screen options. The
SHORTCUT
button is used to select (execute) them.
• During the pairing process you must define which
of the arrow buttons you want to be the “UP”
button.
• The
SHORTCUT
button is customizable and can
be configured to operate one of a number of
functions, using the System Settings menu on
your multifunction display.
Pairing the remote and configuring the UP
and DOWN buttons
The remote control unit must be “paired” with the
multifunction display that you want to control. On
your multifunction display, with the homescreen
displayed:
1. Select
Set-up
.
2. Select
System Settings
.
3. Select
Wireless Connections
.
4. Select
Bluetooth > On
.
5. Select
New Bluetooth Connection
.
A pop-up message will be displayed to confirm
that the device you are connecting to is
discoverable.
6. Select
Ok
to confirm.
A list of discovered devices is displayed.
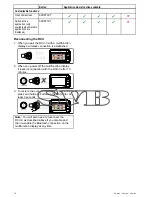
7. On your
remote control unit
, hold down the UP
and DOWN buttons together for 10 seconds.
8. Select the remote control unit in the list of
devices.
9. When prompted, press the arrow button on your
remote that you wish to be configured as the UP
button. The other arrow button will automatically
be configured as the DOWN button.
If the pairing was successful a “Pairing Success”
message will be displayed. If a “Pairing Failure”
or “Pairing Timeout” message is displayed,
repeat steps 1 to 8.
Customizing the SHORTCUT button
On your multifunction display, with the homescreen
displayed:
1. Select
Set-up
.
2. Select
System Settings
.
3. Select
External Devices
.
4. Select
Remote Control
.
5. Select
Customize shortcut key
.
6. Select the function that you want to assign to the
SHORTCUT
key.
76
a Series / c Series / e Series
Содержание c125
Страница 2: ......
Страница 14: ...14 a Series c Series e Series ...
Страница 41: ...13 GPS receiver 14 Thermal camera 15 Wireless connection Planning the installation 41 ...
Страница 48: ...48 a Series c Series e Series ...
Страница 80: ...80 a Series c Series e Series ...
Страница 118: ...118 a Series c Series e Series ...
Страница 184: ...184 a Series c Series e Series ...
Страница 185: ...Chapter 13 Man Overboard MOB Chapter contents 13 1 Man overboard on page 186 Man Overboard MOB 185 ...
Страница 188: ...188 a Series c Series e Series ...
Страница 191: ...Chapter 15 Fuel manager Chapter contents 15 1 Fuel manager overview on page 192 Fuel manager 191 ...
Страница 206: ...206 a Series c Series e Series ...
Страница 228: ...228 a Series c Series e Series ...
Страница 290: ...290 a Series c Series e Series ...
Страница 310: ...310 a Series c Series e Series ...
Страница 340: ...340 a Series c Series e Series ...
Страница 374: ...374 a Series c Series e Series ...
Страница 422: ...422 a Series c Series e Series ...
Страница 436: ...436 a Series c Series e Series ...
Страница 462: ...462 a Series c Series e Series ...
Страница 463: ......
Страница 464: ...www raymarine com ...


