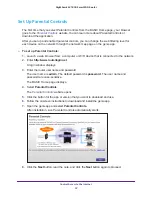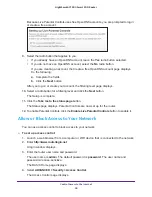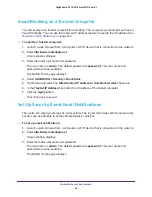
Control Access to the Internet
64
Nighthawk AC1900
Smart WiFi Router
4.
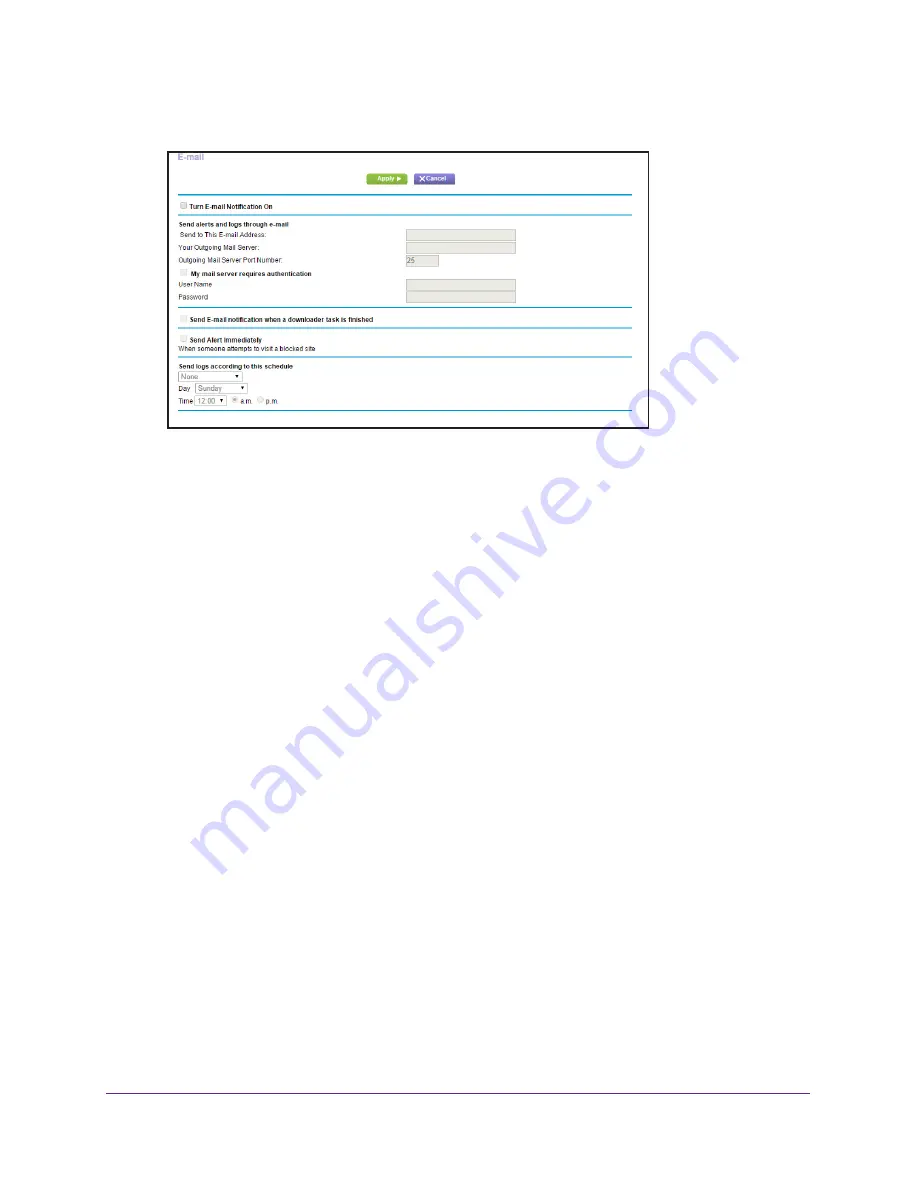
Select
ADVANCED > Security >
.
5.
Select the
Turn Email Notification On
check box.
6.
In the
Send to This E-mail Address
field, enter the email address to which logs and alerts
are sent.
This email address is also used for the
From
address. If this field is blank, log and alert
messages are not sent.
7.
In the
Your Outgoing Mail Server
field, enter the name of your ISP outgoing (SMTP) mail
server (such as mail.myISP.com).
You might be able to find this information in the configuration page of your email program.
If you leave this field blank, log and alert messages are not sent.
8.
In the
Outgoing Mail Server Port Number
field, enter your mail server’s port number.
You might be able to find this information in the configuration page of your email program.
9.
If your outgoing email server requires authentication, select the
My Mail Server requires
authentication
check box.
a.
In the
User Name
field, type the user name for the outgoing email server.
b.
In the
Password
field, type the password for the outgoing email server.
10.
(Optional) Select the
Send E-mail notification when a downloader task
is finished check
box.
11.
(Optional) Select the
Send Alerts Immediately
check box.
Email alerts are sent immediately when someone attempts to visit a blocked site.
12.
To send logs based on a schedule, specify these settings:
•
From
Send logs according to this schedule
drop-down list, select the schedule
type.
•
From the
Day
drop-down list, select the day.
•
From the
Time
drop-down list, select the time, and select the
am
or
pm
radio button.
13.
Click the
Apply
button.

